Photoshop Tutorials: Create a Sports Wallpaper with Splatter Effects |  |
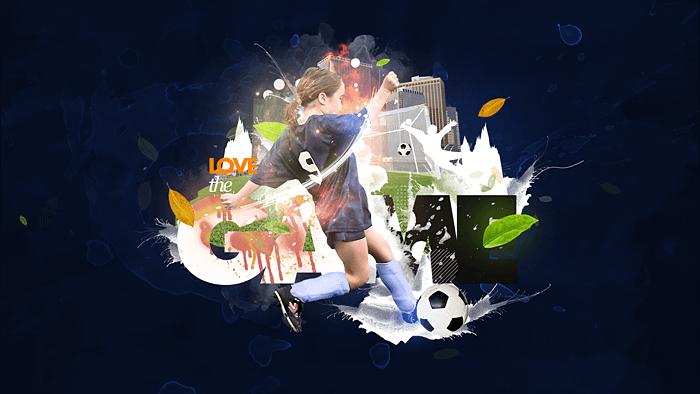
| Create a Sports Wallpaper with Splatter Effects Posted: 11 Jan 2013 07:10 AM PST Preview of Final Results
Resources
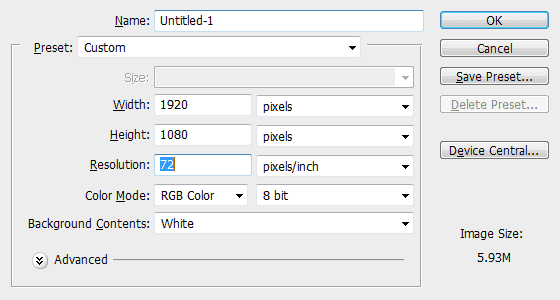
Step 1Create a new file with the below dimensions. This is going to be a wide screen wallpaper
Step 2Create a new layer in the Layers palette. Set the foreground color to #040916. Hit Alt + Backspace to fill the current color.
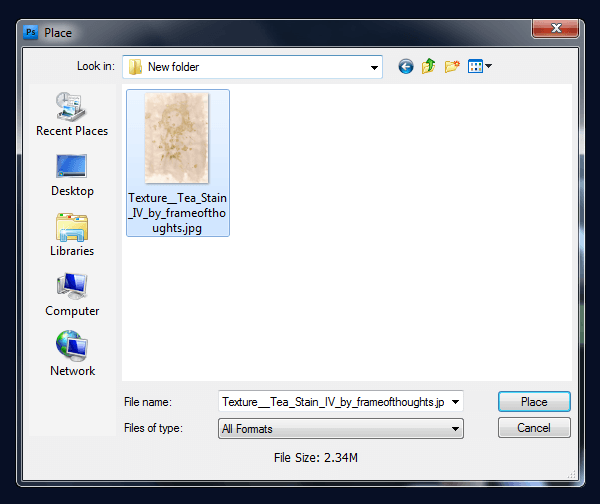
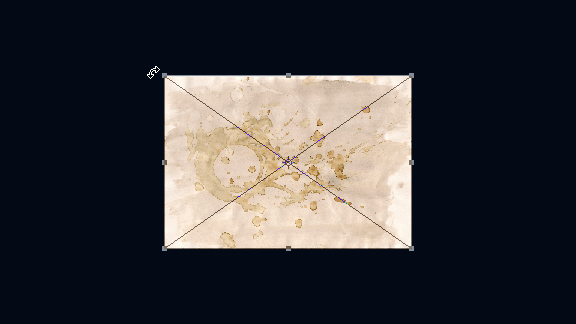
Step 3Let’s add a texture to the background to make it look a bit dynamic. Import the texture directly into our file as a Smart Object using the “Place” command. Choose File > Place and locate the texture. This imports the image as a Smart Object which we can transform and apply filters to without harming the actual contents of the image.
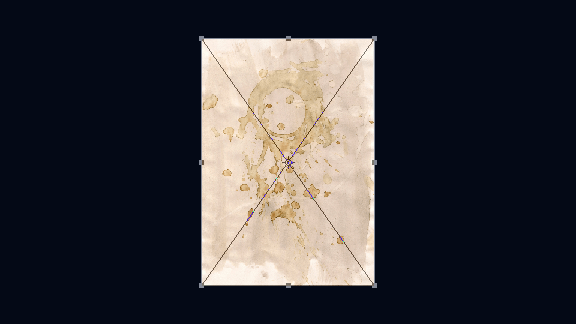
Now the texture is placed in our document.
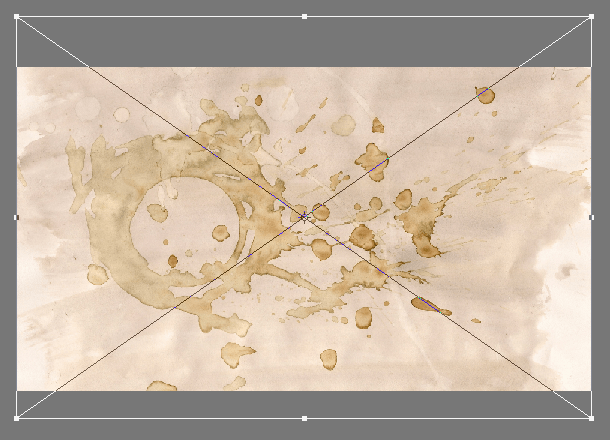
Step 4Hit Ctrl + T, hold by the corner and rotate it 90 degrees anti clock wise or simply right click and choose “Rotate 90 degrees CCW” option.
Resize the texture to cover the entire document area and hit “Enter” to confirm the transformation.
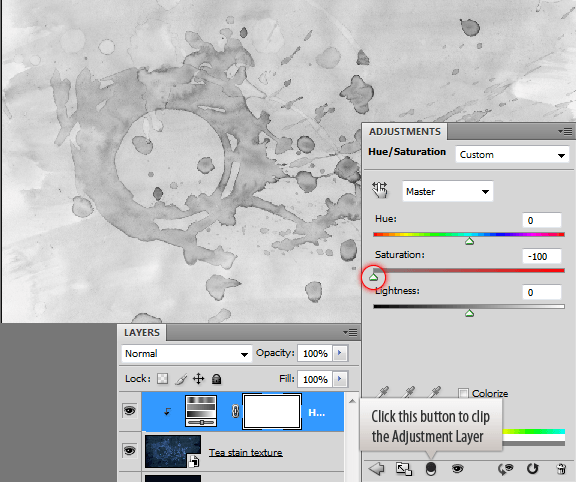
Step 5Now desaturate the texture. Apply “Hue/Saturation” adjustment layer on top of the texture. Set the saturation to -100 using the slider. Then clip it to the texture layer by clicking the “Clip to the Below Layer Option” or by pressing Ctrl + Alt + G.
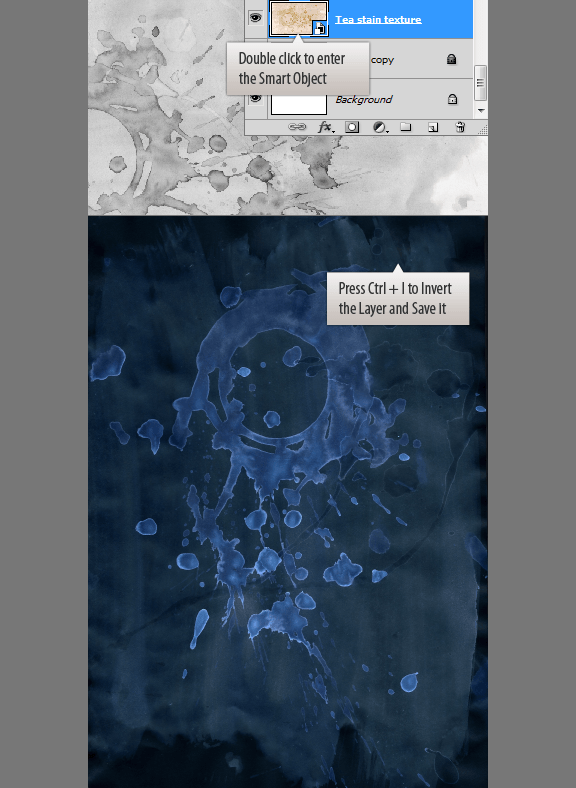
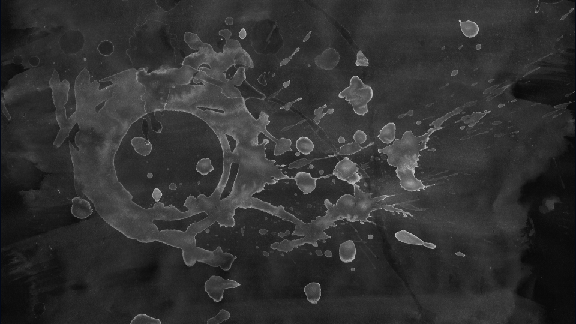
Step 6We need to invert the texture layer. Since it is a Smart Object we can’t directly invert it. Double click on the thumbnail to see the contents. Now press Ctrl + I or go to Image > Adjustments > Invert to invert the image. Press Ctrl + S to save and close the smart object document.
Your image should look like below.
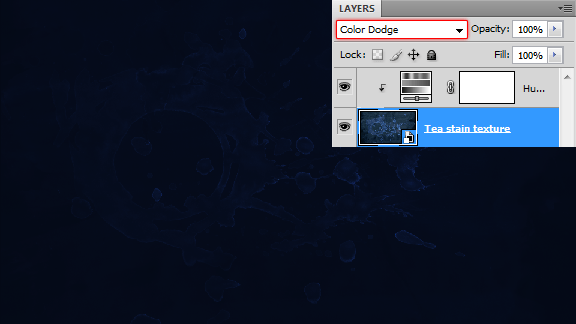
Step 7Set the blend mode to “Color Dodge”
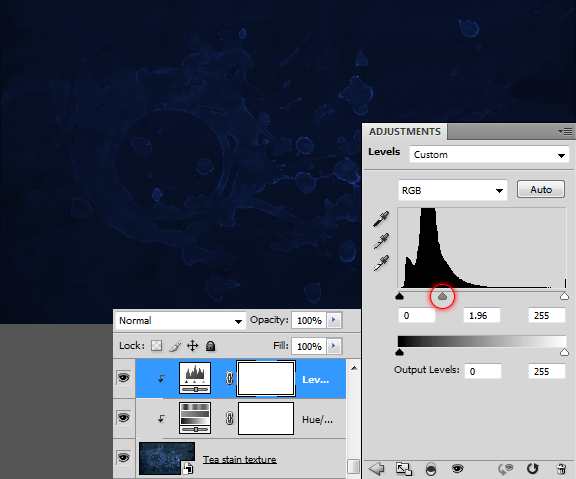
Step 8Increase the visibility of the texture. Add Levels adjustment layer to the texture and adjust the mid tone values.
|
| You are subscribed to email updates from Photoshop Tutorials To stop receiving these emails, you may unsubscribe now. | Email delivery powered by Google |
| Google Inc., 20 West Kinzie, Chicago IL USA 60610 | |




0 comments:
Post a Comment