Photoshop Tutorials: How to Create a Night Jungle Scenery in Photoshop |  |
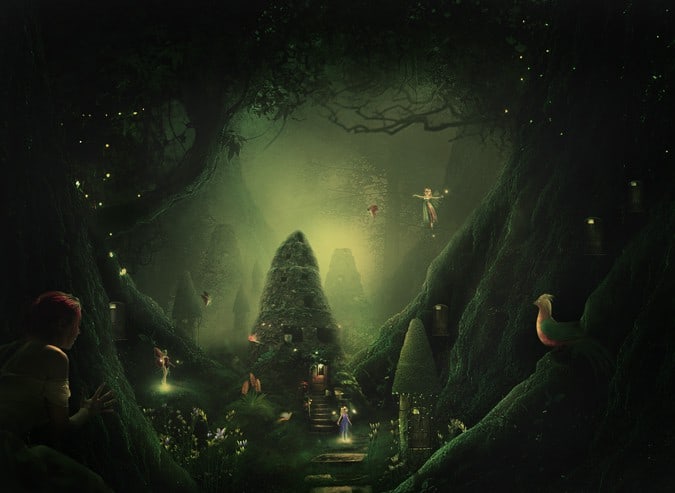
| How to Create a Night Jungle Scenery in Photoshop Posted: 02 Jun 2013 06:54 PM PDT Preview of Final Results
Tutorial Resources
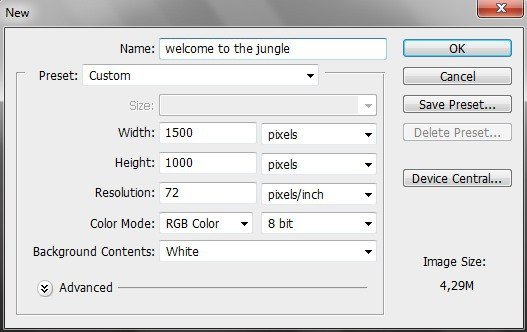
Step 1 (Creating the background's base)Start by creating a new document (Ctrl+N) of 1500 pixels wide and 1000 pixels high:
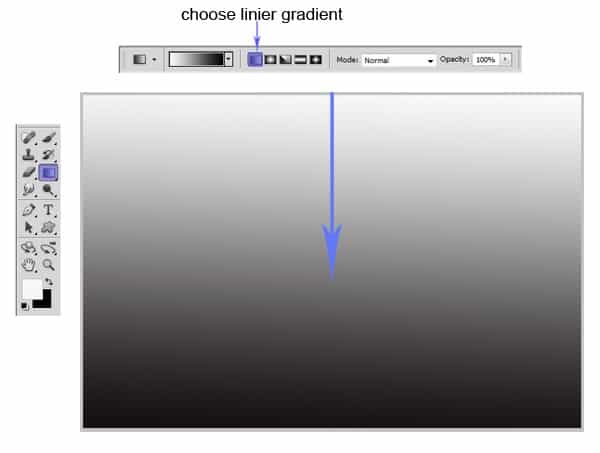
Hit G on the keyboard to activate Gradient Tool. Set the foreground color to white and background to black. Choose Linier Gradient. Fill the white document with gradient by clicking on the top and dragging to the bottom of it.
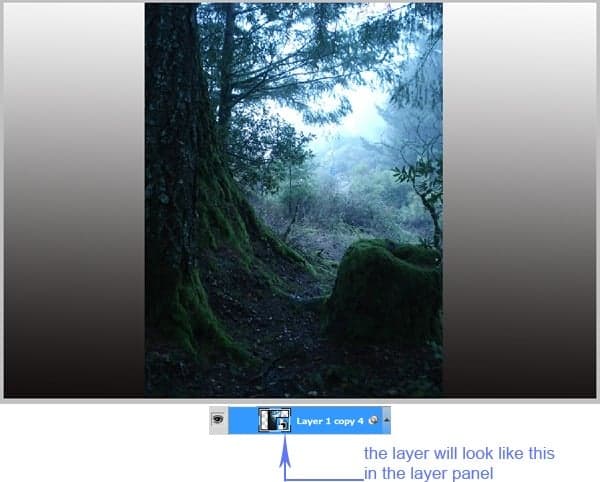
Step 2 (Creating foreground)Open the tree stock image in the document. Hit Ctrl+G to place the image in a group. Name this group foreground 1. Then, with the tree layer selected, go to Layer > Smart Objects > Convert To Smart Object. This will change the layer into a smart object layer.
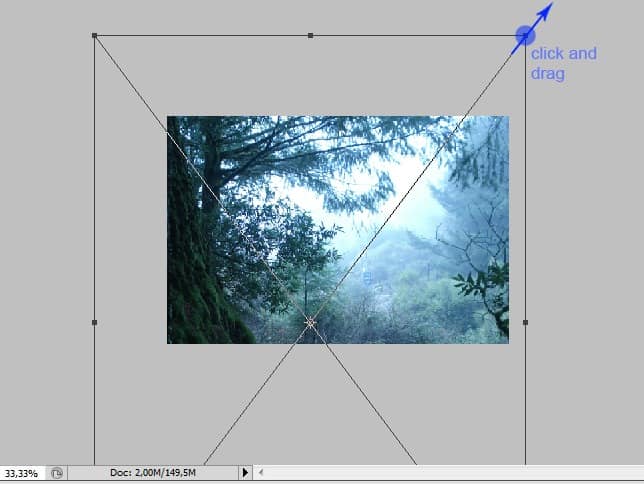
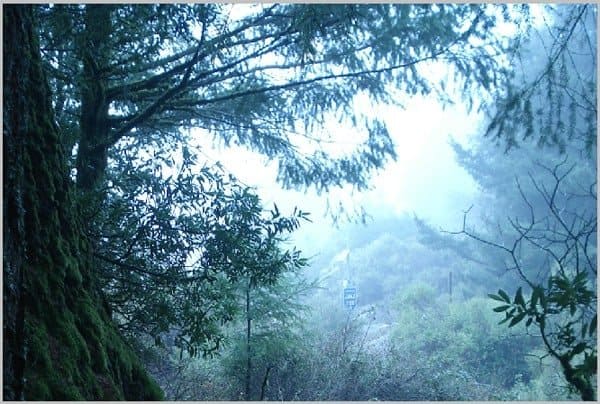
Now scale up the image to cover the document. Use Free Transform Tool to do this. Hit Shift on the keyboard along with clicking and dragging one of the dragging point marked in blue in the screenshot. Place and arrange its position in a such way that the stem of the tree fill the left foreground.
This is the result should look like:
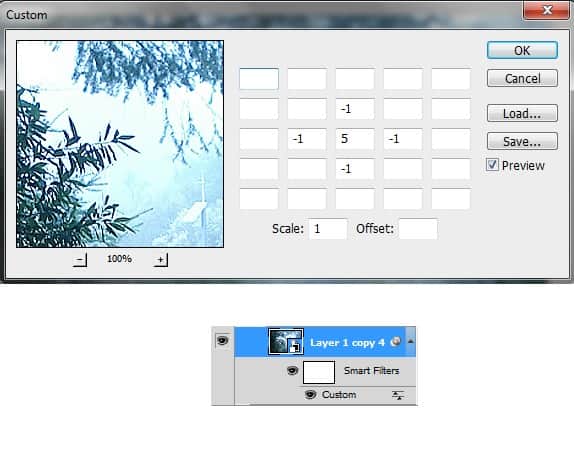
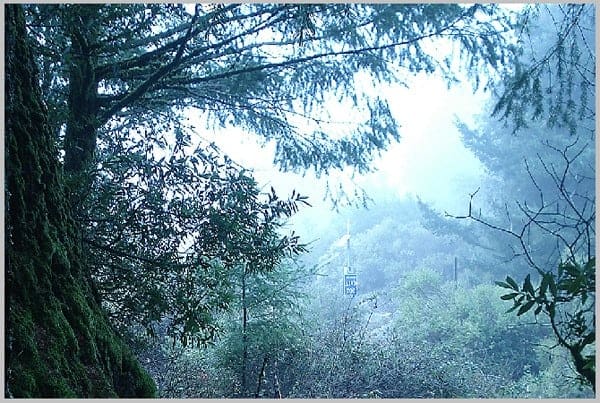
Now give this layer filter: Custom. To achieve this, go to Filter > Others > Custom. Take a look at the screenshot below to figure out the setting of the custom filter:
Here is the result should be:
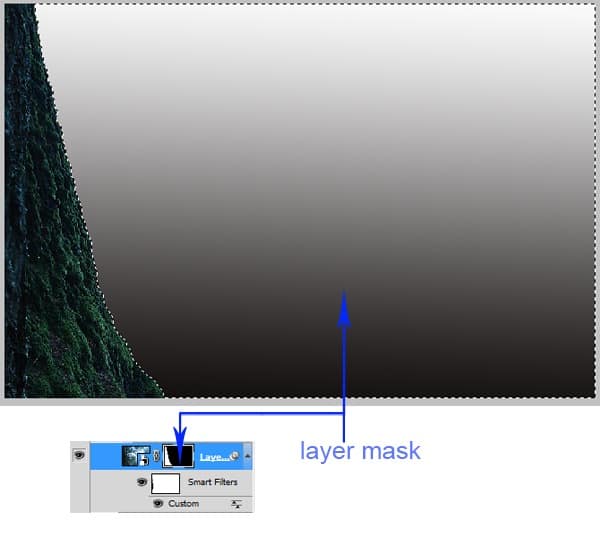
We just need the stem of the tree as the foreground of the scene. We will hide the rest of image so that only the stem is visible. To achieve this, we will mask the background of the image. Go to Layer > Layer Mask. There will be a white layer mask thumbnail next to the layer. Now make selection around the background. Use Lasso Tool to achieve this. With the layer mask thumbnail is activated, hit Shift+F5 to fill it. Fill the mask with black. This will mask hide the background.
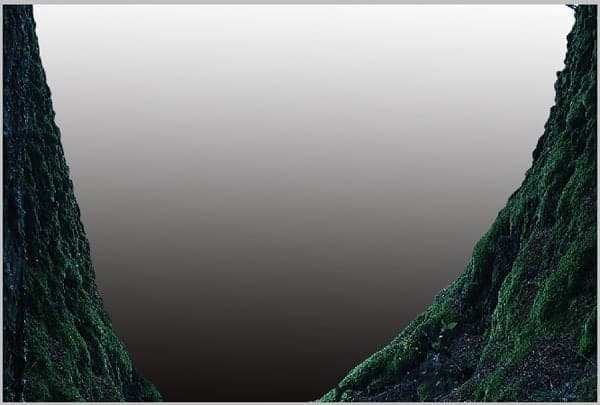
Step 3 (The other foregrounds)Duplicate (Ctrl+J) the tree image layer used as the previous foreground. Group this layer and name the group foreground 2. With this duplication layer, we will add another foreground on the other side. Do almost the same steps as the ones taken in creating the previous foreground. One thing to remember is try to alter the shape, position and size of the the second foreground so it does not look uniform:
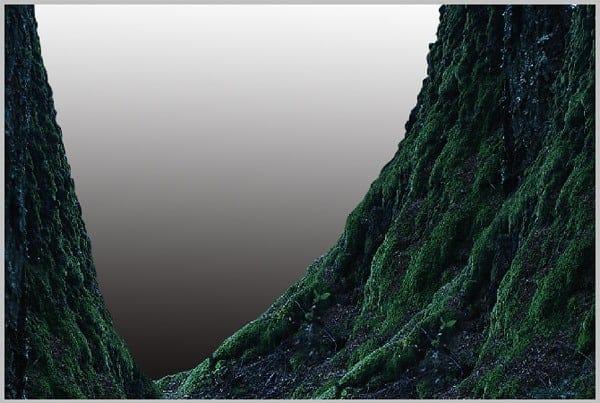
Create another group for another foreground. Name the new group more foreground. Place the group under the previous foregrounds. We still do almost the stem steps as the previous ones.
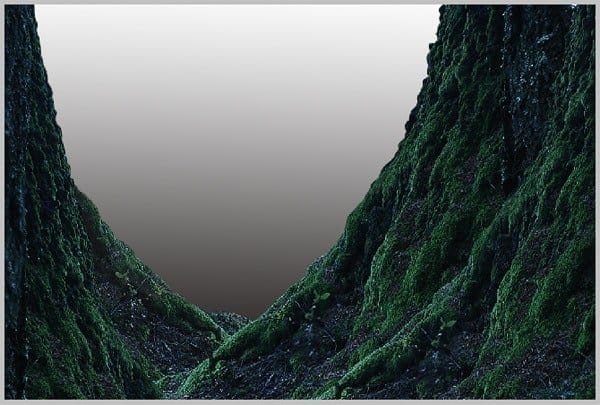
Again, create another group for the last foreground. Name this group another foreground.
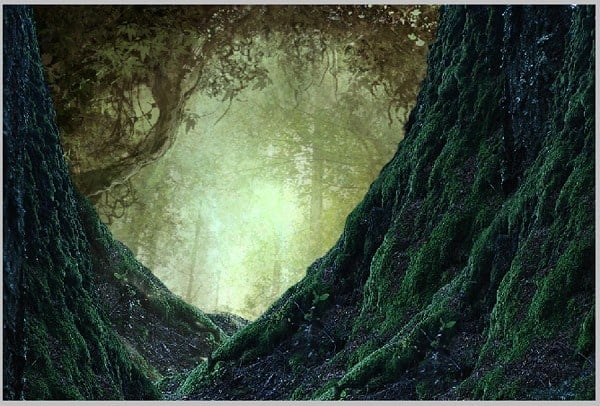
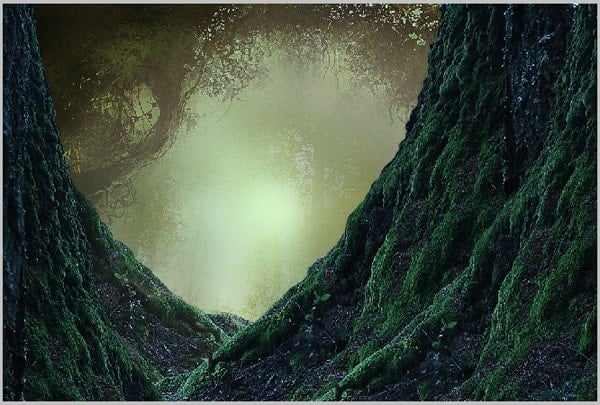
Step 4 (Adding background image)Open the background stock image to the document. Convert this image into a smart object. Place it under the foreground groups in the layer panel. With the Free Transform Tool, scale the image up. Arrange its position where needed. Please take a look at the screenshot below for your inspiration:
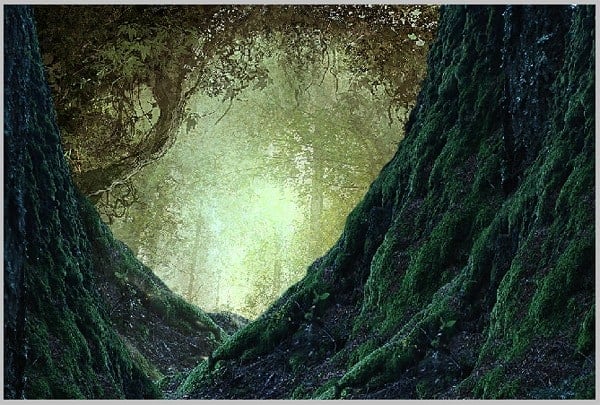
Give this smart object a smart filter: Custom. Apply the same setting of the previous step 2 for the custom filter. Here is the result will look like:
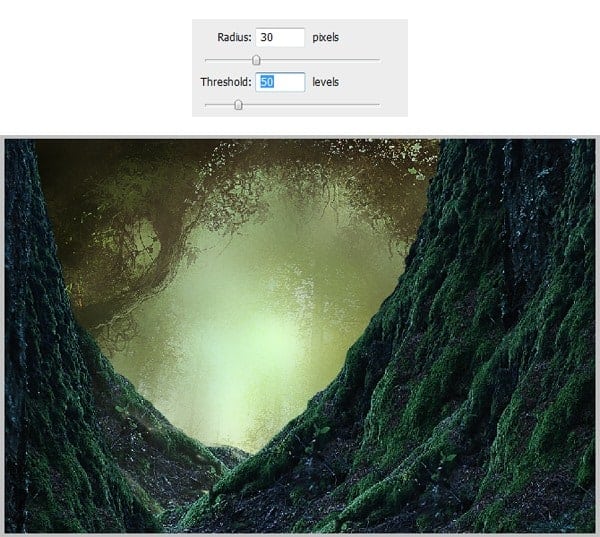
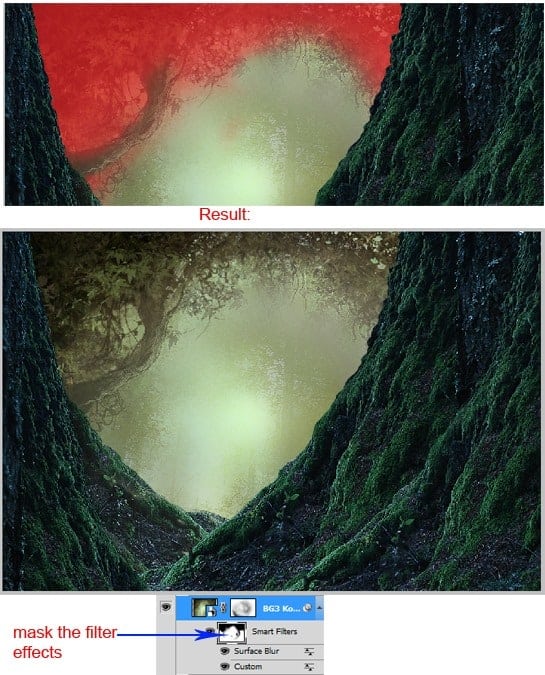
Next, give this layer another smart filter: Surface Blur. To achieve this, go to Filter > Blur > Surface Blur.
Give this background layer a mask and mask some areas on the red marked ones. Try to use a very soft round brush at 10-20% opacity. The screenshot below will guide you the areas to be masked:
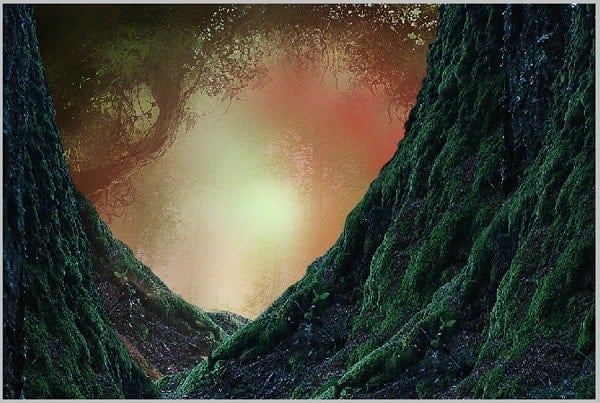
This is the result should be:
Click on the filter effect mask thumbnail and mask the red marked areas. Use a very soft round brush to mask the areas.
|
| You are subscribed to email updates from Photoshop Tutorials To stop receiving these emails, you may unsubscribe now. | Email delivery powered by Google |
| Google Inc., 20 West Kinzie, Chicago IL USA 60610 | |



0 comments:
Post a Comment