


Photoshop Tutorials: Create a Pixel-Perfect Notebook Icon in Photoshop | |
| Create a Pixel-Perfect Notebook Icon in Photoshop Posted: 09 Jun 2013 07:50 PM PDT Preview of Final Results
Tutorial Resources· Wooden Background – sxc.hu Step 1Open up Photoshop and create new document
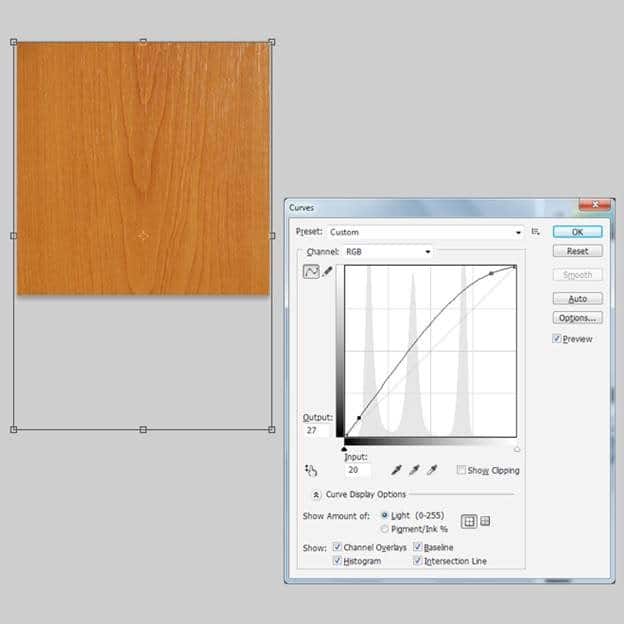
Step 2Open the Wooden background , press Ctrl+ T to scale it fit to our background.Now Image > Adjustment> Curve, like this image
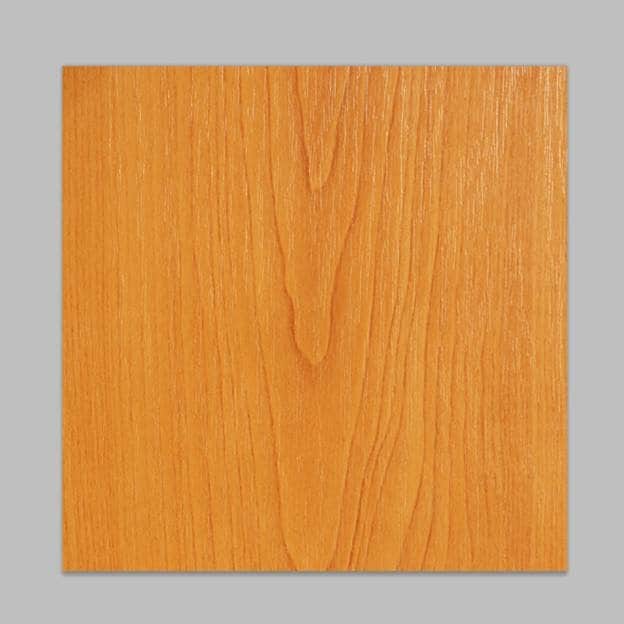
- Step 3And this is result
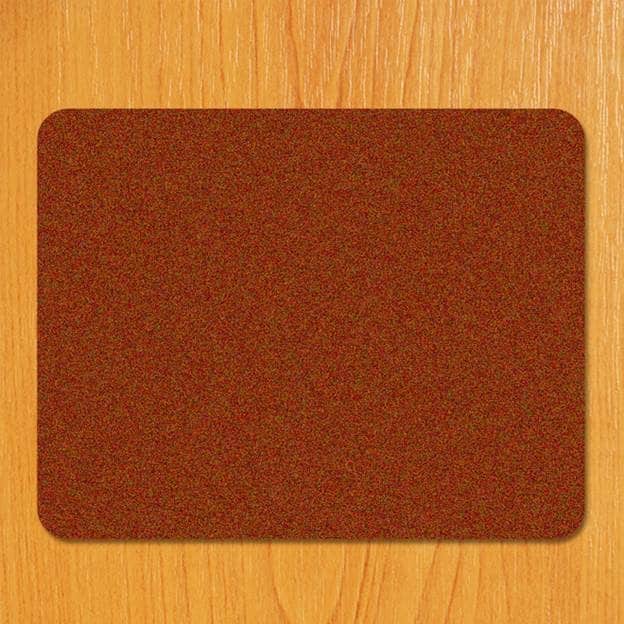
Step 4Create a Rounded rectangle (shortcut U) with fixed size 700px x 550px and Radius = 40px. Fill it with color # 742b00
Step 5Now press Filter > Noise > Add noise
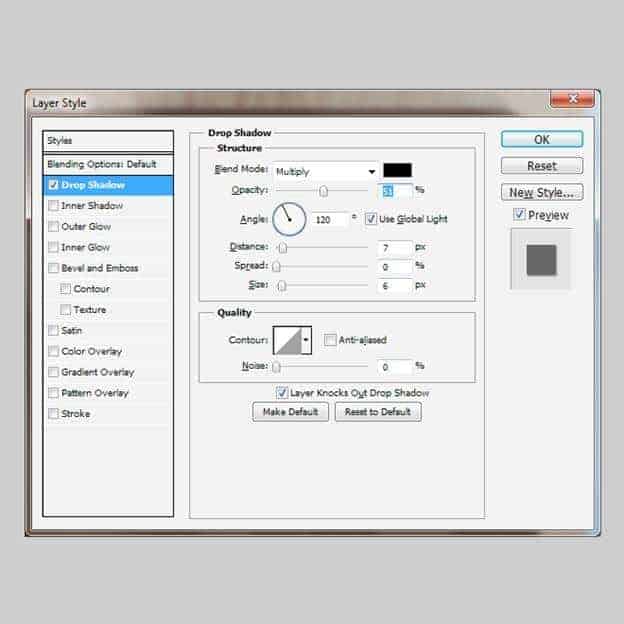
Step 6Then right click for Blending Option > Drop Shadow
Step 7And we got result like this, we name it ” cover 1″
Step 8Next, we create second Rounded rectangle (shortcut U) with same size 700px x 550px and Radius = 40px. Fill it with color # 5c3016. Then press Ctrl + T to scale it a little bit smaller than first rectangle which name “cover 1″. And we name the second rounded rectangle as “cover 2″
|


| You are subscribed to email updates from Photoshop Tutorials To stop receiving these emails, you may unsubscribe now. | Email delivery powered by Google |
| Google Inc., 20 West Kinzie, Chicago IL USA 60610 | |


0 comments:
Post a Comment