


Photoshop Tutorials: Quick Tip: How to Create Fun Spirographs and Fractals | |
| Quick Tip: How to Create Fun Spirographs and Fractals Posted: 10 Oct 2013 02:16 PM PDT Preview of Final Results  Step 1We’re going to start by creating a 2000×2000 pixels document with a black background. You can use any image size that suits your artwork. Create a new layer and draw any shape you like. To make things simple, we’ll be using the Ellipse Tool. Set the mode to “Shape”, fill to none, and stroke to white.
Draw the shape in the middle of your document.
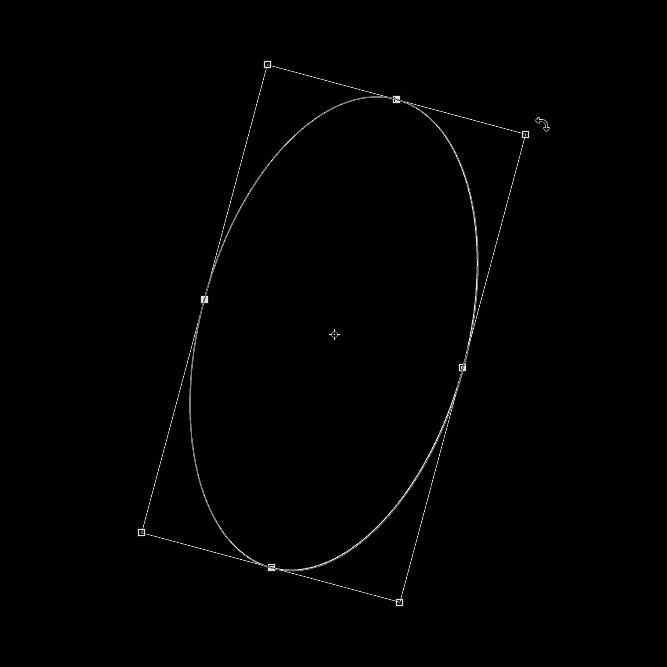
Step 2Activate the Free Transform tool (Ctrl/Cmd+T or Edit > Free Transform). Drag anywhere outside of the transform box to rotate it. You can hold the shift key while dragging to snap the rotations to 15º increments. Press enter to apply the transformation.
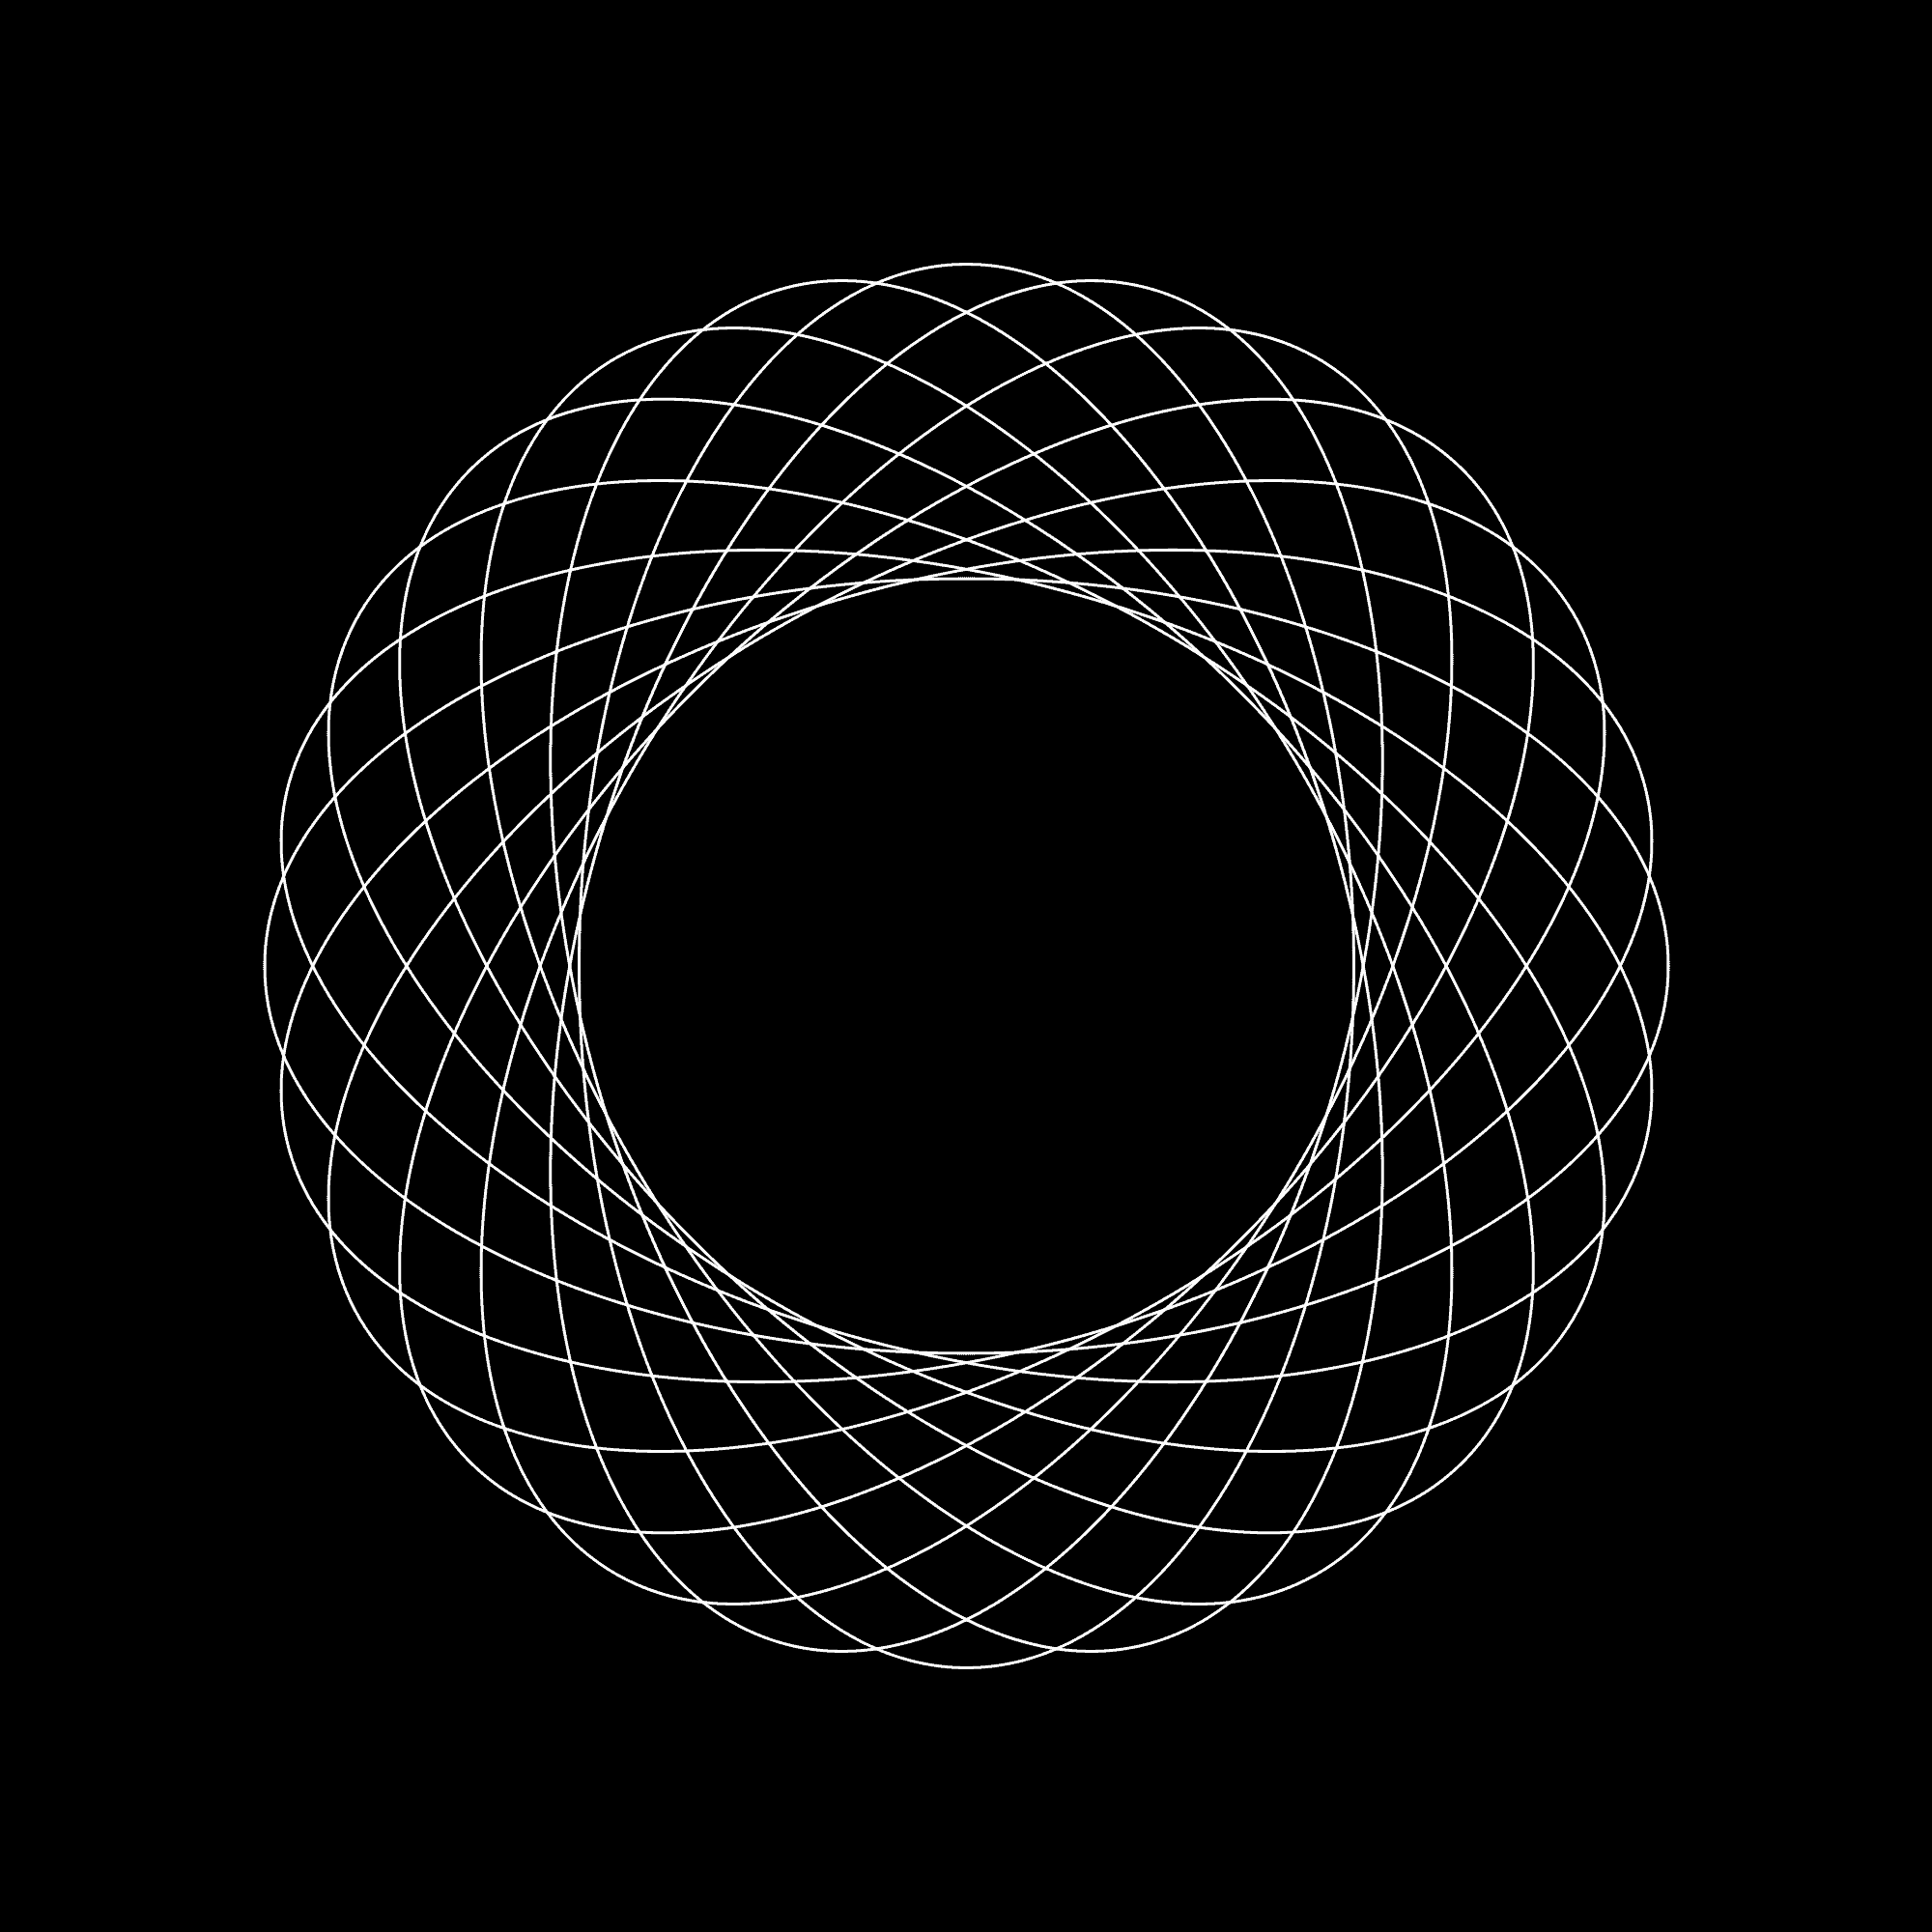
Step 3At this point, you probably already guessed how we’ll be creating this spirograph – duplicating and rotating the object until it makes a full circle. This takes awhile but thankfully there’s a very useful hotkey that will automate this process. Switch to the Move tool (V) then simply press Ctrl+Shift+Alt+T (Command+Option+Shift+T on Macs) repeatedly until you form a circle.
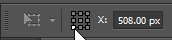
Step 4That was just a simple spirograph. Try experimenting with different transformations. Here are some examples of alternate settings you can play around with: Changing the reference point location:
Changing width and height:
Changing rotation and skew
Step 5Now that you’ve experimented with different settings, it’s time to take it to the next level. In the next steps, you’ll learn how to create spirographs with actions to give you even more customization. Using actions, you can change the color, opacity, and many other settings in addition to the transform settings you did earlier. Start by creating another outline using any tool. Make sure that the layer is rasterized if you created the shape with any of the vector tools. To do this, right-click on the layer and choose Rasterize Layer. I drew a simple red oval outline.
Step 6Next, create a new action in the Actions panel (Window > Actions). To create a new action, start by clicking on the “Create New Set”
Step 7Your action is now recording all your actions. Follow these steps to record your actions
When you’re done, press the “Stop”
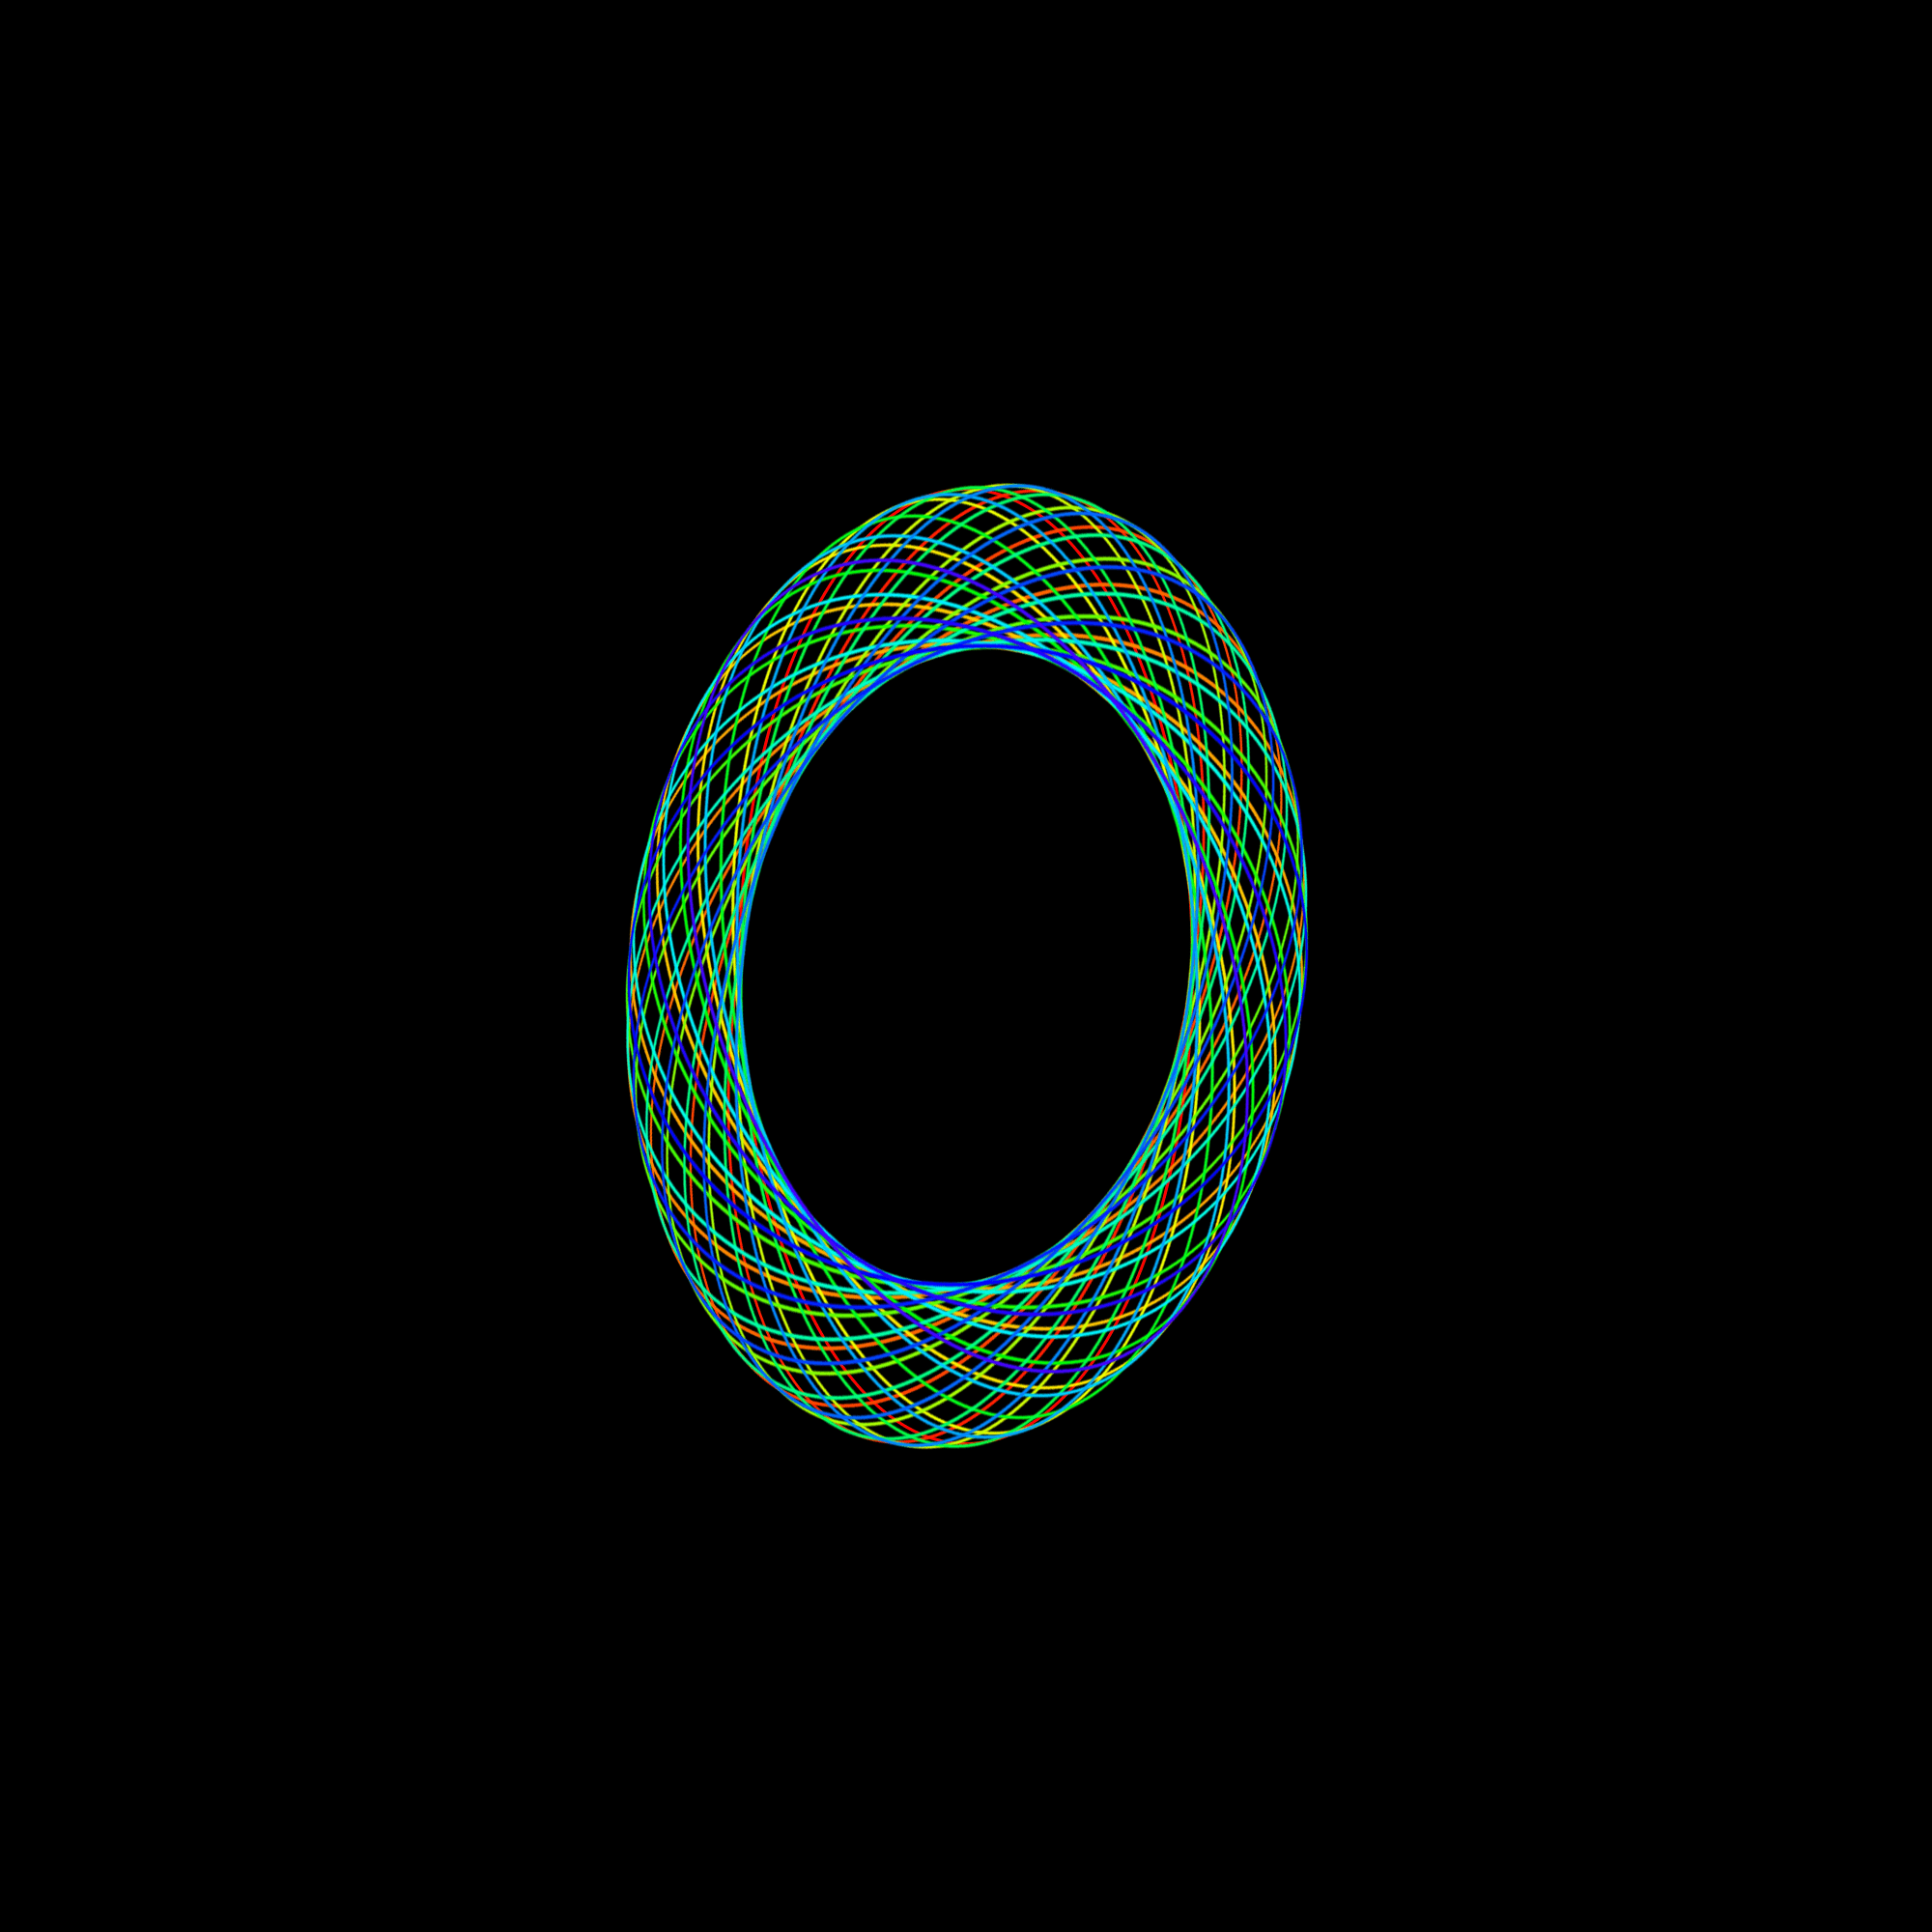
Step 8Press the function key you assigned (mine was F12) until your spirograph is built. Here’s what my spirograph looks like. It’s not really that amazing but we can always try different settings.
To change the settings, you can simply double-click on any of the steps inside your action.
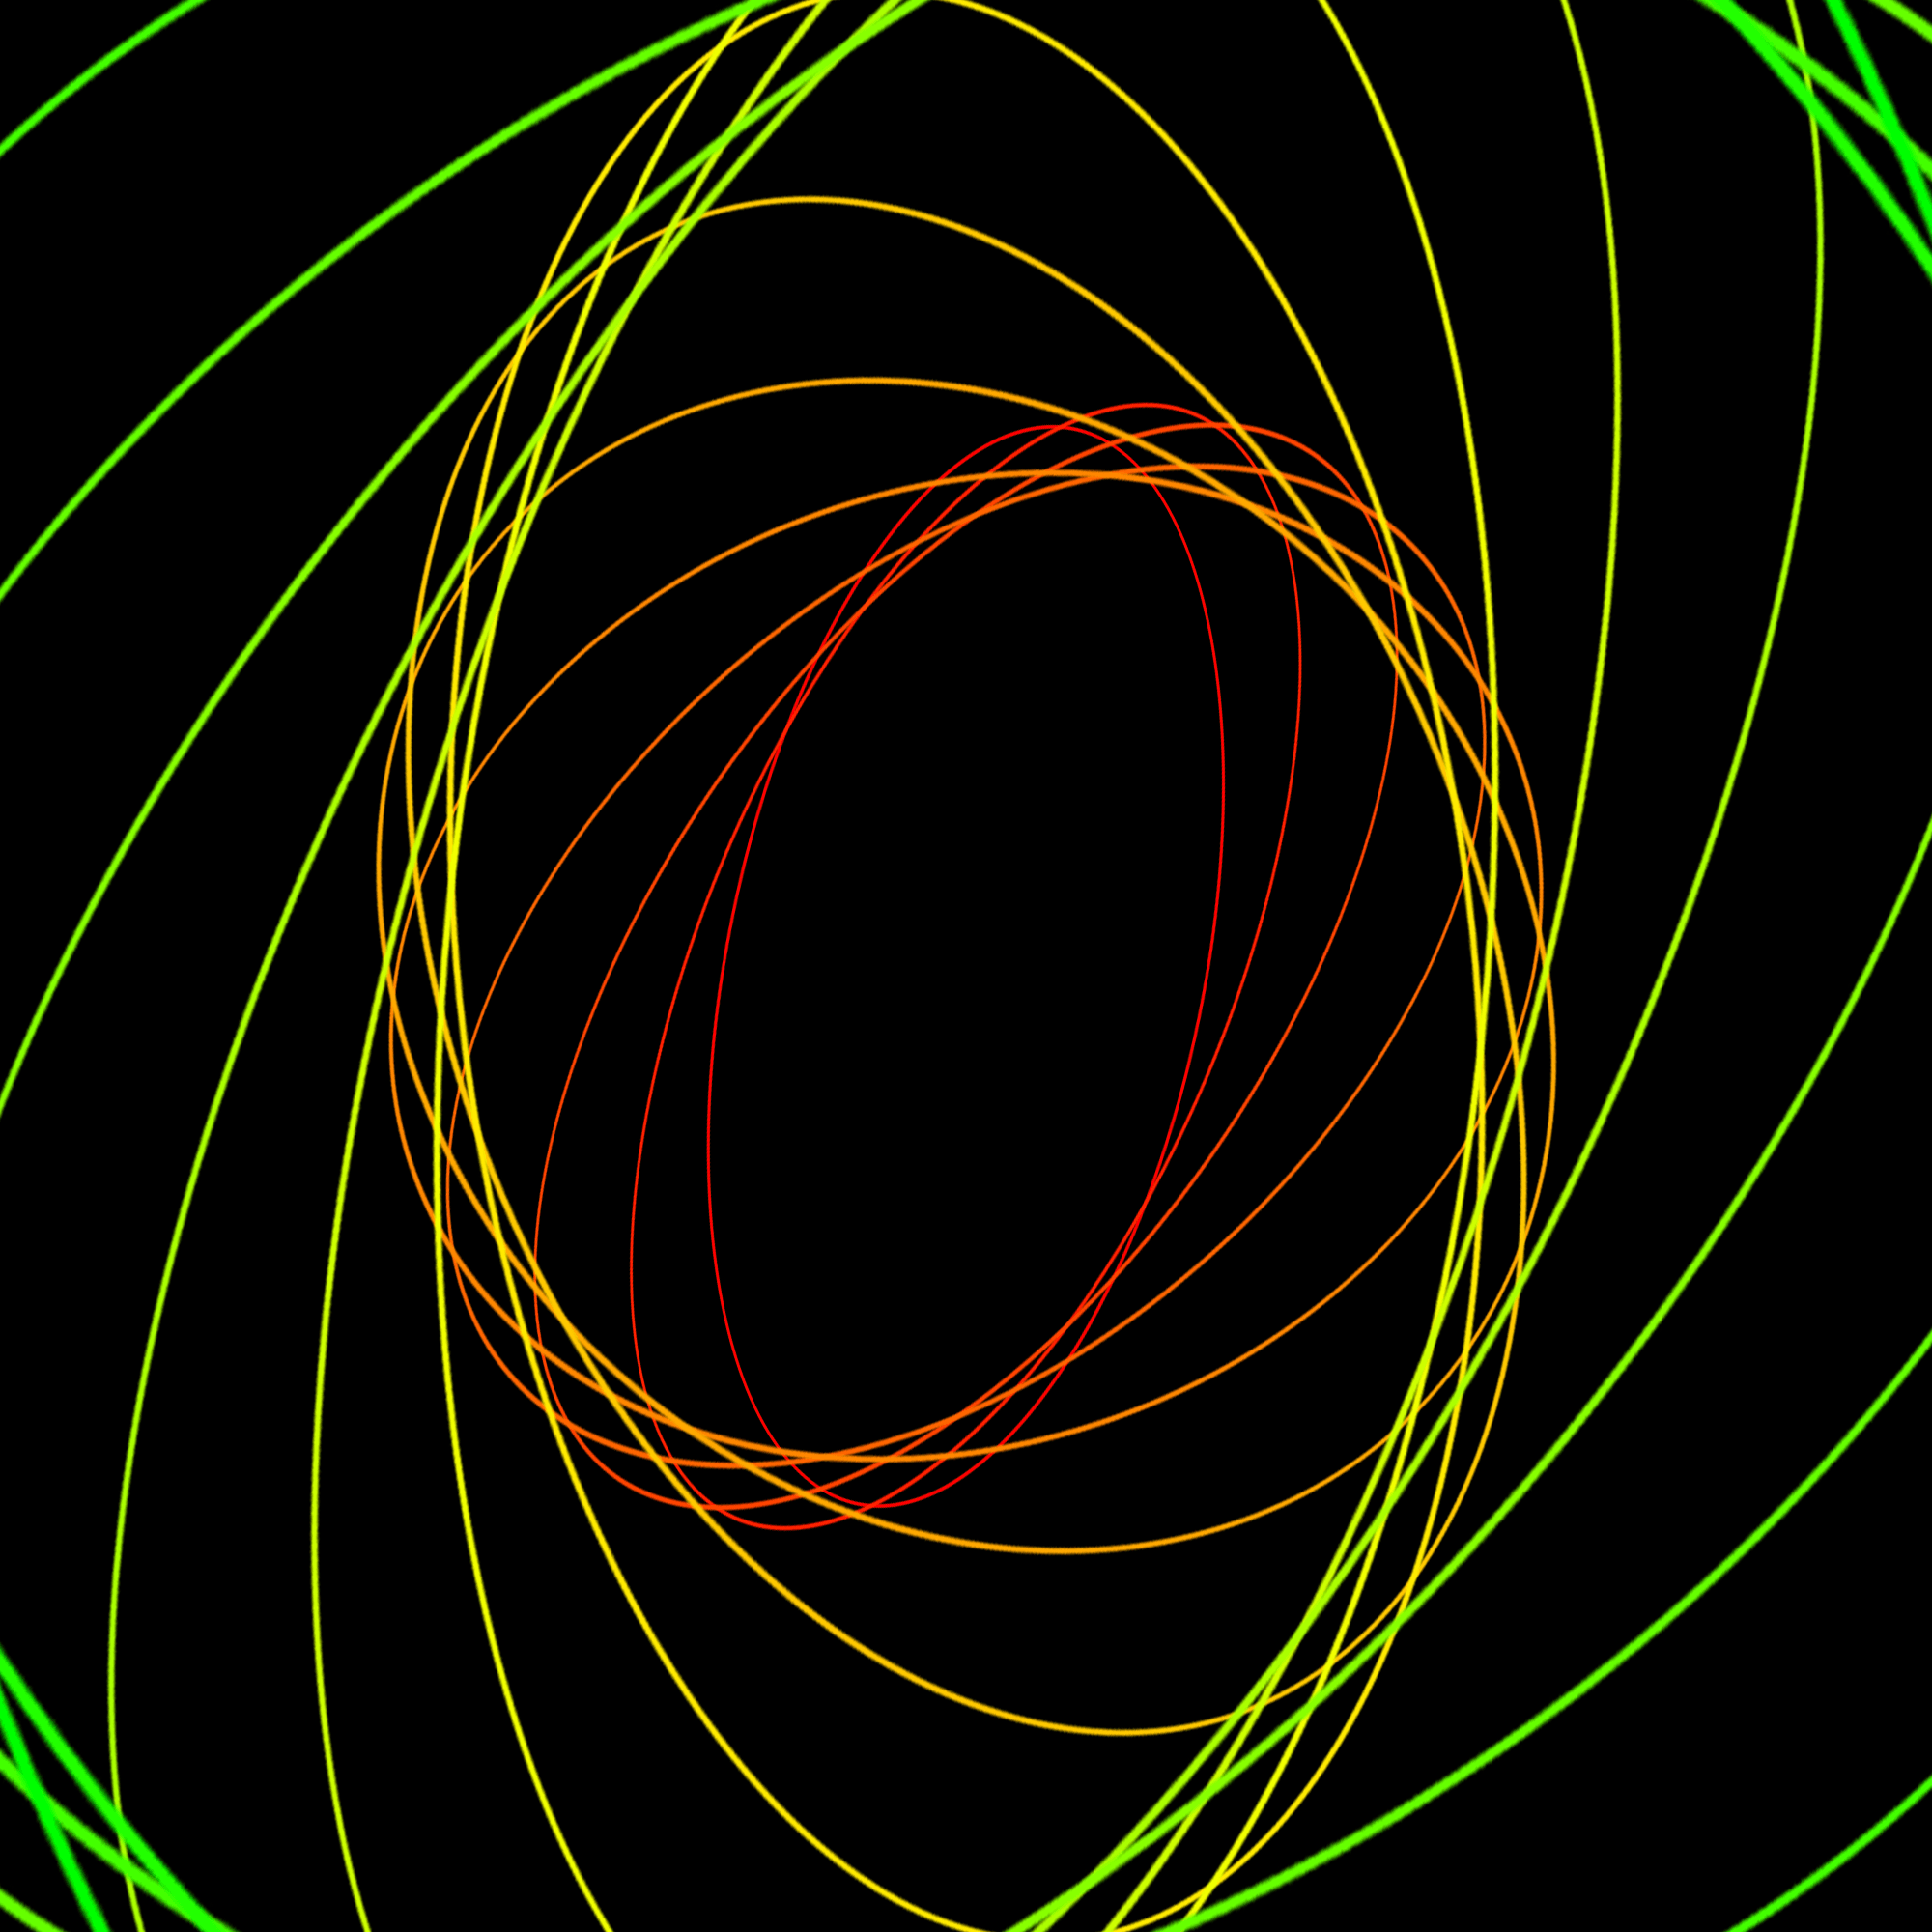
Here’s what my image looks like simply by changing the “Transform current layer” step and making the transform tool scale the layers width and height by 110%.
It wasn’t exactly what I wanted so I deleted all the layers and made it transform the width and height by 105% instead of 110%.
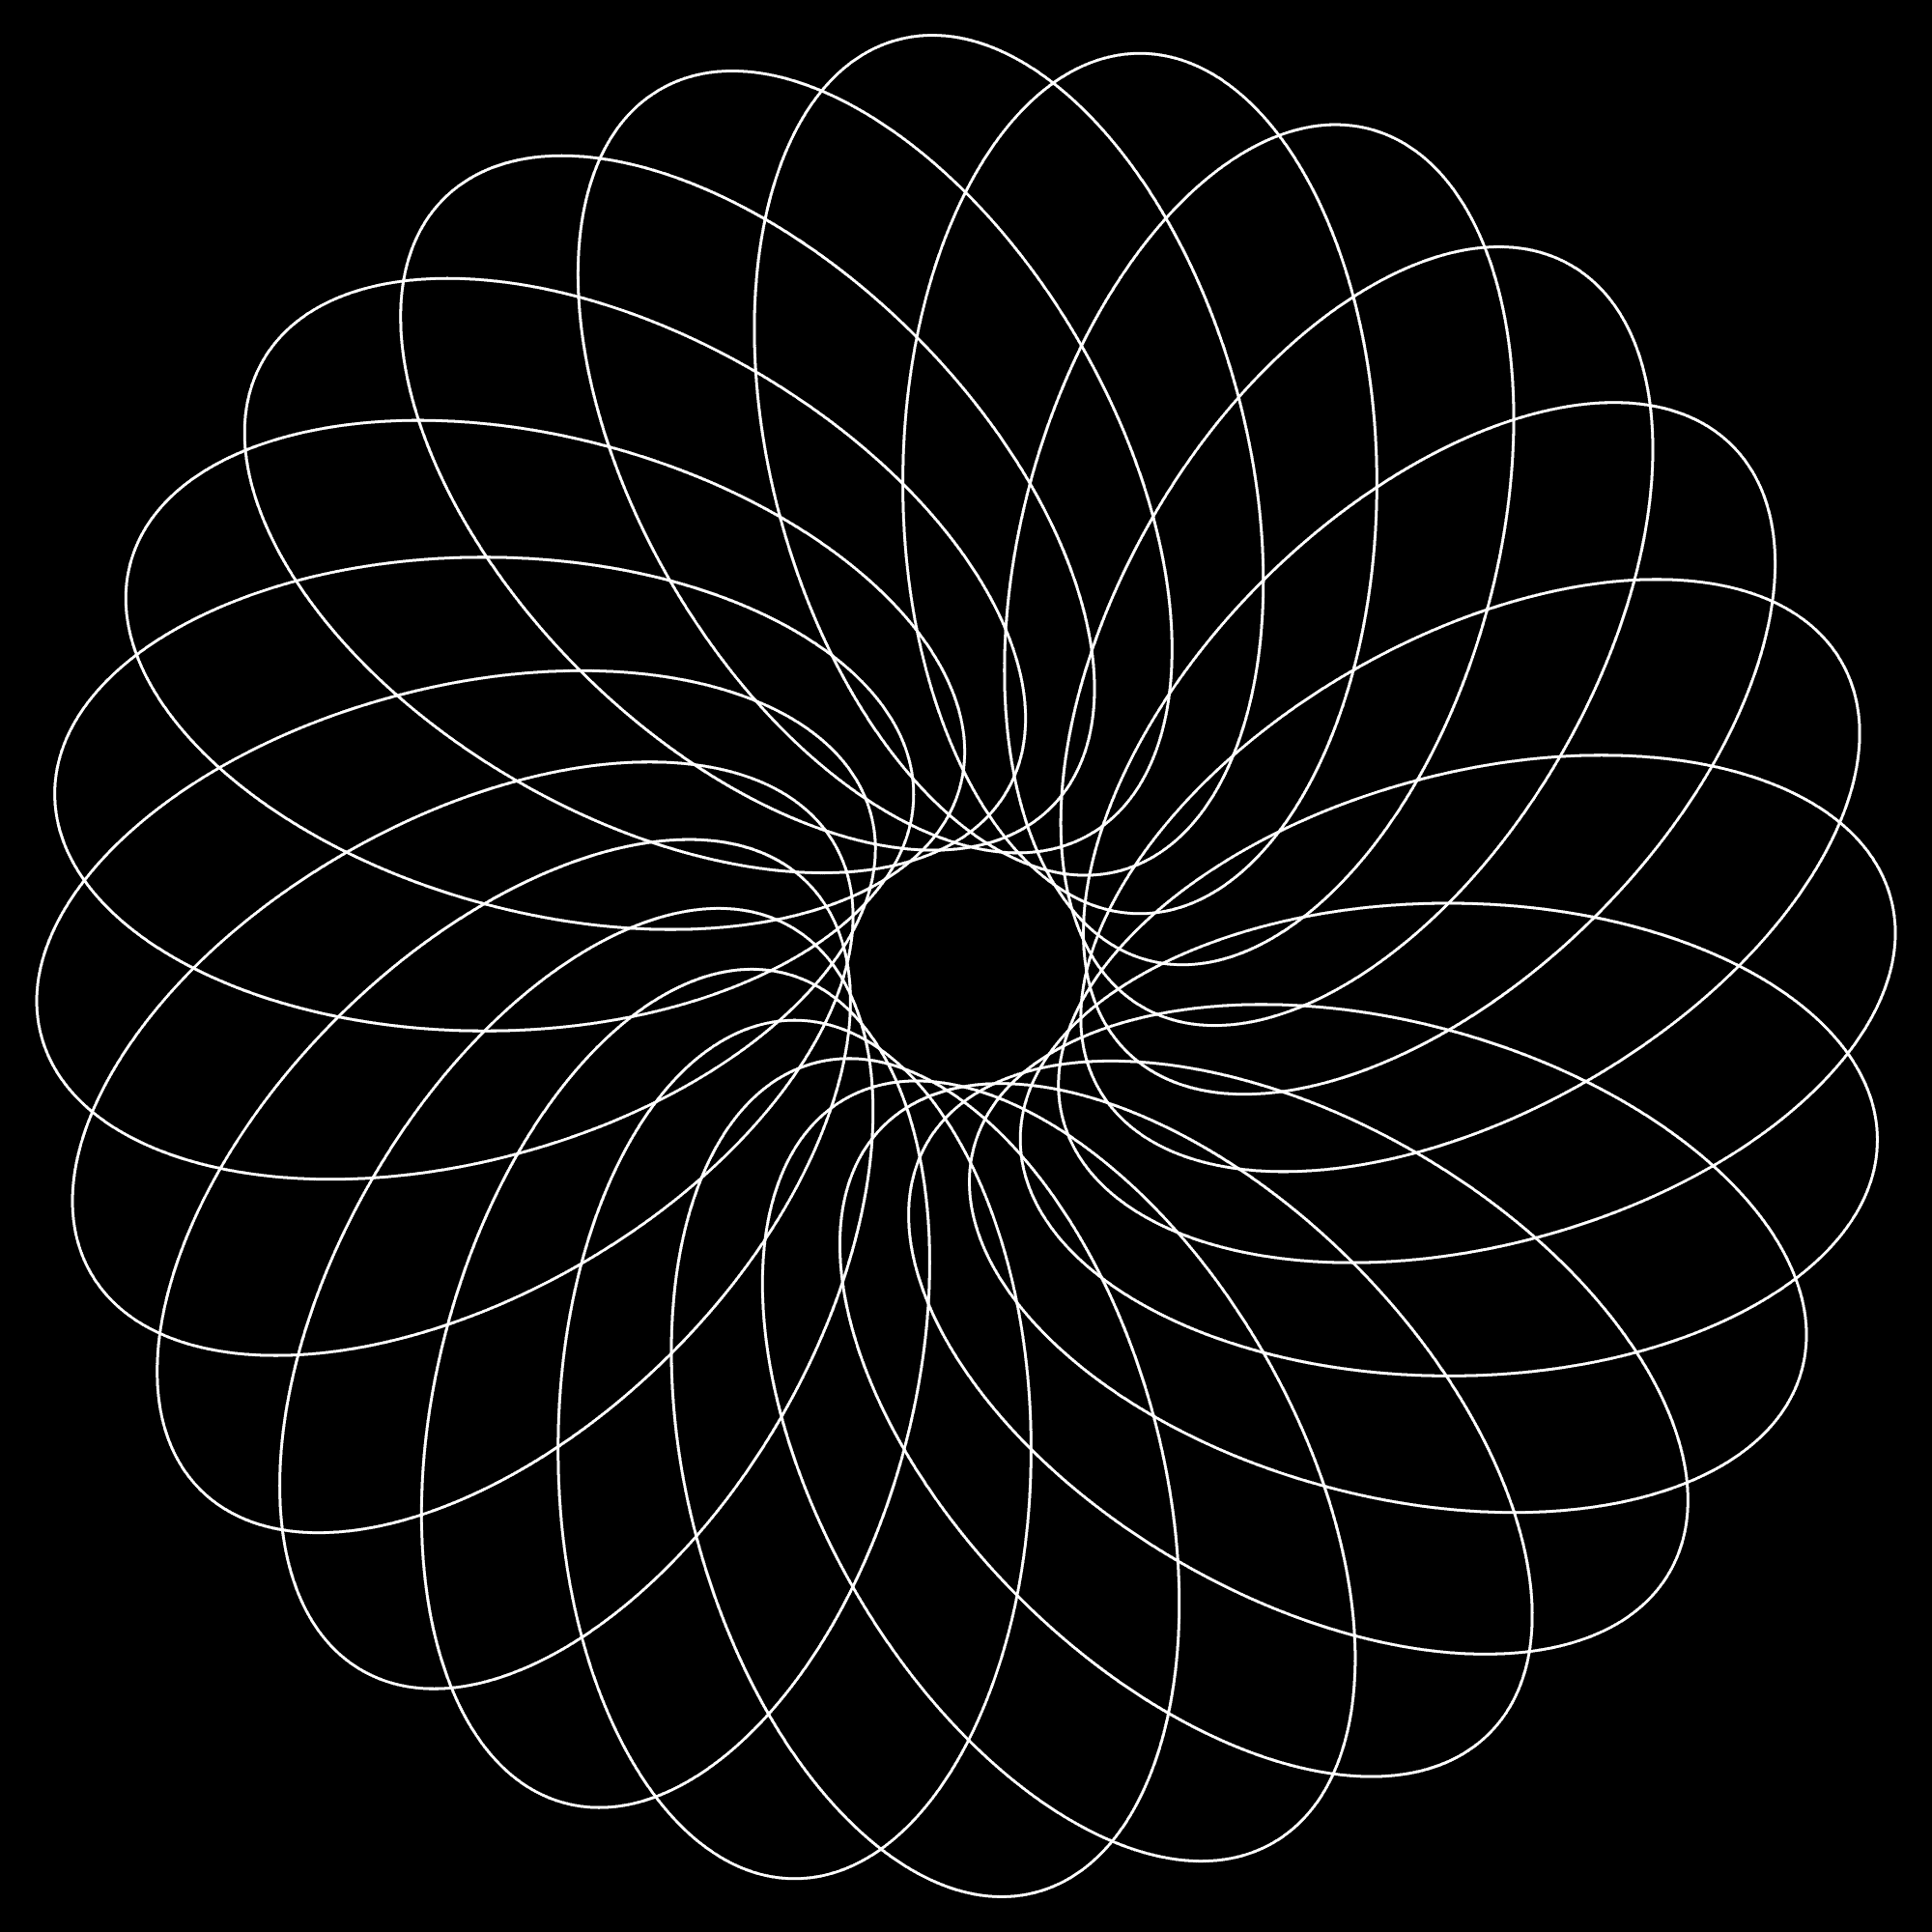
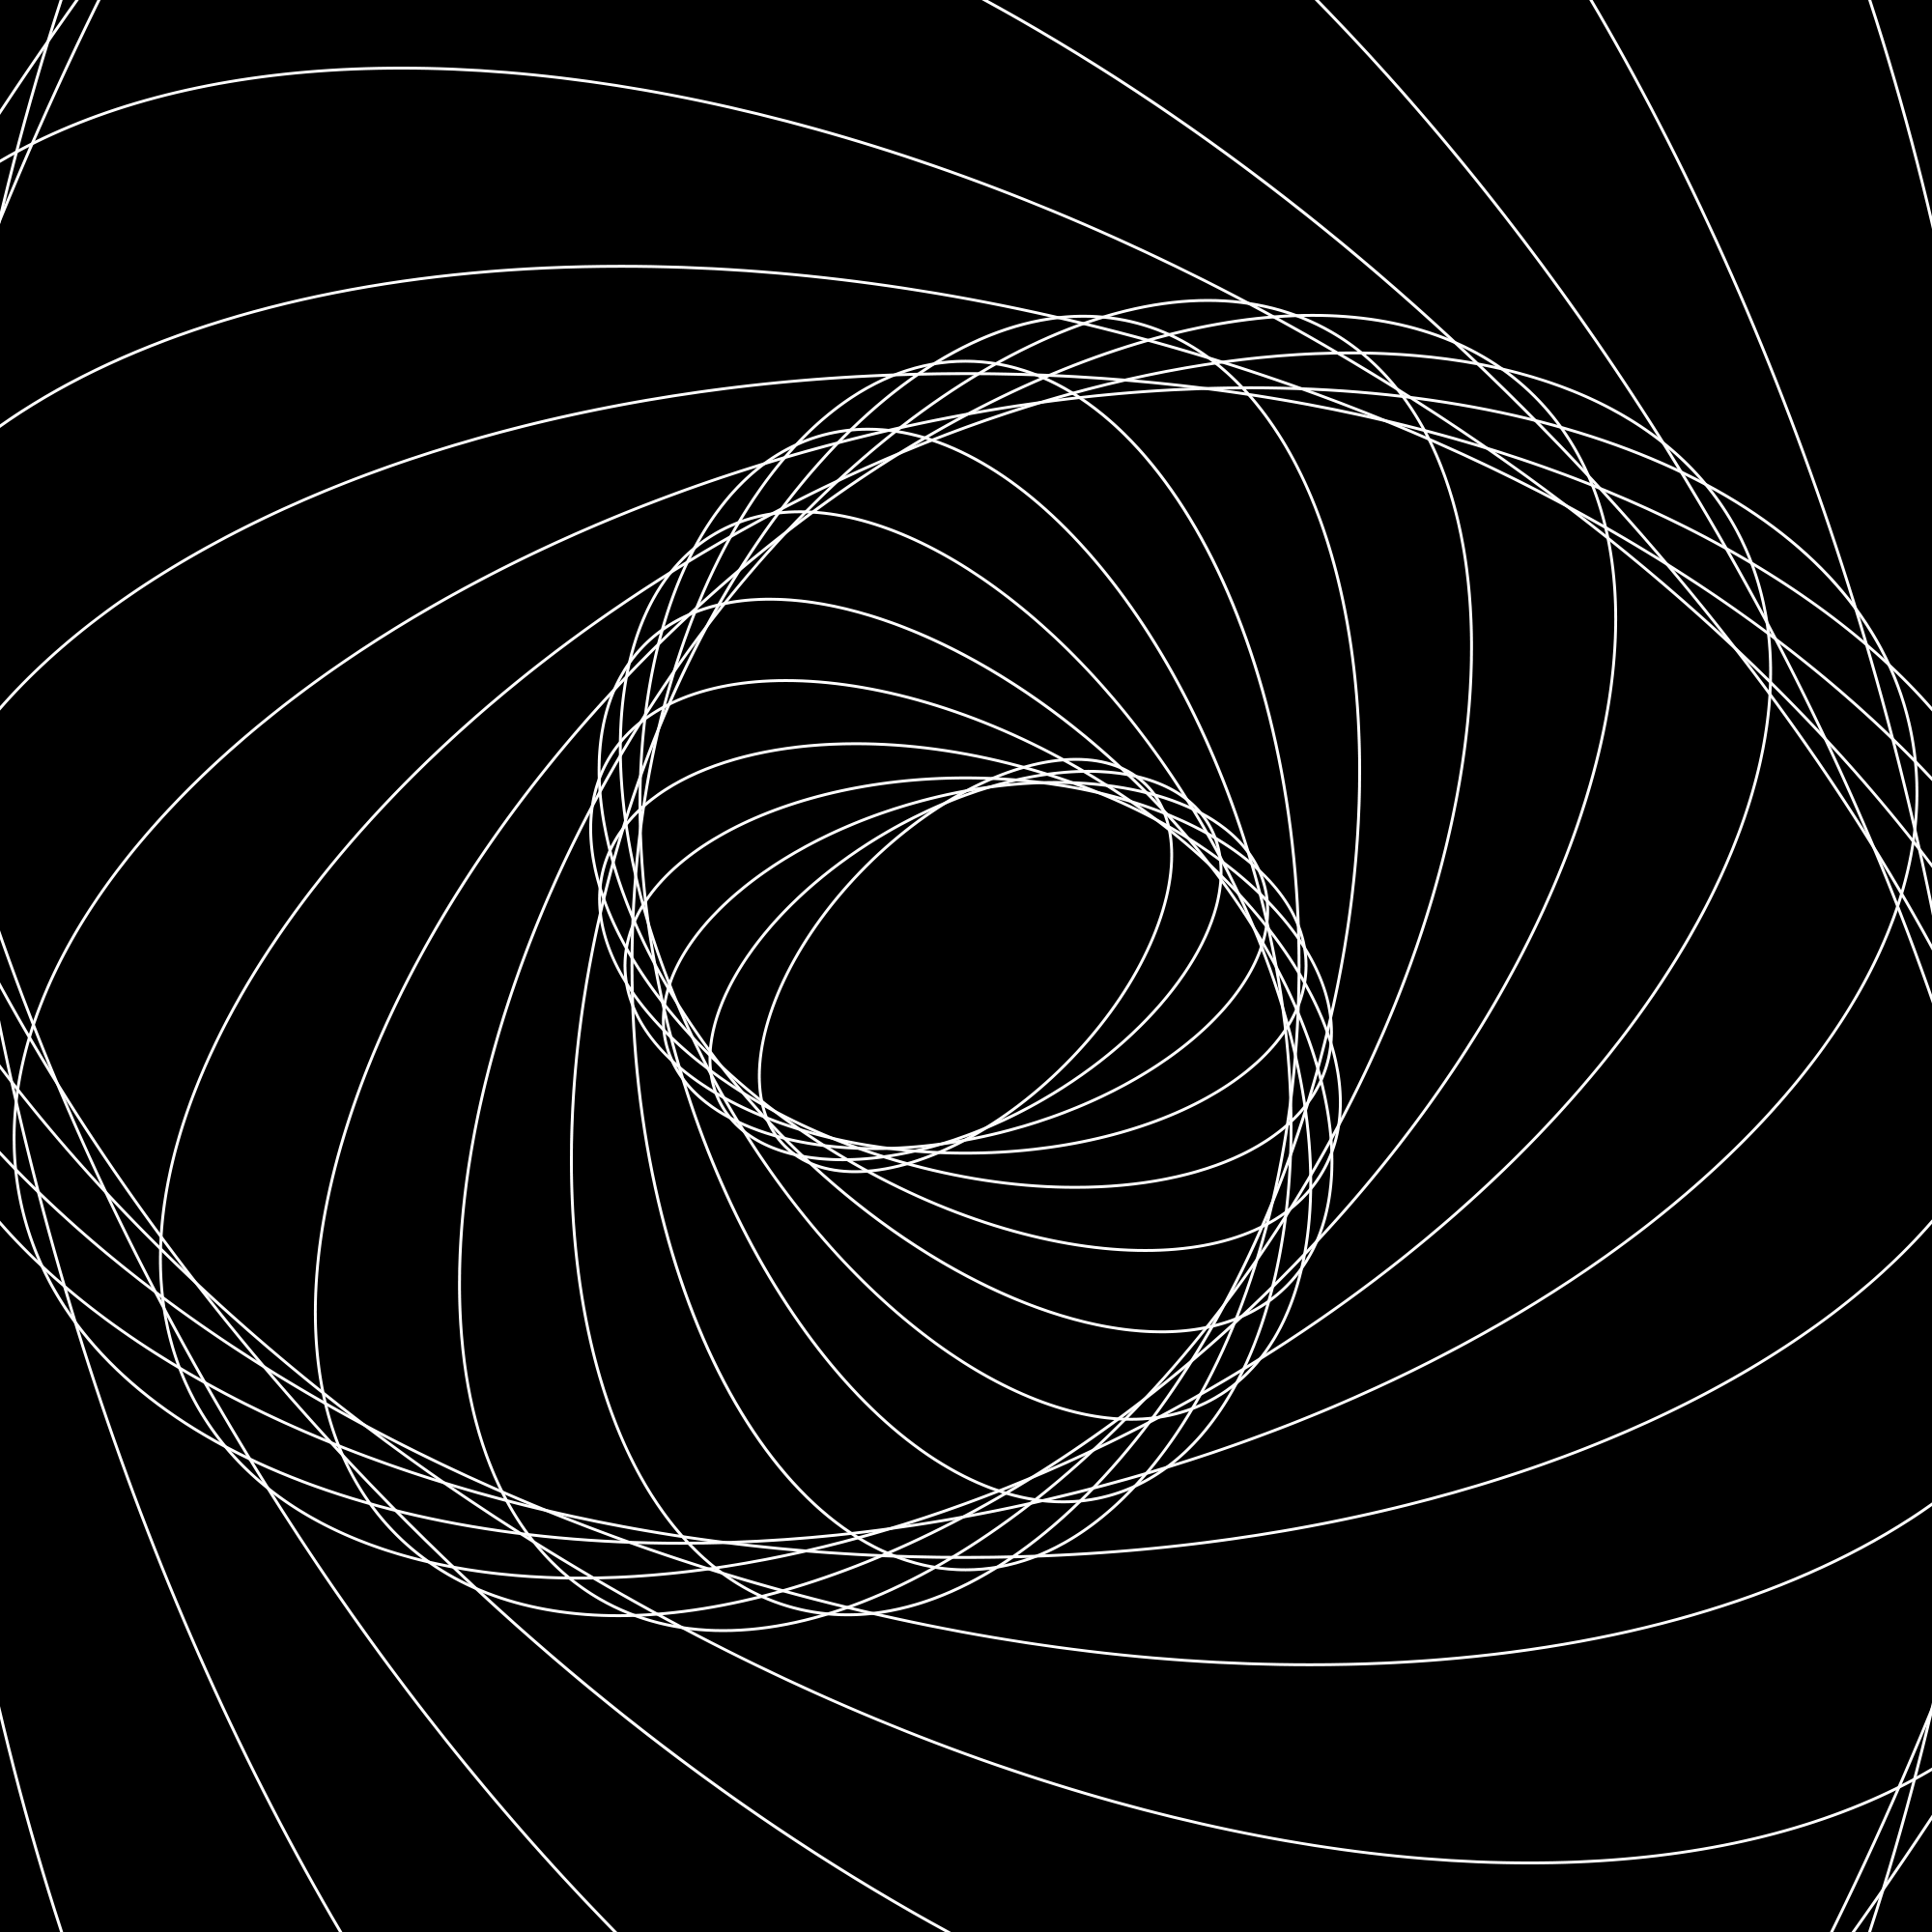
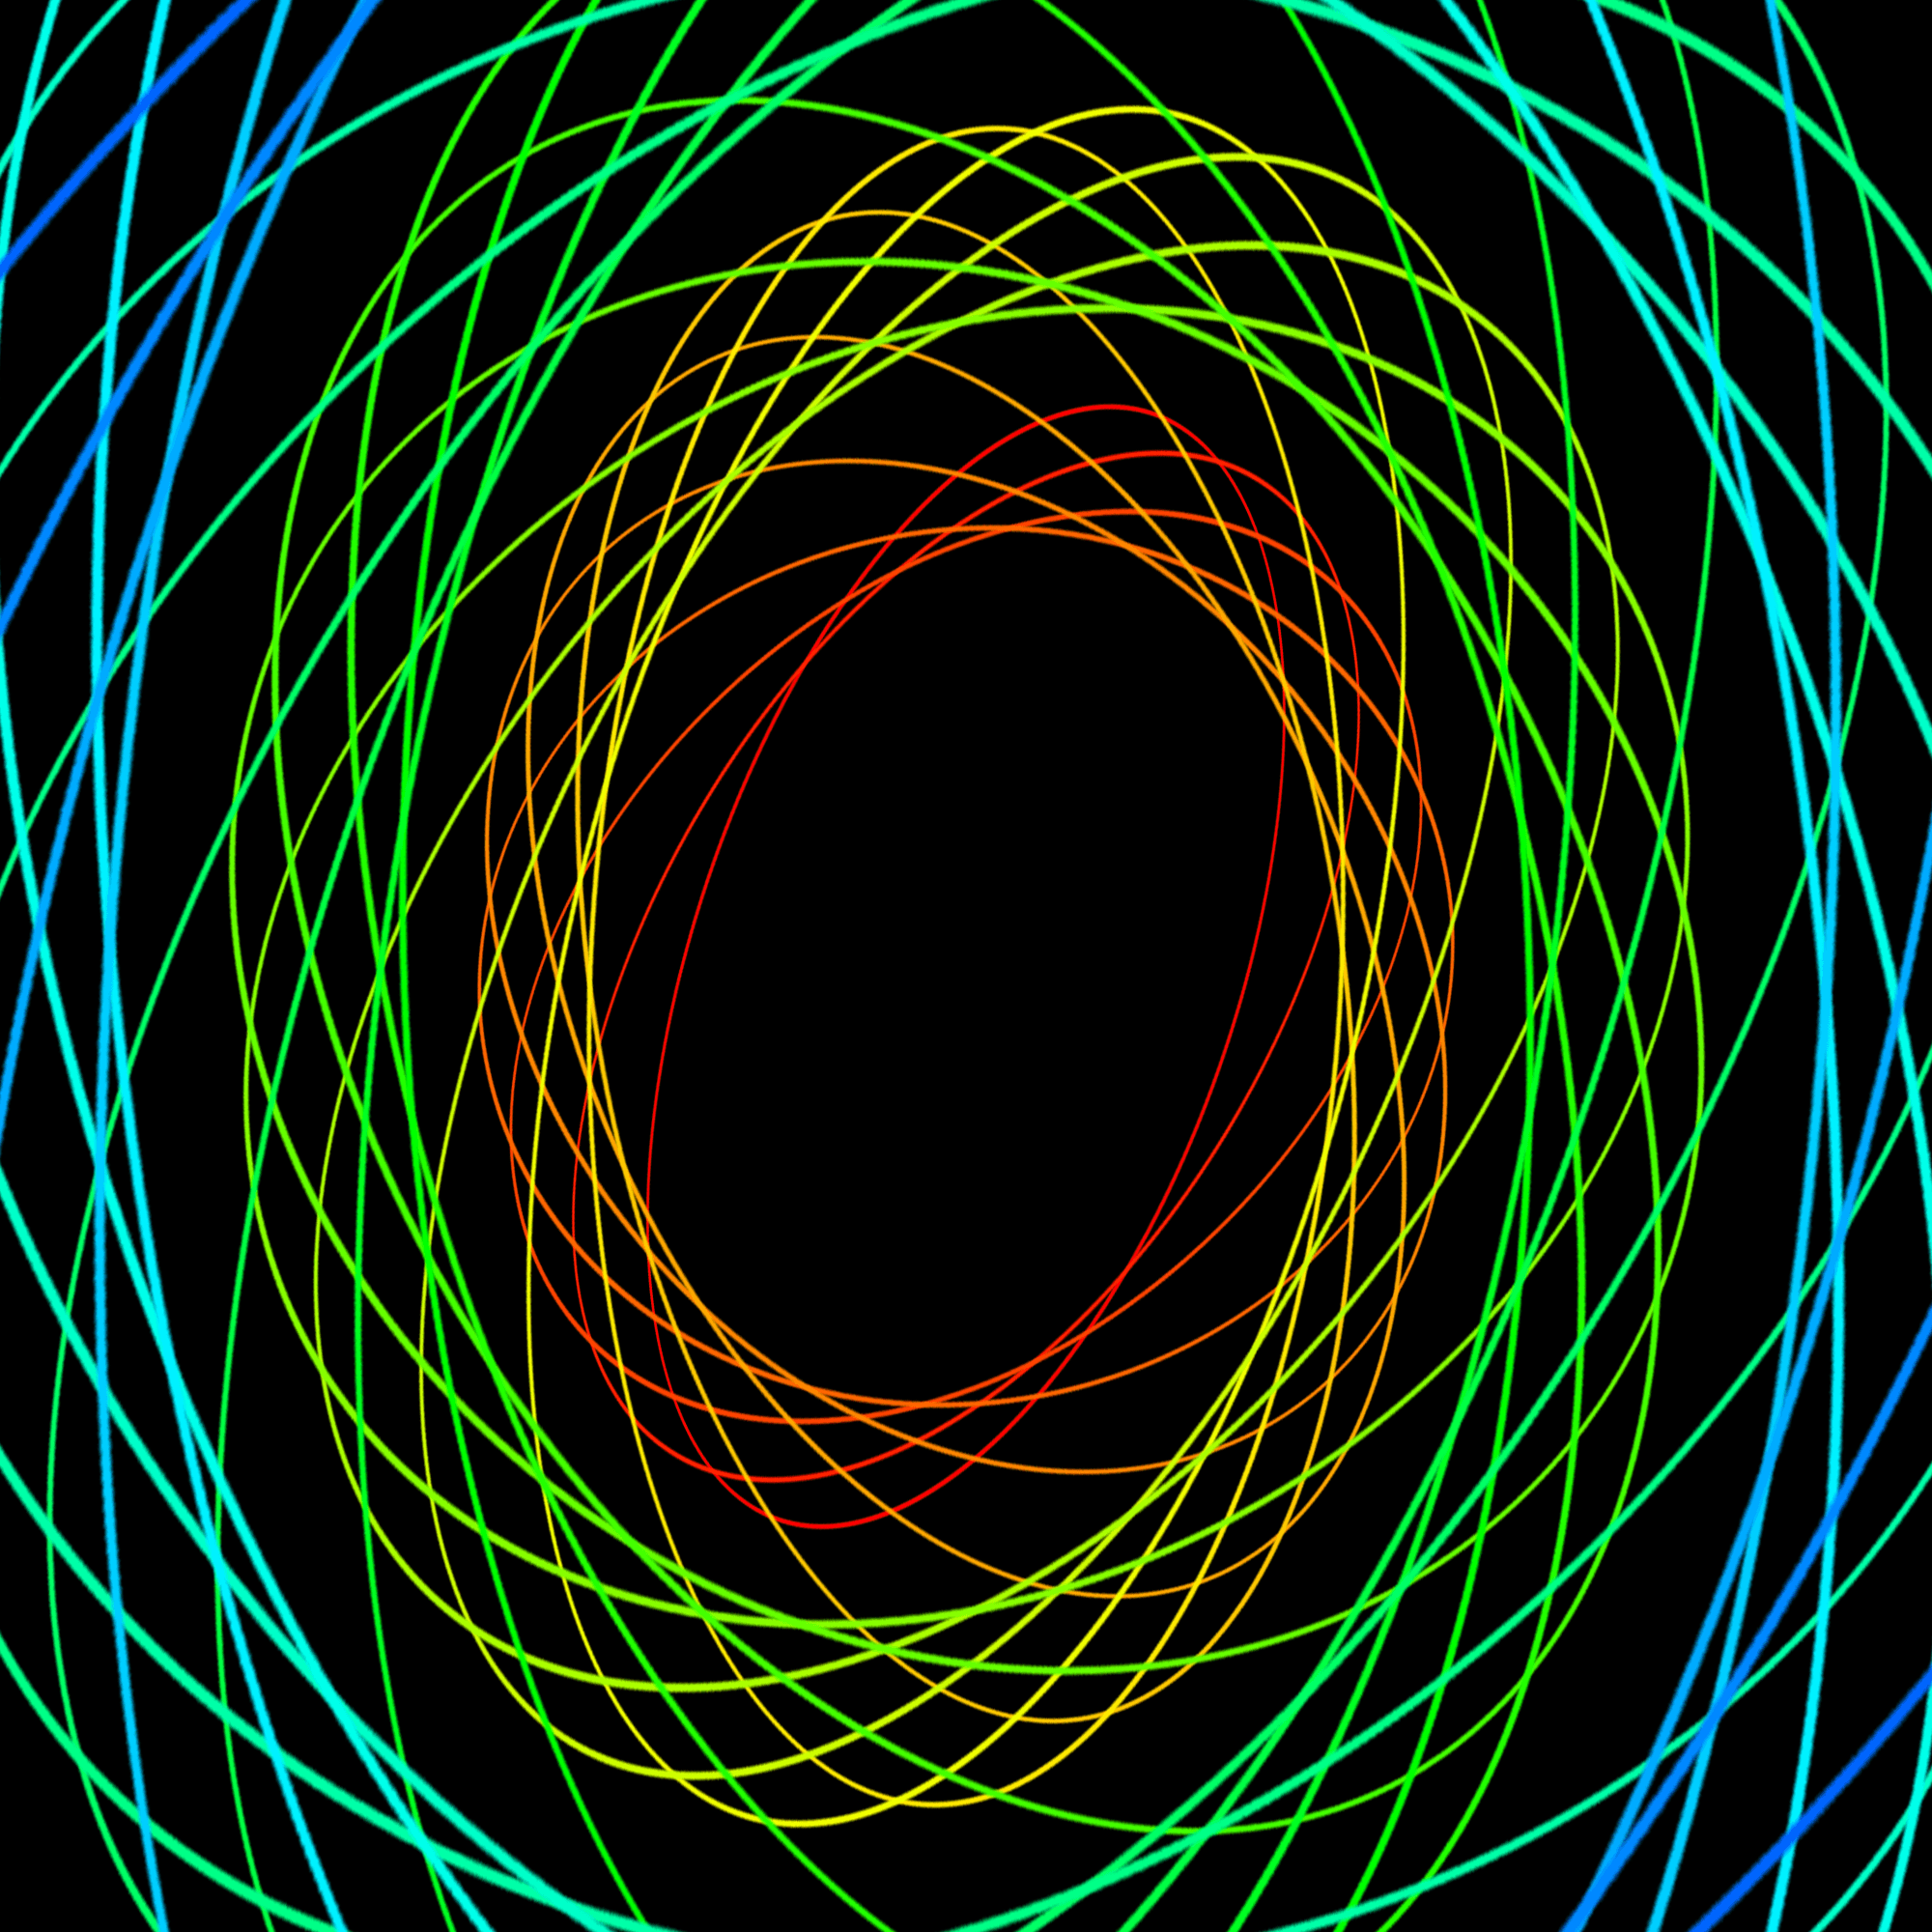
Final Results From here on, it’s up to you to experiment with different looks. As you start experimenting, you’ll find new ways of creating not just spirographs, but random fractals. Here’s another example of what you can create. Example 1
Example 2
|


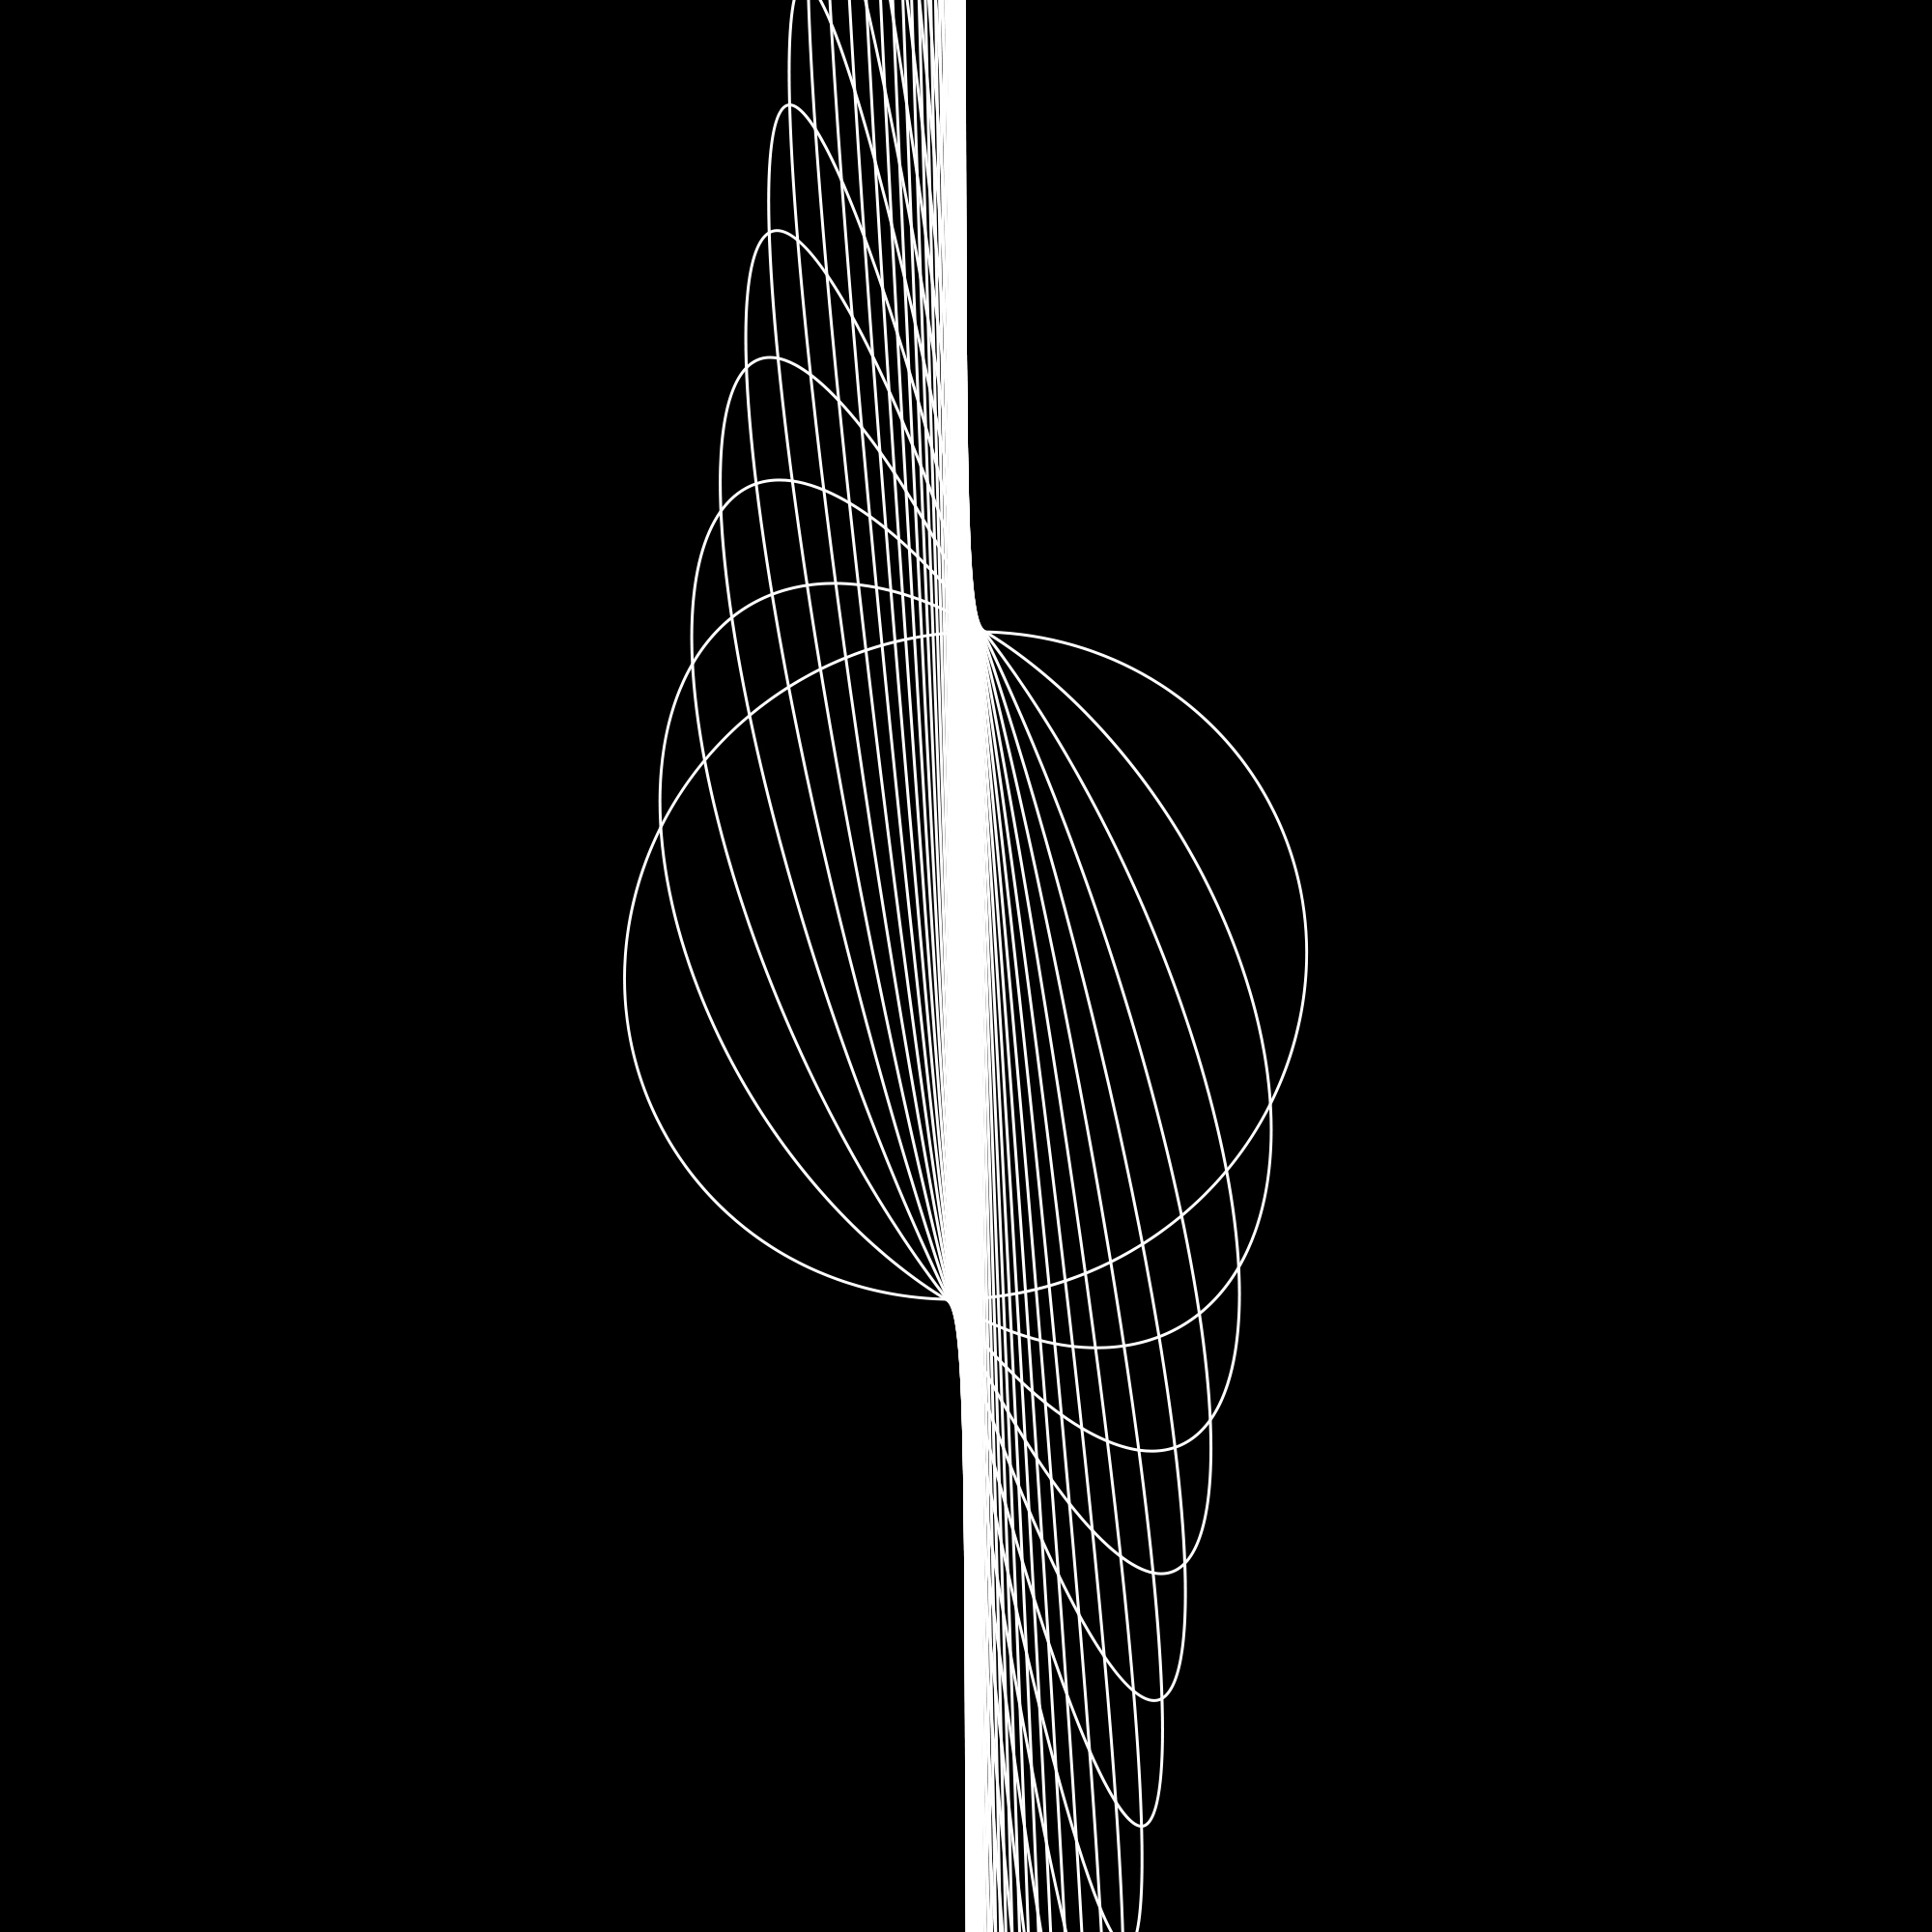

 button in the Actions panel. Give this action set any name you like – I called mine “Spirograph”. Next, click on the ”Create New Action”
  button. Name this action anything but pick any hot key in the Function Key area. I chose F12. Click the Record button
 button in the Actions panel. You now have a new action that you can play simply by pressing the function key that you assigned earlier (mine was set to F12).


| You are subscribed to email updates from Photoshop Tutorials To stop receiving these emails, you may unsubscribe now. | Email delivery powered by Google |
| Google Inc., 20 West Kinzie, Chicago IL USA 60610 | |


0 comments:
Post a Comment