


Photoshop Tutorials: How to Create a Stunning Surreal Landscape | |
| How to Create a Stunning Surreal Landscape Posted: 07 Oct 2013 03:48 AM PDT Preview of Final Results
Tutorial Resources
Step 1 – New FileOpen a new file, with 1311px of Width and 100px of Height
Step 2 – Gradient BackgroundBefore you add any image, create a gradient to be the base of the image.
Step 3 – PlaceTo place a image go to the menu File in the option Place. Step 4 – RiverResize the image of the river like this:
Step 5 – Less OpacityReduce the layer opacity to 80% and add a layer mask
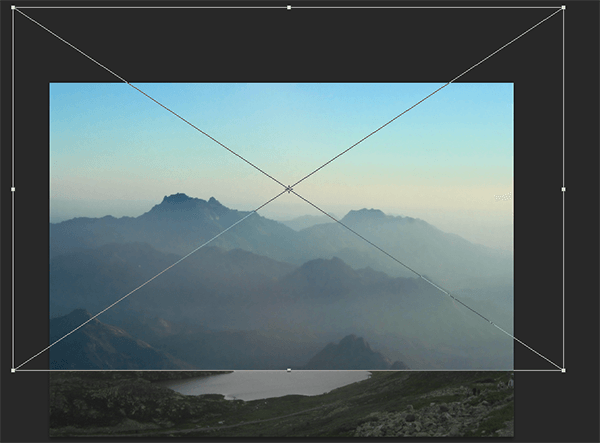
Step 6 – HidingIn the layer mask paint with a black brush to hide parts of the image in this case are the clouds the one's you need to hide. Select the layer mask in the layer thumbs and with a black brush with 50% of opacity paint over the clouds. Step 7 -Like you did before Place the other image of the mountains and resize it. Pick ONE of the corners and press shift to change the the resolution of the image without distortions.
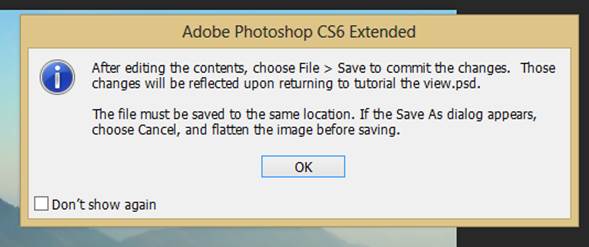
Step 8 – Changing colorDouble click in the image thumb, then you will see this window, press ok. You can also duplicate the layer to have the original.
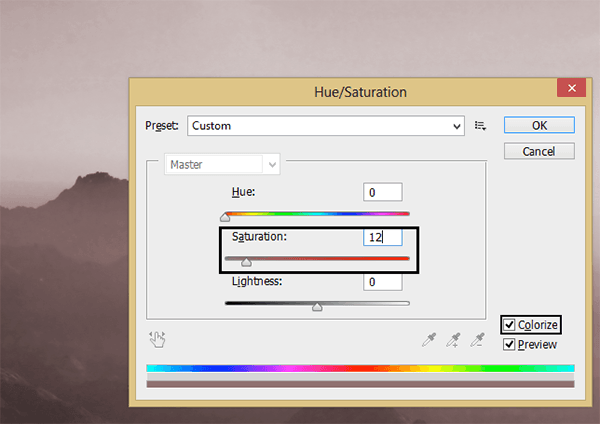
Then press Ctrl + U and press the option colorize, and just reduce the saturation to 12. Now save the image Ctrl + S, now the color will change in your mountains.
Step 9 – Layer maskOnce again add a layer mask and with a soft round black brush paint to make the mountains look like they are part of the image. Reduce the opacity of the layer to 70% so you can see the background.
Step 10 – LayersChange layer's order, move the one with the river and set it over the one with the mountains like this:
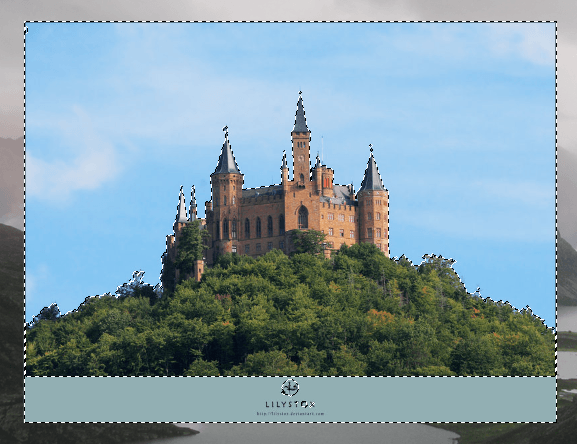
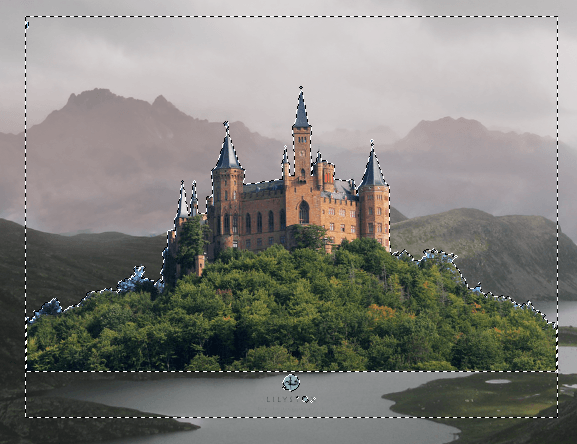
Step 11 – DetailsNow do the same with other details of the image like the castle, Place the image, then resize it and with a layer mask hide the undesired parts of the image, also you can use help from the Magic Wand tool or another selection tool of your choice. In the image above you can see that using the Magic Wand tool the blue parts of the image are selected.
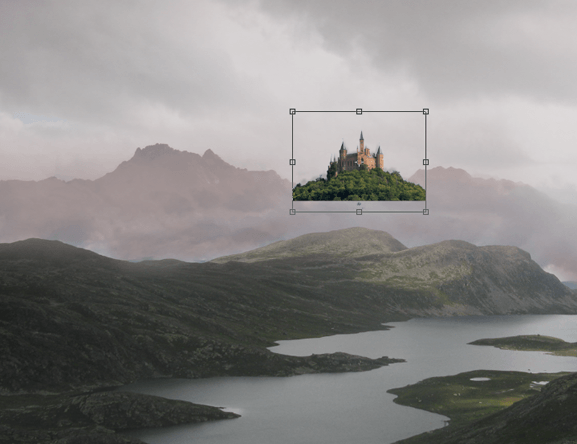
Pass the black brush over the selected area and the result will be this one: After that change the size of the image.
|

| You are subscribed to email updates from Photoshop Tutorials To stop receiving these emails, you may unsubscribe now. | Email delivery powered by Google |
| Google Inc., 20 West Kinzie, Chicago IL USA 60610 | |


0 comments:
Post a Comment