


Photoshop Tutorials: Quick-Tip: How to Make an Easy Faux Pencil Sketch Effect | |
| Quick-Tip: How to Make an Easy Faux Pencil Sketch Effect Posted: 02 Oct 2013 09:05 PM PDT Preview of Final Results 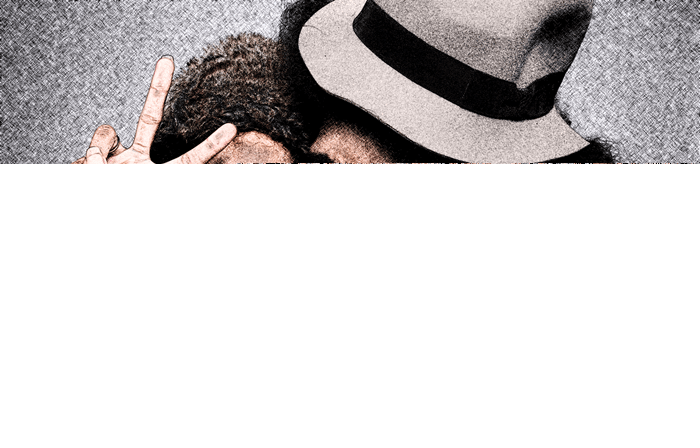
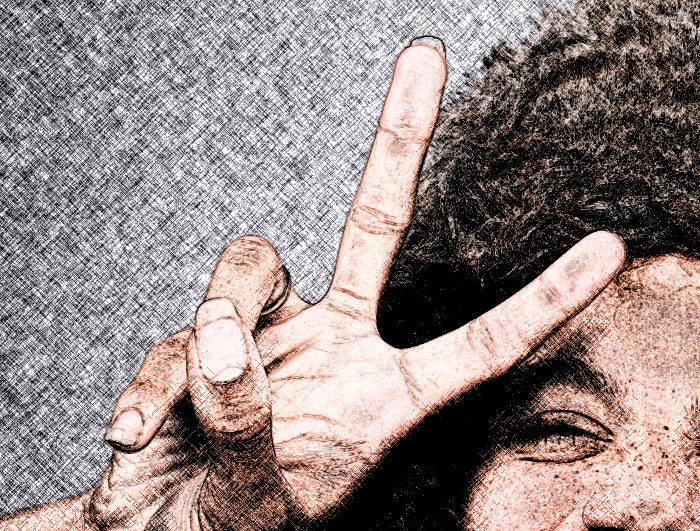
Step 1Here's the photo that we'll be using. For best results, you should use a photo around 6 megapixels or lower(3000×2000 px).
Step 2We'll be creating this effect using all nondestructive techniques which will minimize the layers and let you go back to readjust the settings at any time. Start by converting the layer into a Smart Object (Layer > Smart Objects > Convert to Smart Object). By converting your layer into a Smart Object, you can apply Smart Filters which are filters that you can readjust at anytime.
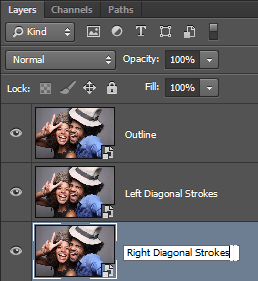
Step 3Duplicate the layer twice then rename the layers to Outline, Left Diagonal Strokes, and Right Diagonal Strokes (from top to bottom).
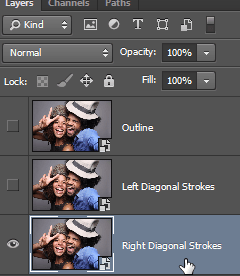
Hide the top two layers and select the bottom layer.
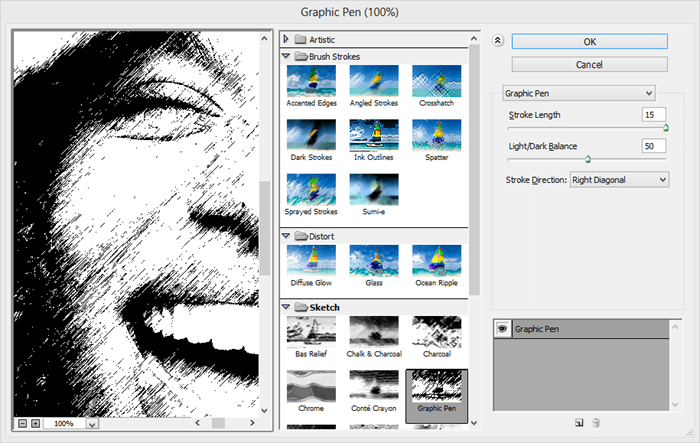
Step 4With the bottom layer selected, go to Filter > Filter Gallery. Select the Graphic Pen filter under the Sketch folder, set the Stroke Direction to "Right Diagonal", then adjust the stroke length and light/dark balance. Click OK when you're done.
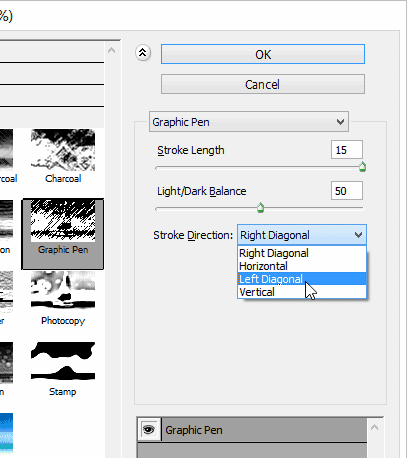
Step 5Unhide and select the "Left Diagonal Strokes" layer. Repeat the previous step but set the stroke direction to "Left Diagonal".
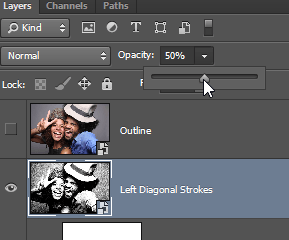
Step 6Change the opacity of the current "Left Diagonal Strokes" layer to 50%.
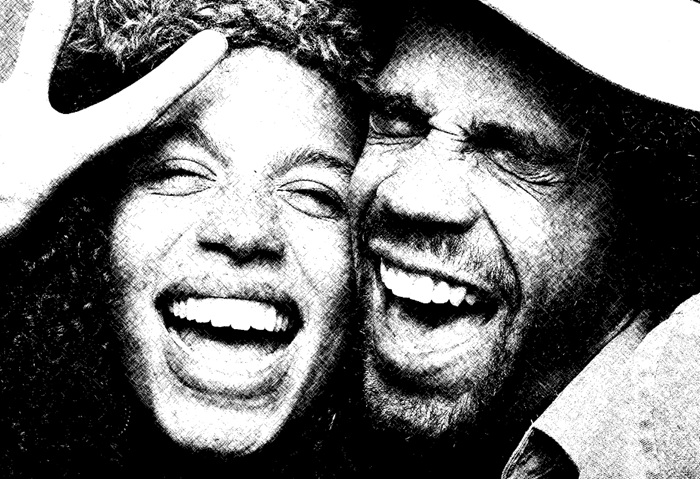
Here's what the image looks like so far.
Step 7Now we're going to add an outline. Unhide and select the "Outline" layer then go to Filter > Stylize > Find Edges. Change the blending mode to Multiply. This will add some colors to your sketch but not in a very appealing way. So we'll need to get rid of the color in the next step.
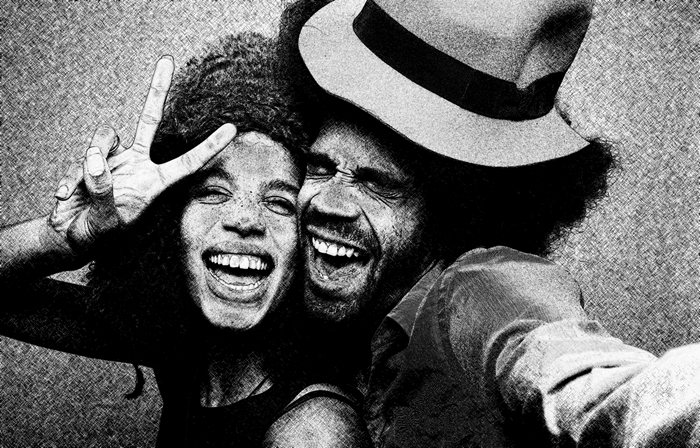
Step 8You can't use the Desaturate or Hue/Saturation filter directly on a Smart Object but you can add them as an adjustment layer by going into the Layers > New Adjustment Layer menu. There's also another trick that uses the layer styles to desaturate the layer. I personally prefer this method because it doesn't require adding another layer.
We're done! Here's how the image looks like. The next step is optional but you should try it out if you want to create the sketch effect in color.
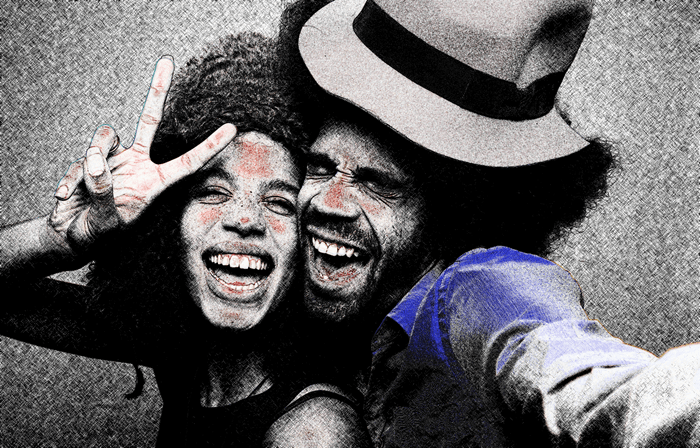
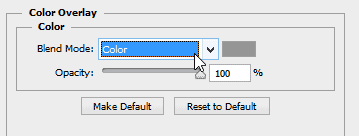
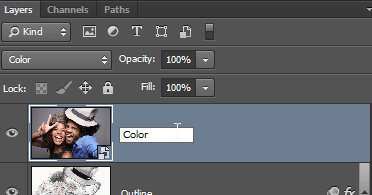
Step 9To add the colors back, duplicate the "Outline" layer then remove all the layer styles and smart filters by going to Layer > Layer Style > Clear Layer Styles and Layer > Smart Filters > Clear Smart Filters. Change the blending mode to Color, rename the layer to "Color", and you're done!
Updating the ImageIf at any time you want to change the image, you can double-click on the thumbnail of any layer. Update your image or make any adjustments you like, save and close, and your image will automatically be updated without having to redo all the steps. That's the benefit of using Smart Objects! Final Results
Download the PSD |


| You are subscribed to email updates from Photoshop Tutorials To stop receiving these emails, you may unsubscribe now. | Email delivery powered by Google |
| Google Inc., 20 West Kinzie, Chicago IL USA 60610 | |


0 comments:
Post a Comment