Photoshop Tutorials: How to Create a Surreal Photo Manipulation of the Eiffel Tower |  |
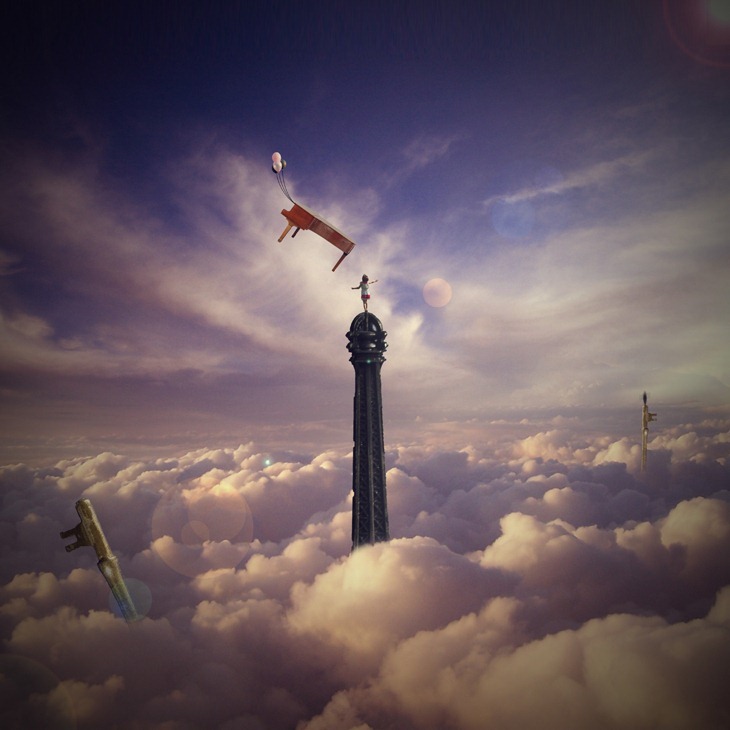
| How to Create a Surreal Photo Manipulation of the Eiffel Tower Posted: 03 Sep 2012 12:47 PM PDT Preview of Final Results
Eiffel Tower Photoshop TutorialTutorial Resources
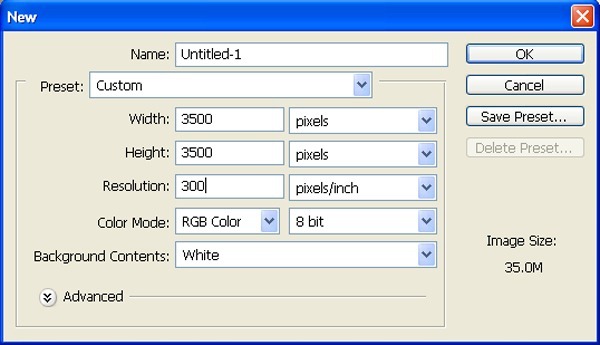
Step 1: Create a New Image FileCreate a new 3500×3500 pixels document at 300 pixels/inch. The background contents should be white.
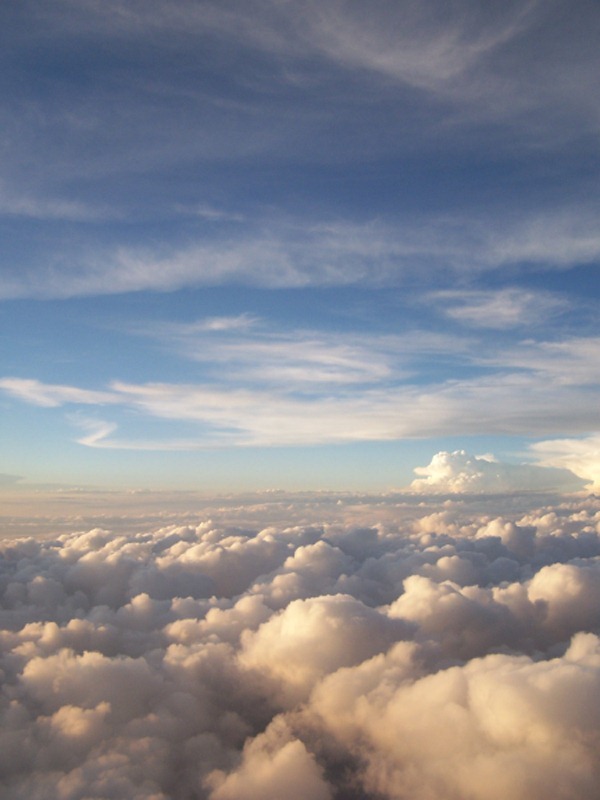
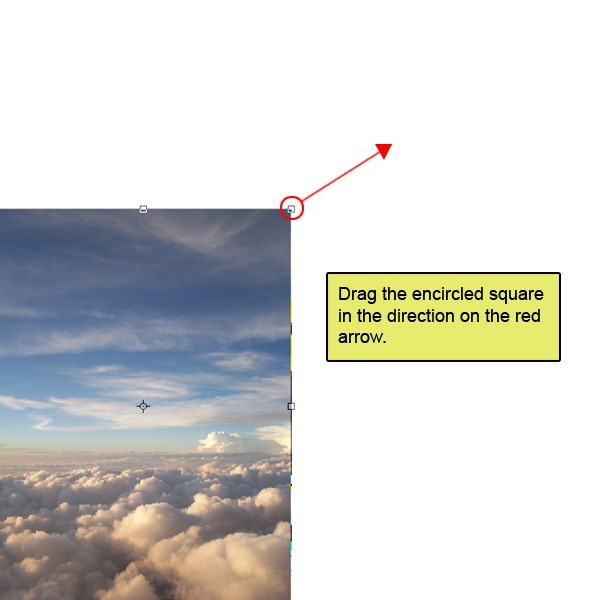
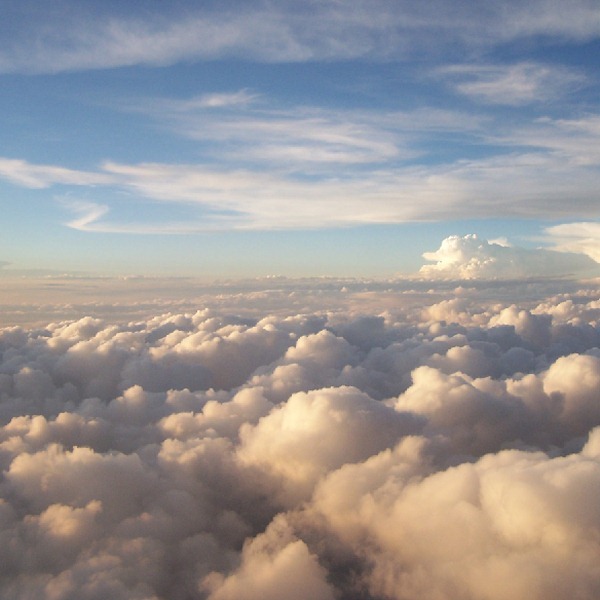
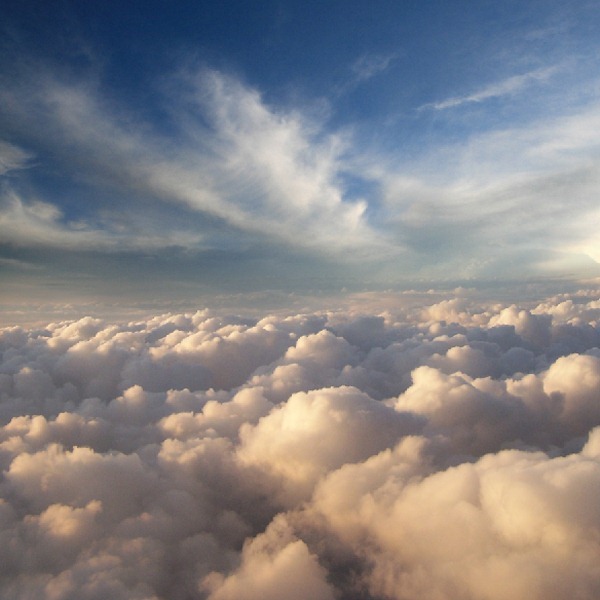
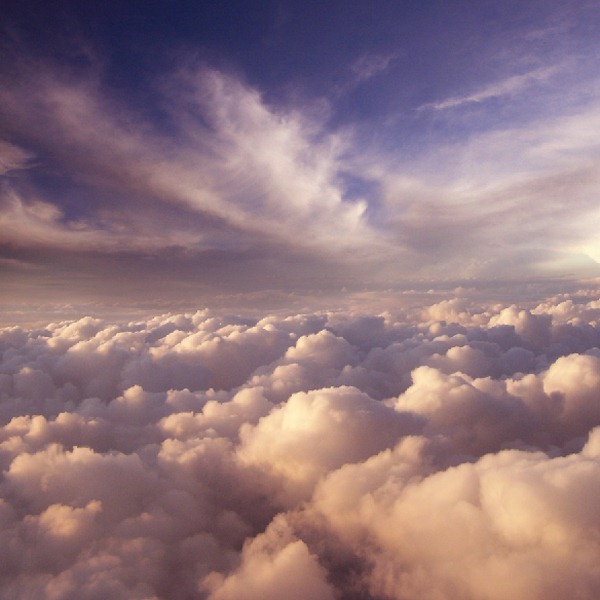
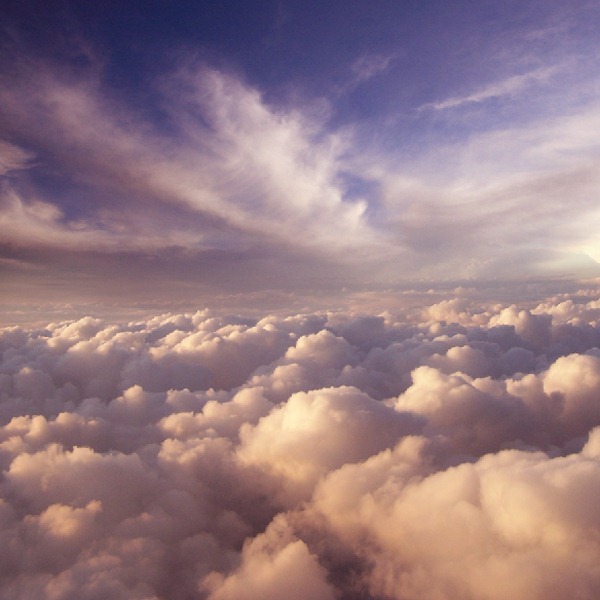
Step 2: Create the BackgroundFirst off, let’s open the cloud in Photoshop. We will be using sky from this stock image so we will need to transfer it to our main canvas. Click the cloud and press V to activate move tool and Left-click the image and drag the image to the main canvas and change layer name to “sky”.
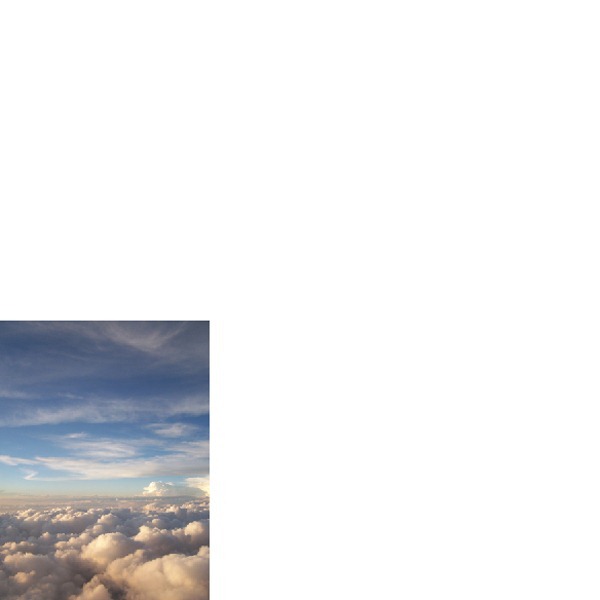
The result should be similar to this:
Next, activate the Transform tool (Ctrl/Cmd +T), then while the “Sky” layer is selected and then resize it as shown below:
The result should be similar to this:
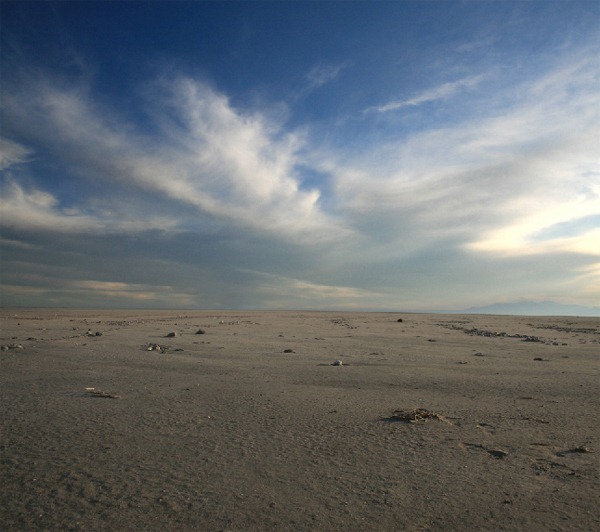
First off, let’s open desert sunset in Photoshop. We will be using the sky from this stock image so we will need to transfer it to our main canvas.
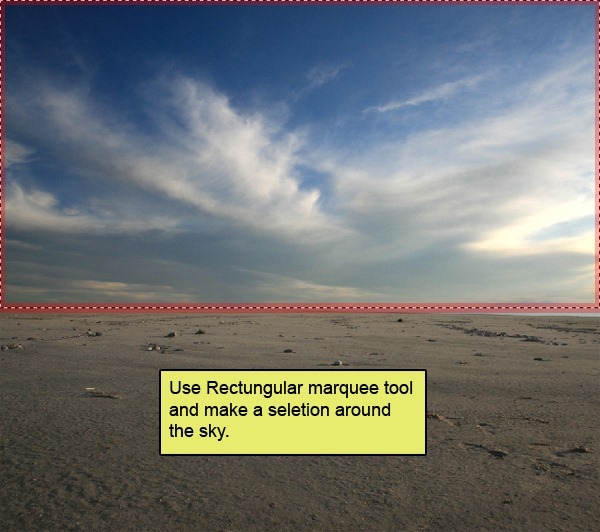
Click the Wots up world and press M to Rectangular marquee tool and then make a selection around the sky and then click V to activate the Move Tool. Left-click the image and drag the image to the main canvas and change layer name to “Sky 2″.
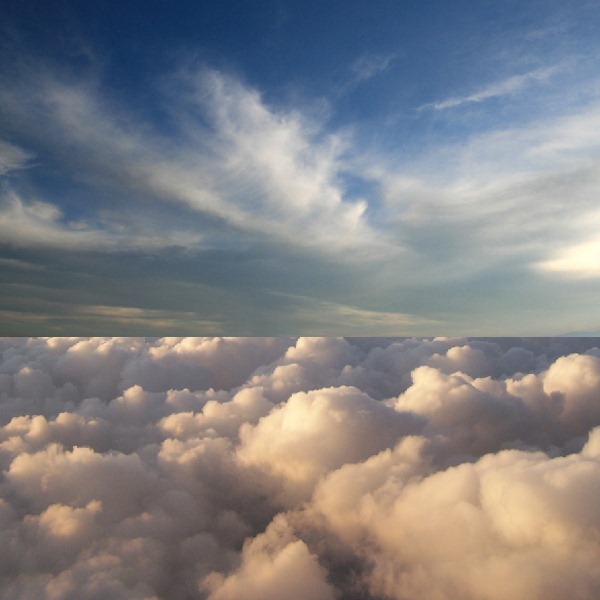
The result should be similar to this:
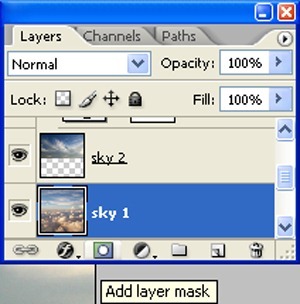
Now activate a Mask tool for Sky2 from the bottom of layers palette.
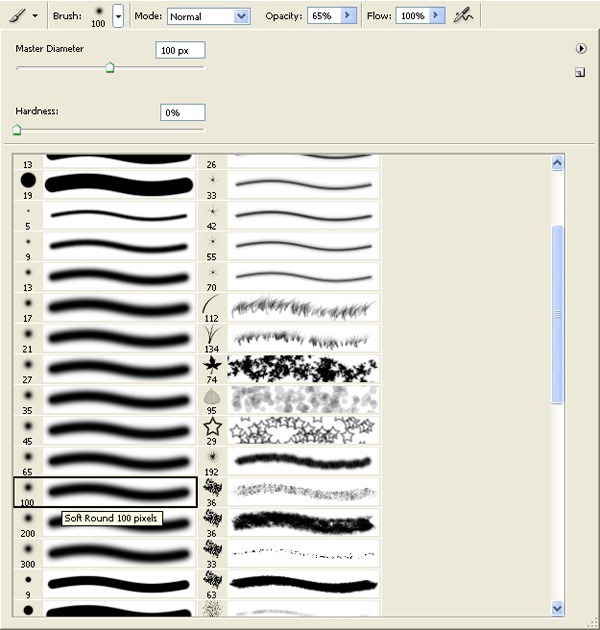
Now activate Brush tool (B) with these settings :
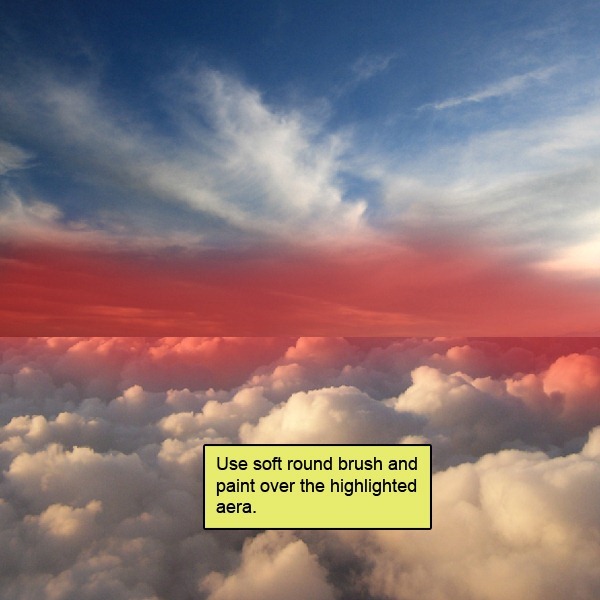
Now paint over the highlighted area.
The result should be similar to this:
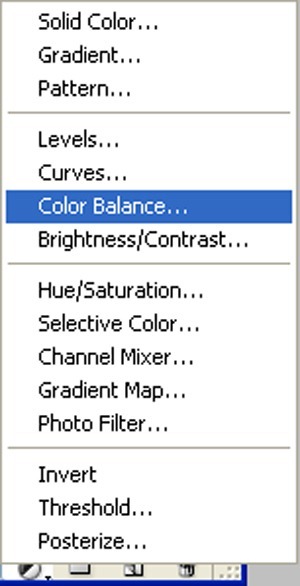
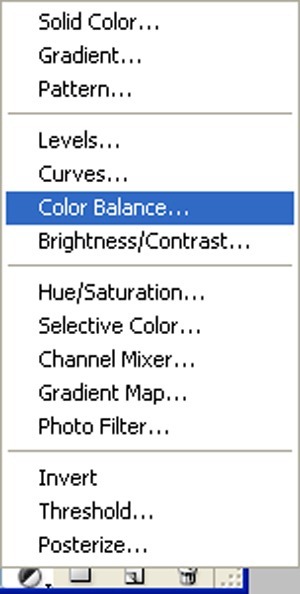
Now go back to “Sky 1″ layer and then create a Color Balance adjustment layer which can be found by pressing on the Create New Fill/Adjustment layer button shown on the layer window:
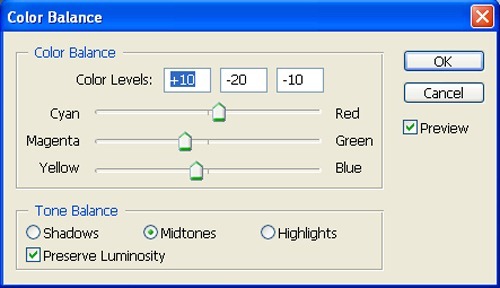
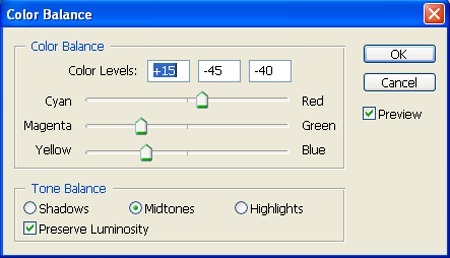
When the Color Balance box opens, input the following:
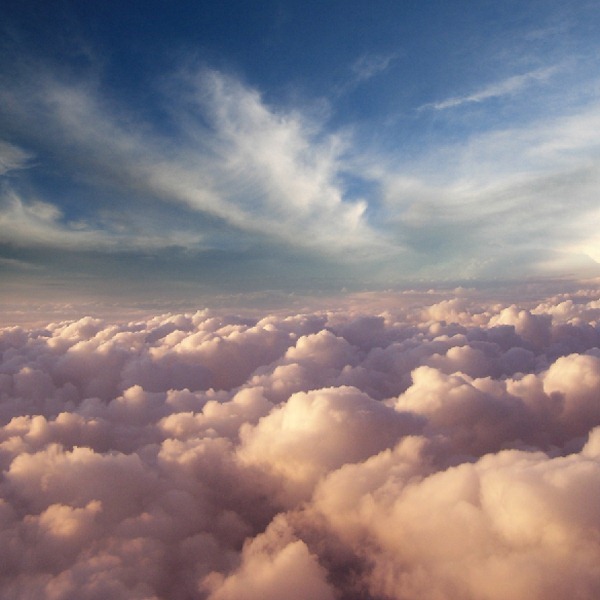
The result should be similar to this:
Now go back to “Sky 2″ layer and then create a Color Balance adjustment layer which can be found by pressing on the Create New Fill/Adjustment layer button shown on the layer window:
When the Color Balance box opens, input the following:
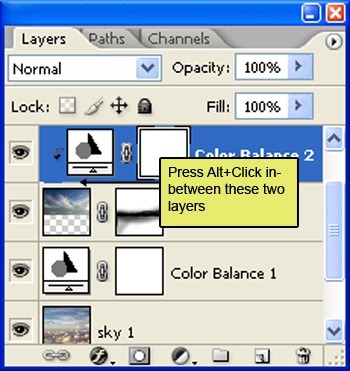
Press Alt+left click in between 2 layer’s (Sky 2 layer and Color Balance) to make a mask.
The result should be similar to this:
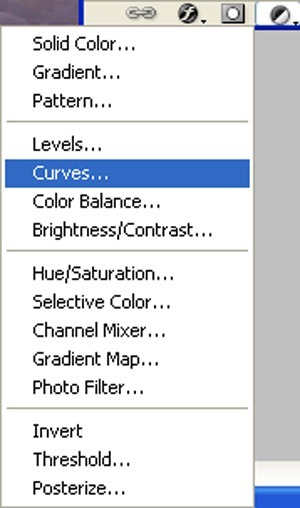
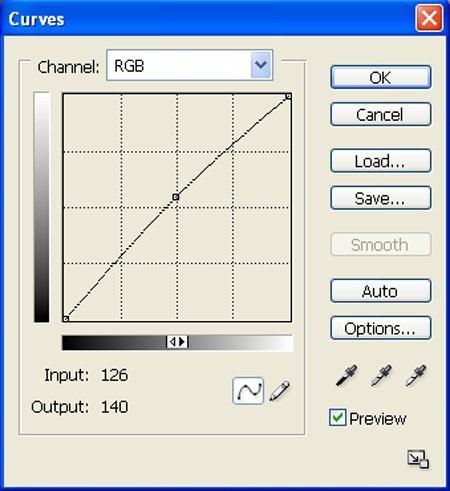
Now create new Curves adjustment layer from the bottom of layers palette .Press Alt+left click in between 2 layer’s (Sky 2 layer and Curves) to make a mask.
When the Curves box opens, input the following:
The result should be similar to this:
|
| You are subscribed to email updates from Photoshop Tutorials To stop receiving these emails, you may unsubscribe now. | Email delivery powered by Google |
| Google Inc., 20 West Kinzie, Chicago IL USA 60610 | |



0 comments:
Post a Comment