Photoshop Tutorials: How to Create Shiny Retro Text with Photoshop plus 1 more |  |
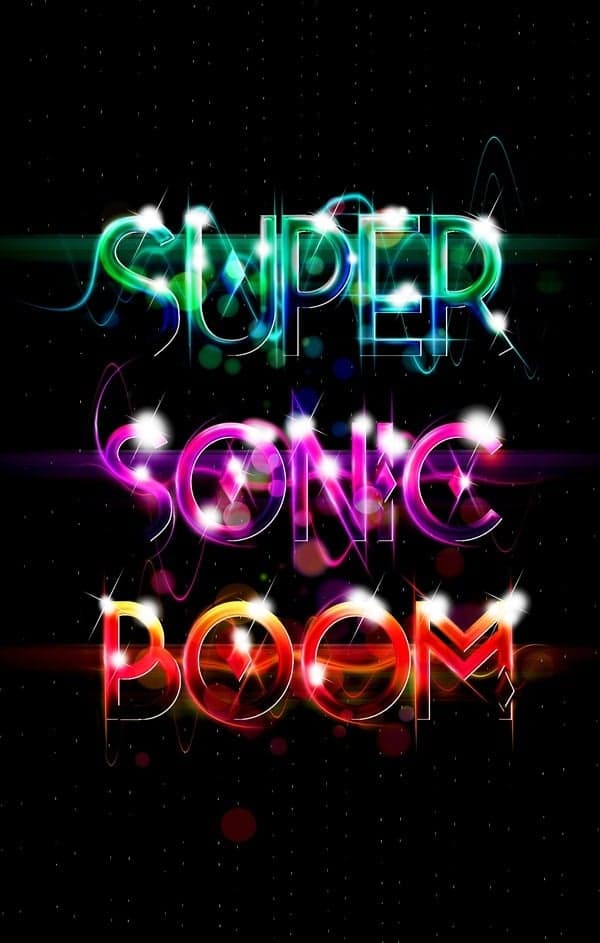
| How to Create Shiny Retro Text with Photoshop Posted: 14 Sep 2012 05:26 AM PDT Preview of Final Results
Resources
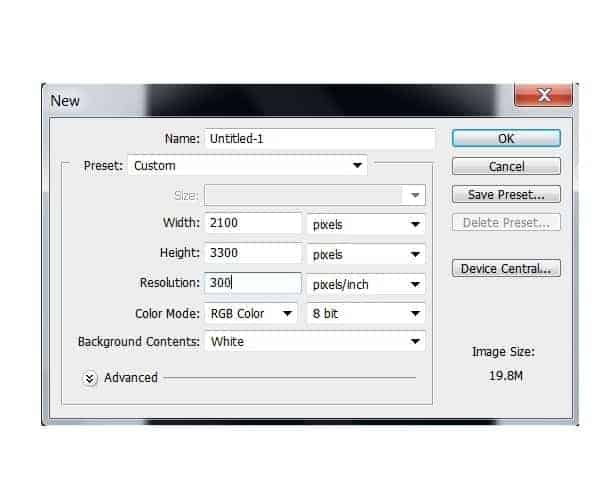
Step 1Create a new document on Photoshop. It should be 2100 pixels wide and 3300 pixels high with a resolution of 300 dpi. Using the bucket tool (G) Fill the background layer with black.
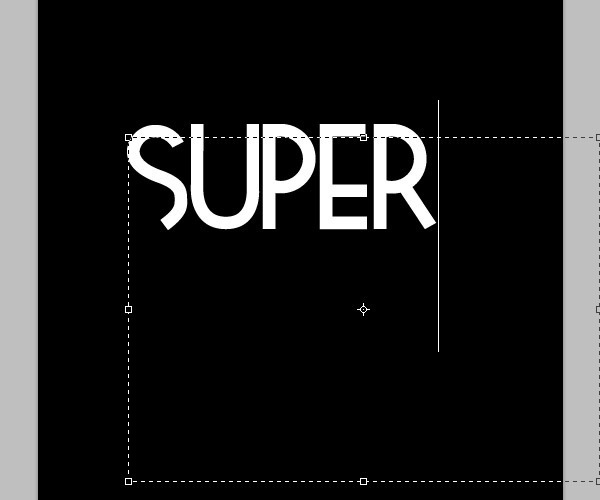
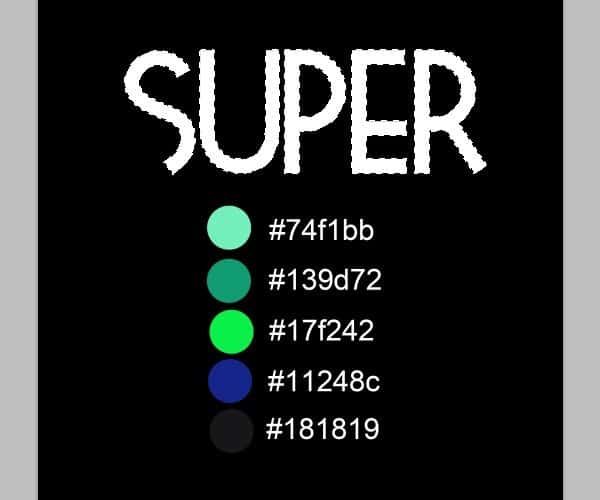
Go to the type Tool (T) and select the Tetra Font with a size of about 250 pt (you can do it larger if you want) and type the word “Super”on the upper part of the canvas. I chose the Tetra font because of its shapes but you can use any font you like.
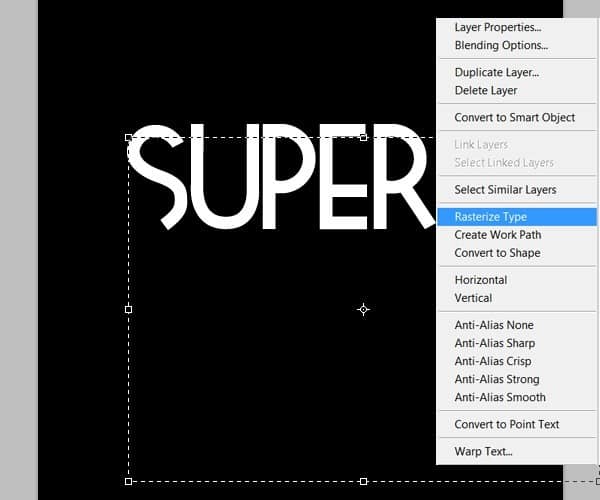
Right click on the layer text of the type and select “Rasterize layer” to make it editable.
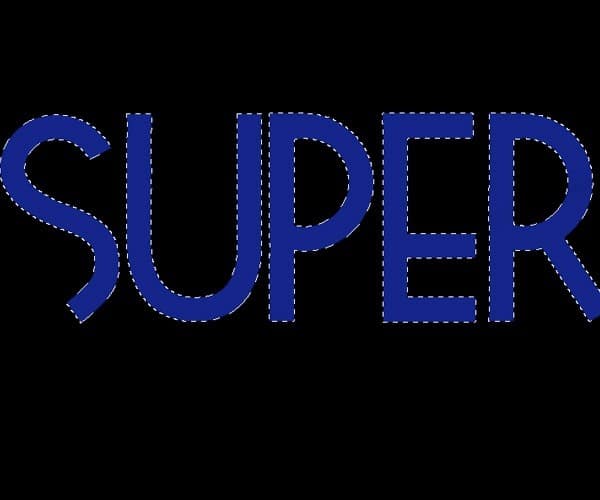
Create a new layer. Select the type shape (Ctrl+click on the layer thumbnail) and grab the Brush tool (B). We are going to paint over the selection on the new layer to get the colors for the type. First start with the middle tone of the color palette you want to use. In this case, for the first word I chose a combination of dark blues going all the way to bright greens.
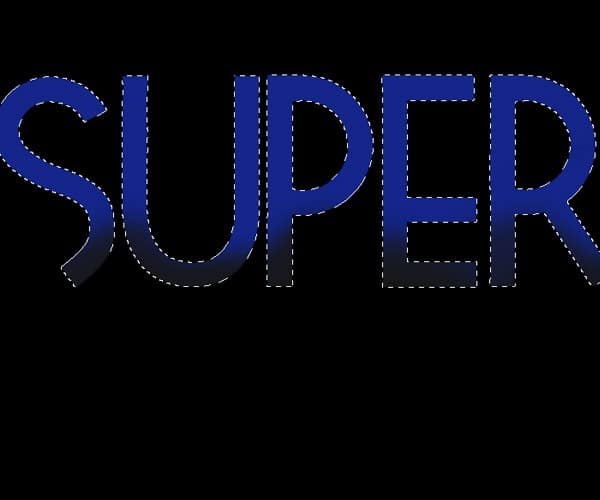
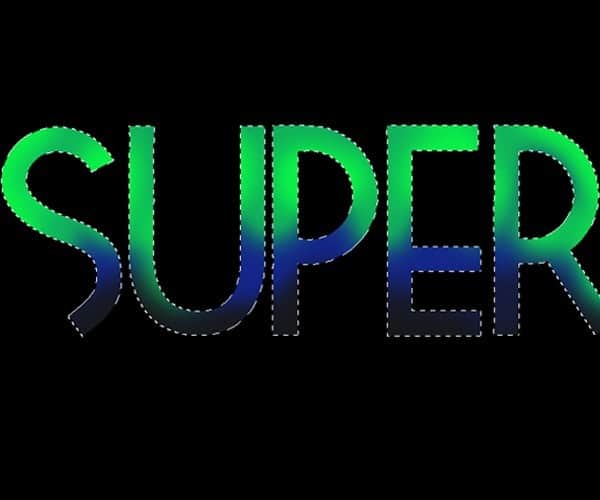
Fill the selection with the blue color. Select a soft brush 0% hardness of about 250 pixels and brush over the lower part of the type with the darker blue to create some shading.
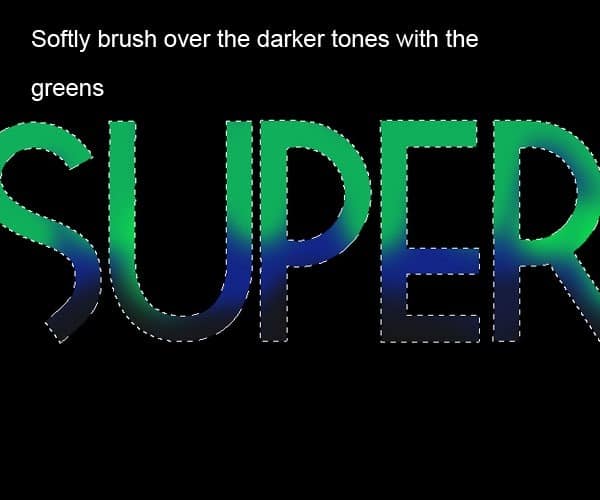
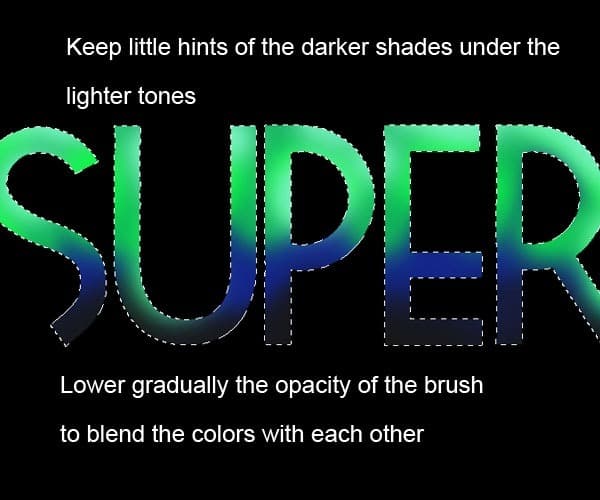
Change the size of the brush to something about 150pxl and select the darkest green color and start painting the lighter parts on the top of the letters. Be sure to leave some traces of the blue underneath the greener tones. You can also lower the opacity of the brush to about 40% to blend in the colors smoothly.
Continue this way with the lighter green tones. Make sure you keep little hints of the color under the brighter shades and blend in the colors with your soft brush.
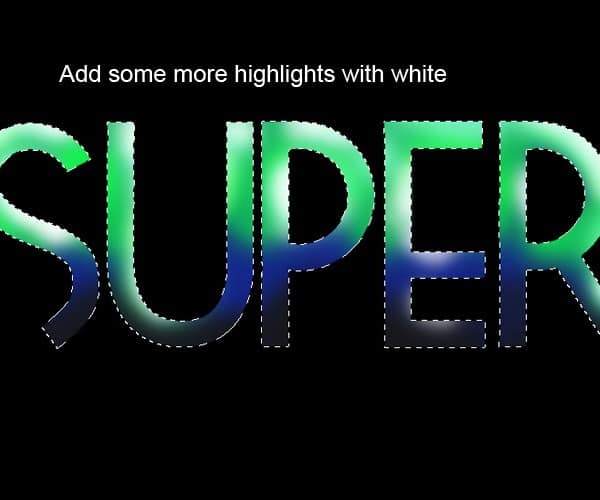
Now using color white and a smaller brush, add some more highlights to the lighter part of the letters.
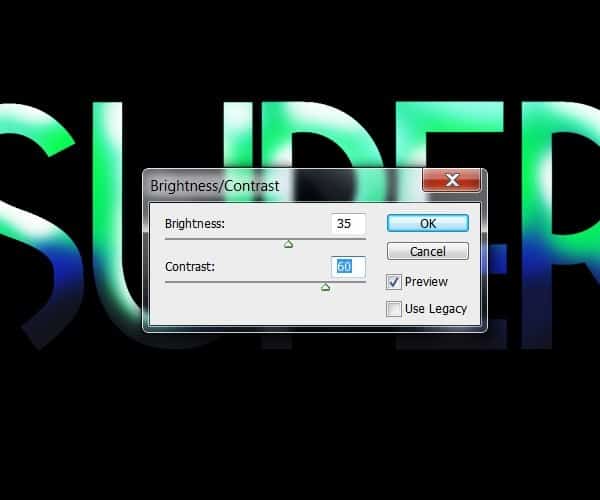
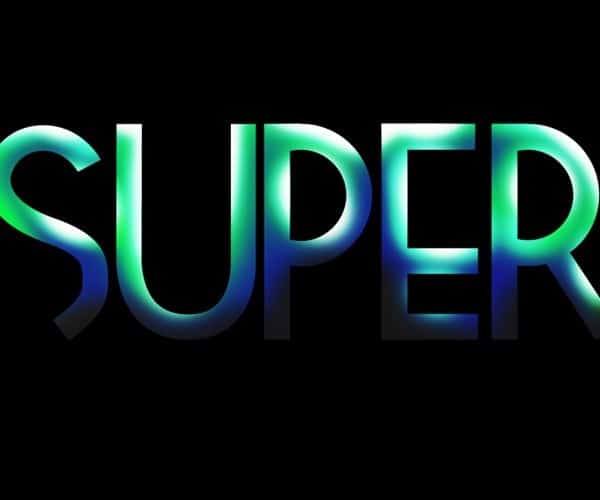
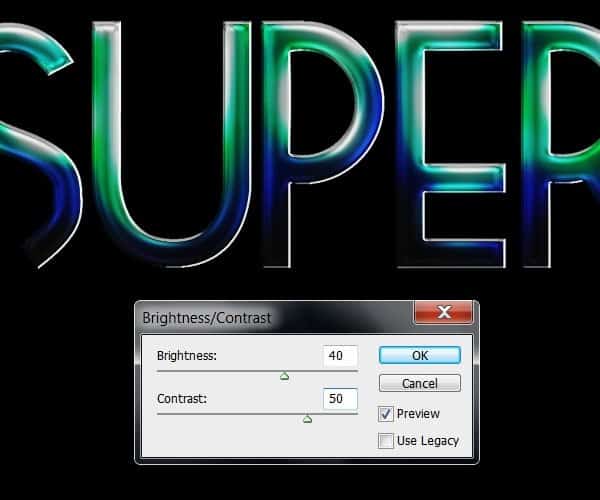
Once you are confortable with the result, you can go to Image>Adjustments>Brightness and contrast to make the colors pop a bit more:
You should now have something similar to this:
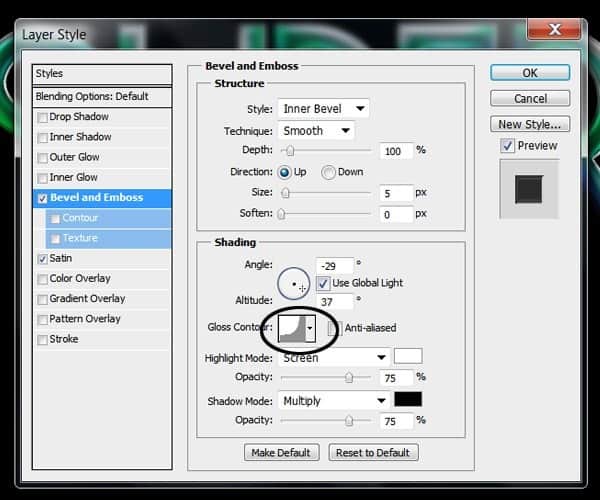
Step 2Now we are going to add some layer style effects to the type to give it a shinny glossy finish. Double click on the layer thumb to bring up the Layer Styles menu and Check the “Bevel and Emboss” option. On the Depth option keep it at 100% with a size of 5px. On the Shading use an Angle of -29 and an altitude of 37°, change the Gloss contour to the option showed below:
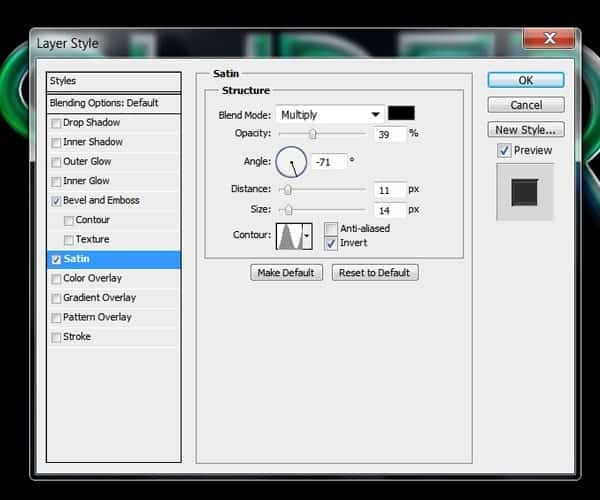
Now Check the “Satin” option use the Blending mode to multiply with color black to 39% opacity. Change the angle to -71 , Distance to 11 and size 14. Change the contour to the shape on the example:
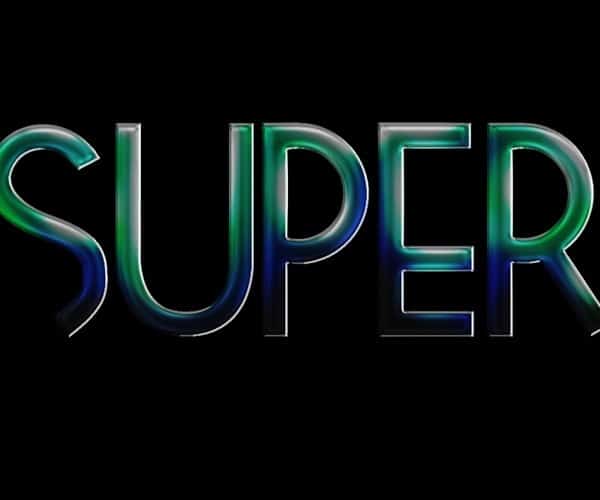
After applying the layer effects you should have something like this:
Now create a new layer and merge it to the type layer (Ctrl+E) to apply the effects in the same layer. At this point you can change the Brightness and Contrast of the type again if you feel the colors got too washed out:
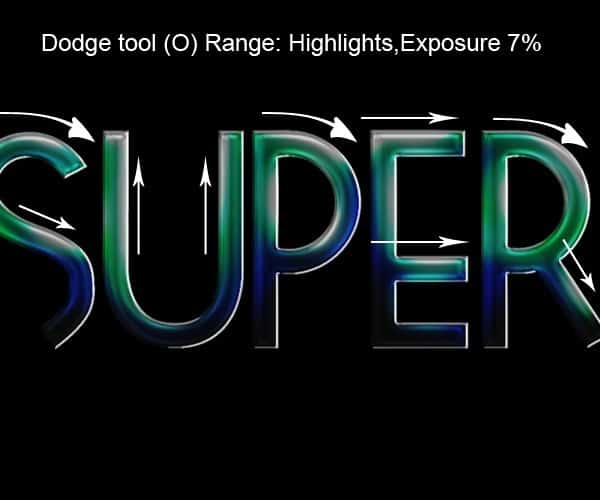
Now we are going to enhance some of the highlights using the dodge tool (O). Take a very small ,soft brush and set exposure to 10% and the range to “Highlights”. Brush gently over the brightest highlights of the type following the contour of the letter:
|
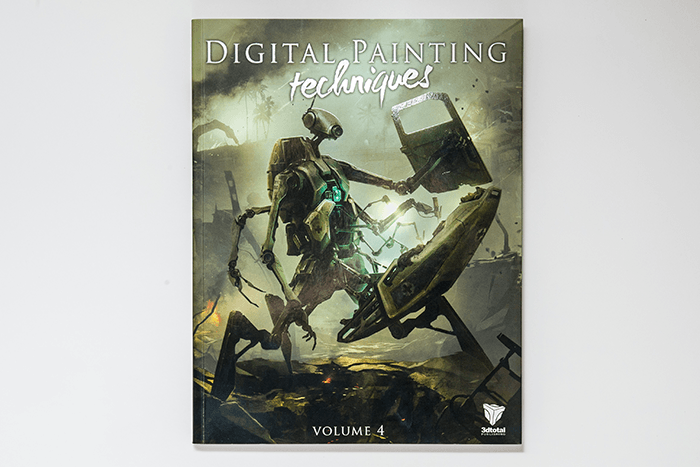
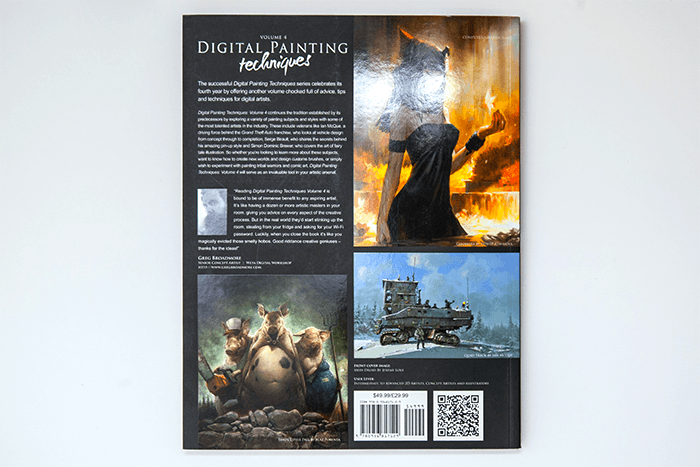
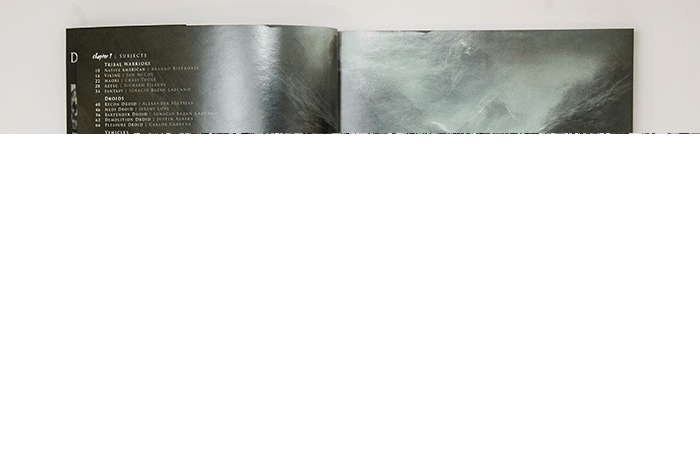
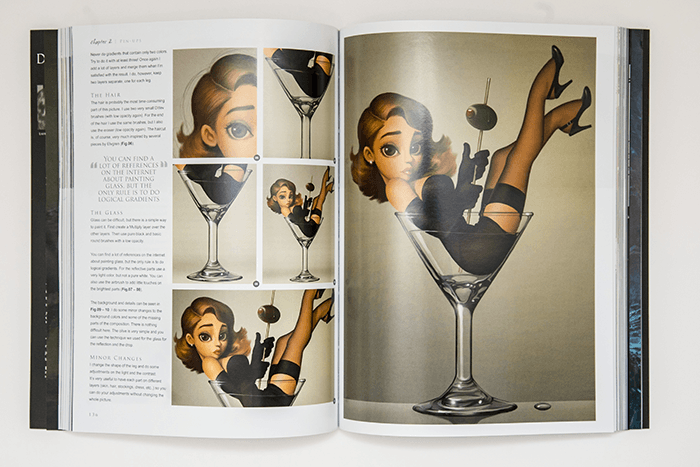
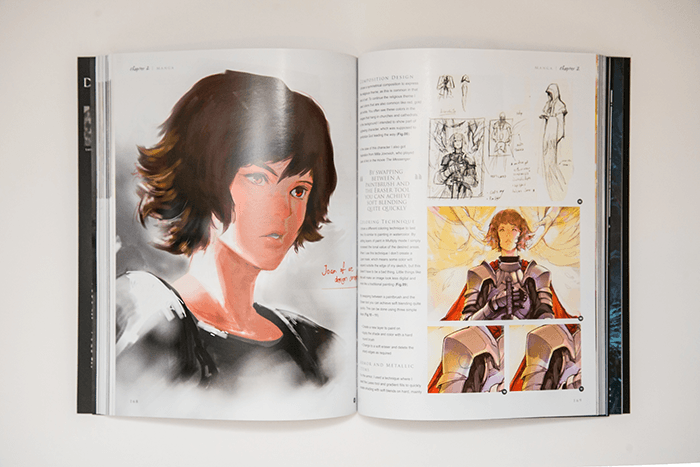
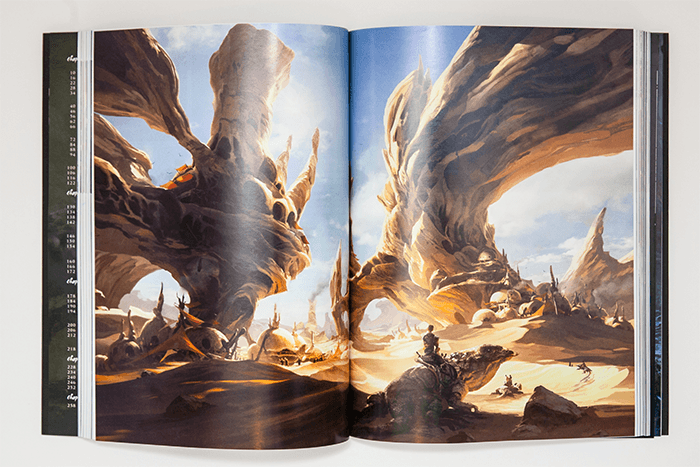
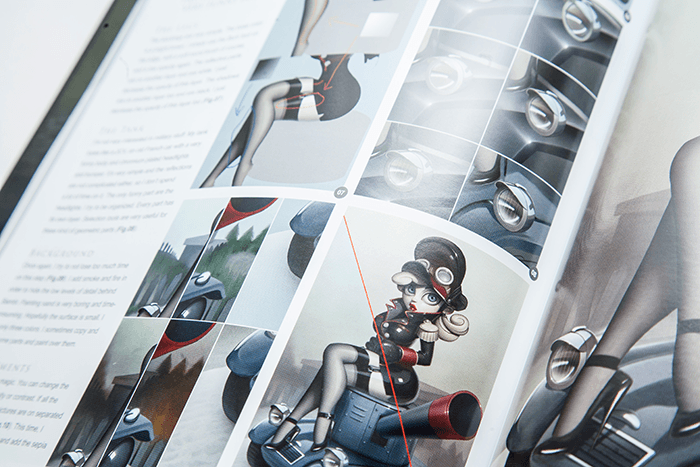
| Digital Painting Techniques Volume 4 Book Review Posted: 13 Sep 2012 01:35 PM PDT TopicsYou will start off with 18 walkthroughs on how to paint various subjects; tribal warriors, droids, vehicles, and environments. The second chapter goes through painting styles such as pin-ups, comic art, and manga. There on, you'll learn digital painting techniques, go through overview of painting projects, and finish with a beautiful gallery of work from Andree Wallin, Piotr Jablonski, and Gerhard Mozsi.
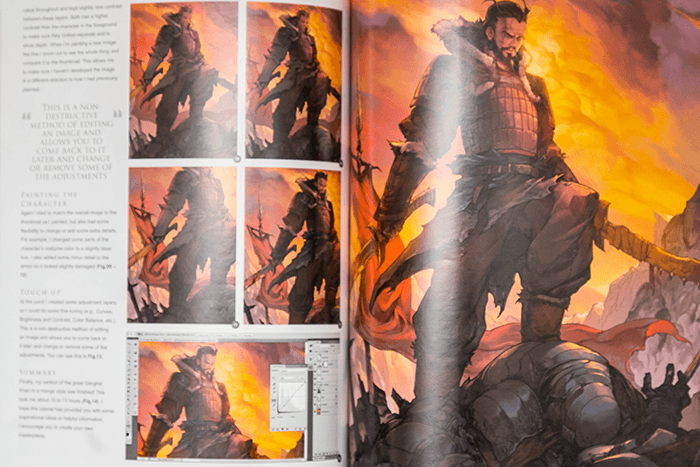
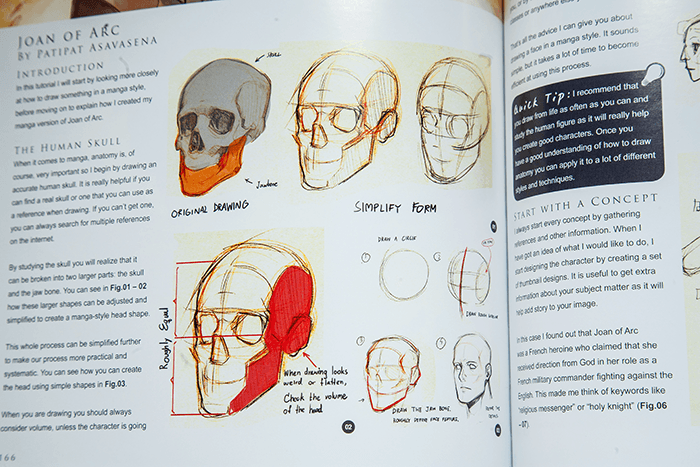
TutorialsThis book is filled with digital painting tutorials; 41 to be exact. Most of them are written as a walkthrough written from the artists perspective. The topics aren't in step-by-step instructions – they're a guide of what the artist did to create the artwork with plenty of quick-tips scattered throughout the book. While we liked this approach for understanding the workflow from the artists perspective, we felt that some tutorials could become confusing to artists who were not proficient with all the tools in Photoshop. Asides from learning painting techniques, this book helps you realize the pros and cons of the different painting techniques and when you should use them.
Should you get it?First of all, this book is definitely not for the beginner who want step-by-step instructions on how to paint. This book is a collection of advanced tutorials from professional digital artists around the world who walk you through their process. Professional digital painters and students will find this book invaluable – these are tutorials that you cannot find anywhere else. Beginners won't be able to apply most of what is taught in this book but it is a fun read even if it is just to get the hang of how the paintings were done. One thing that this book indirectly helps with is motivation – reading this book really motivates you to create your own digital paintings. If you find this book too advanced and you're more interested in learning the basics, have a look at our Beginner's Guide to Digital Painting book review.
|
| You are subscribed to email updates from Photoshop Tutorials To stop receiving these emails, you may unsubscribe now. | Email delivery powered by Google |
| Google Inc., 20 West Kinzie, Chicago IL USA 60610 | |



0 comments:
Post a Comment