Photoshop Tutorials: How to Create a Rainy Lake Scene in Photoshop |  |
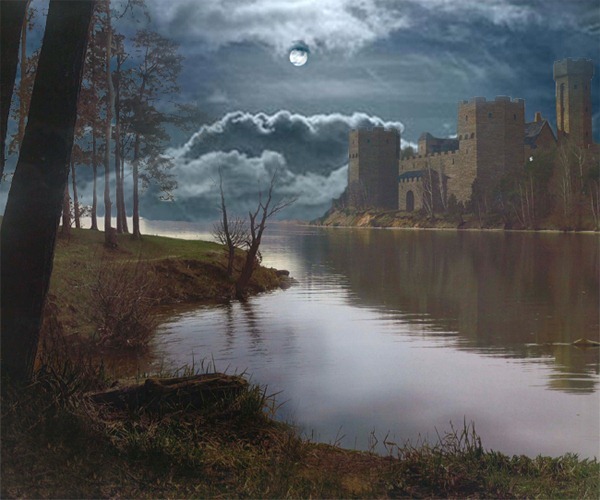
| How to Create a Rainy Lake Scene in Photoshop Posted: 24 Sep 2012 12:47 PM PDT Preview of Final Results
Download the PSDDramatic Lake View.zip | 31.29 MB Rainy Lake Scene Photoshop TutorialTutorial Resources
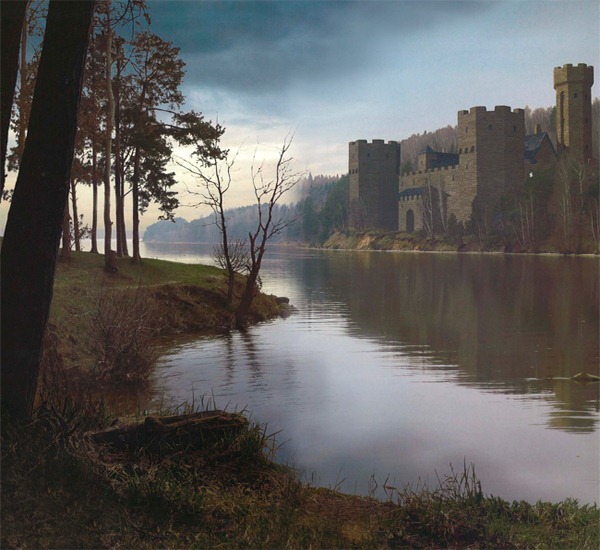
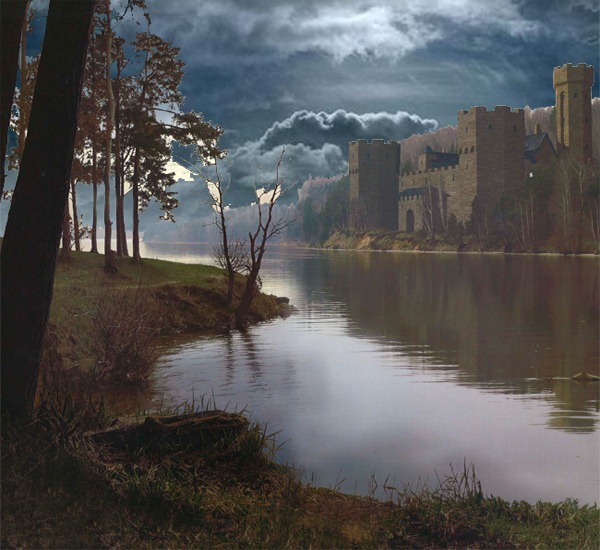
Step 1Create a new 8×6 inch document at 300 DPI (File > New). Below is an image of what we’ll be making.
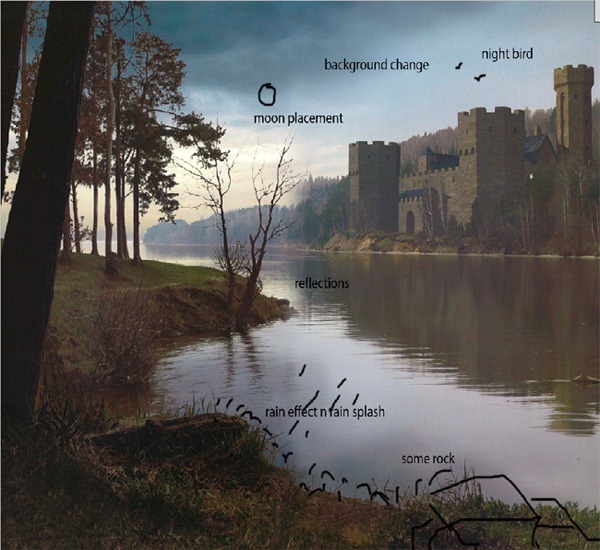
I have planned out what I am going to create on this image. Before creating any Matte Painting “Planning” is the core phase which you have to execute properly. If you’re not planned well, then Matte Painting is a thing which will urge you to bring more and more effects, and finally, you will get stuck only in effects, no proper output will come. So, Planning is most important!
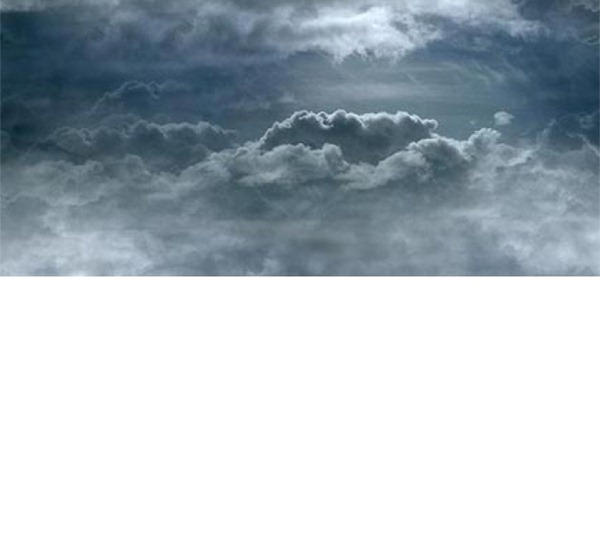
Now we are moving to work actually on the image. First, we will start from sky portion. In an original image, sky is looking natural so to give it dramatic look then you have to replace sky with another image. For this purpose, I have selected following sky image and have placed it properly to occupy complete sky portion:
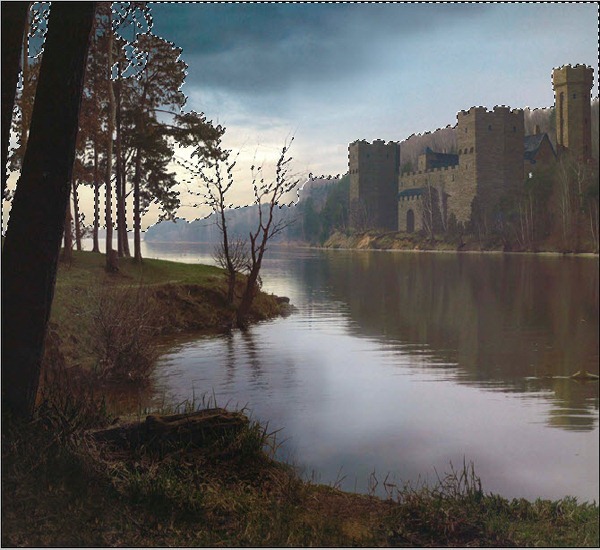
Step 2Now to replace original sky, use the Magic Wand Tool and then select only sky portion properly especially spaces between trees.
Step 3And Delete that portion by pressing “Delete” key after that put the dramatic sky layer behind the main layer and see the output.
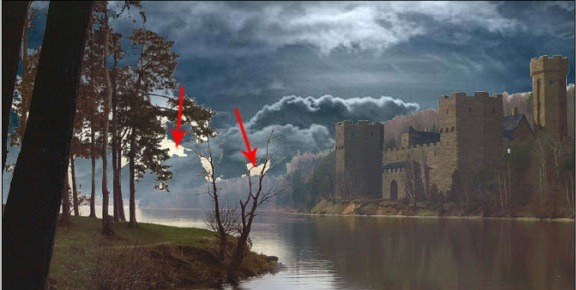
Some Correction: If you see in an output, you will find some parts between trees are remaining deselected so to replace it with background, follow this trick.
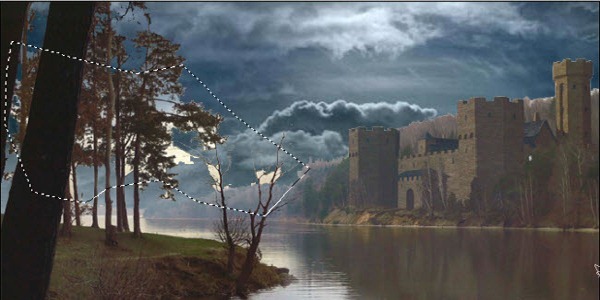
Step 4First select only defected area by using Polygonal Lasso. As I have shown in an image:
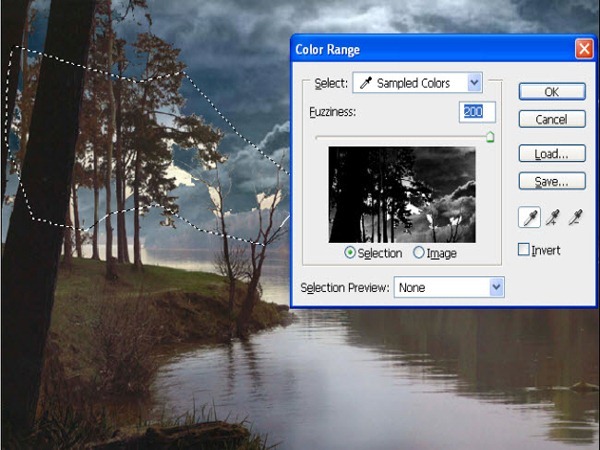
Step 5Then in Select menu -> choose Color Range tool. “Color Range” is a tool which selects specified color range in an existing selection. So to replace faulty portion with background image then in Color Range tool first make Selection Preview: None and after that select eyedropper and pick faulty color range only. For reference follow the image below:
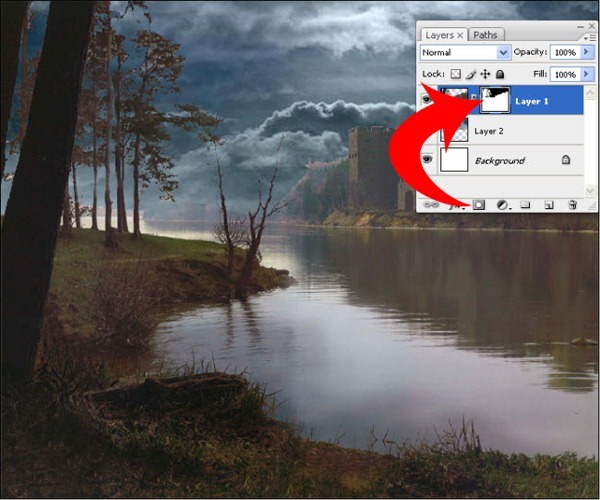
Step 6Finally click on Ok button, you will find a selected portion of that defective part. Just Delete (delete two times) that portion, it will automatically match with background sky image. Step 7To remove the sharpness of trees and Fort then select a Main layer by pressing Ctrl + Click and Add Layer Mask to it.
Step 8After that in Filter -> Blur -> select Gaussian Blur and add Radius: 28.9. To remove unwanted part of fort then use Brush Tool and on a mask just paint on that unnecessary part by using black color as Foreground. So you will get an output like this:
Now we are bringing a moon into a working image. For this purpose, I have selected following moon image.
Step 9To bringing it, select surrounding moon area by using Ellipse Tool and then drag it into the working image by using Move Tool. Resize it properly to suit to the background. Then apply the mask to it, first by selecting an image.
Step 10And then to hide surrounding portion of moon, use brush tool and paint only on unwanted portion. So, your image will look like this:
To add birds in a main image then use the following image.
Follow the same process to bringing birds in a working image. Don’t go for selecting complicated bird shape by using any selection tools. It will become a time-consuming process. Step 11So to get rid from the complicated selection process, choose birds surrounding portion by using Rectangle Marquee tool and then drag it to an image. Place it properly by resizing it. |
| You are subscribed to email updates from Photoshop Tutorials To stop receiving these emails, you may unsubscribe now. | Email delivery powered by Google |
| Google Inc., 20 West Kinzie, Chicago IL USA 60610 | |






0 comments:
Post a Comment