Photoshop Tutorials: How to Create a World Under the Sky using Photoshop plus 1 more |  |
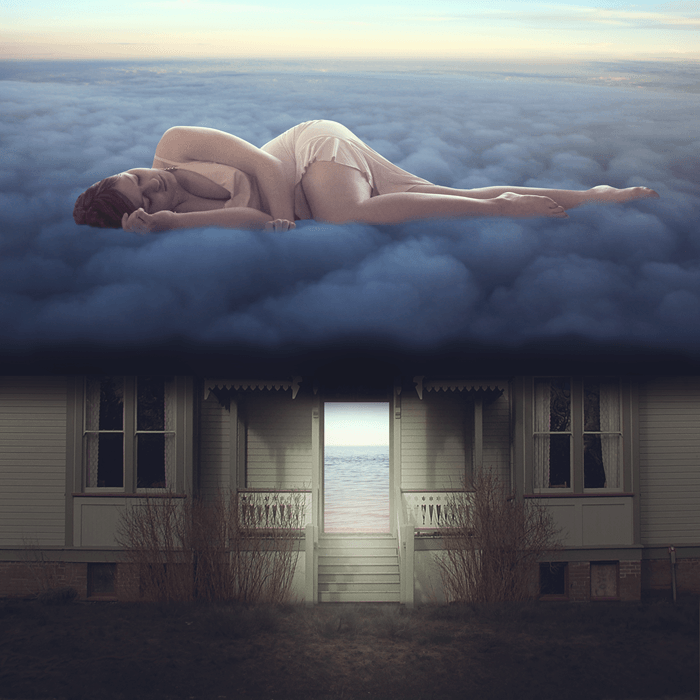
| How to Create a World Under the Sky using Photoshop Posted: 25 Jun 2013 01:00 AM PDT Preview of Final Results
Tutorial Resources
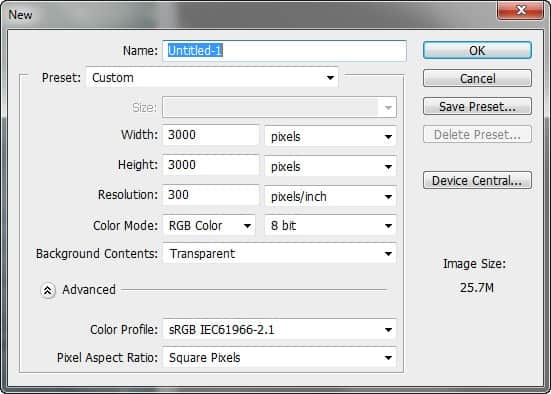
Step 1: Create a New Photoshop FileNow, let's start by creating a new image file, go to the Menu bar and click File > New, and then input the following values on their respective fields:
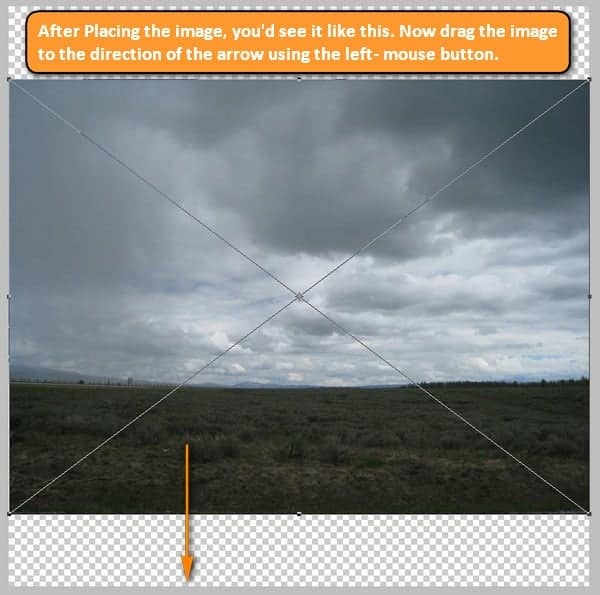
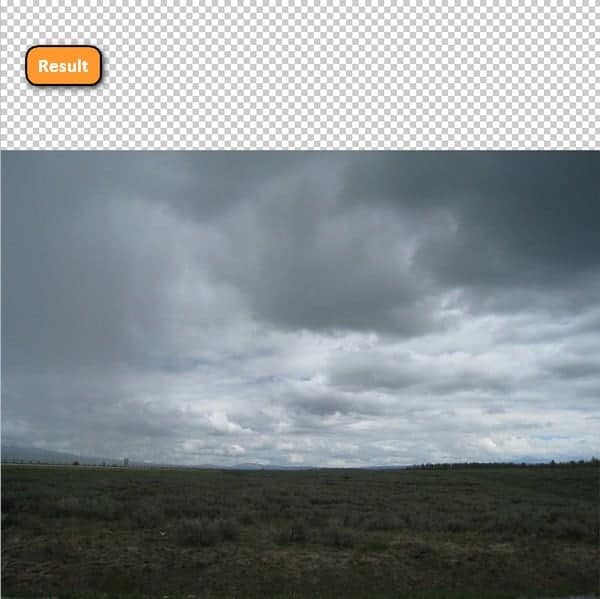
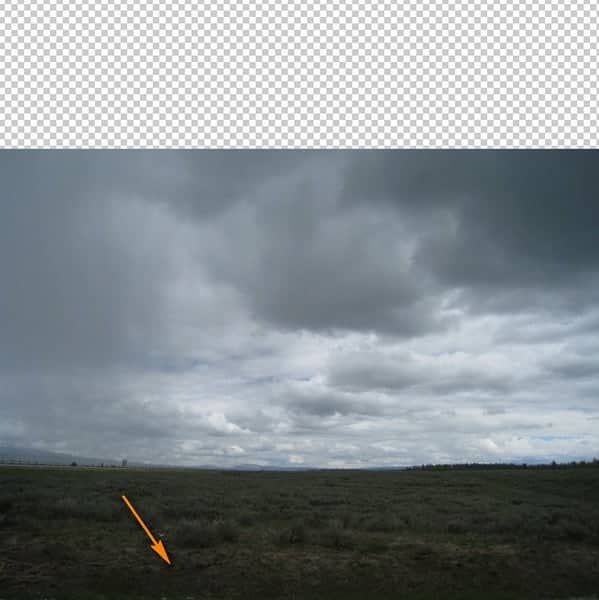
Step 2: Add the foreground and improve its lightingIn this Step, we will be creating the land on which the mysterious house will be standing. Import the stock image – "Stock Field" by digital amphetamine to the canvas by clicking on File > Place and find it from the directory you've saved it into. Using the Place command is a non-destructive technique which will place the image as a Smart Object, and once the layer is a smart object you may transform it as many times as you like without any loss in quality.
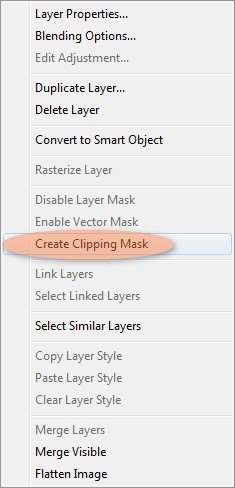
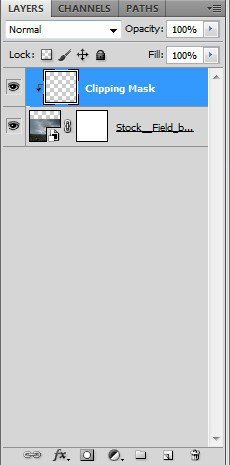
Next, let's darken the foreground. First, let's create a new layer (Ctrl/Cmd + Shift + N) and then we will create a Clipping Mask on the new layer to allow a non-destructive way to darken the foreground. To create a Clipping Mask, simply right-click on the newly created layer and then click on "Create Clipping Mask" once it opens. Note: The new layer should be above the field layer.
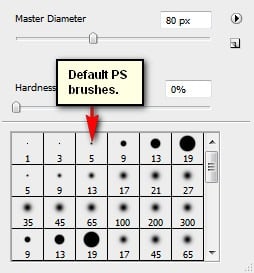
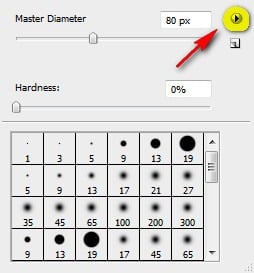
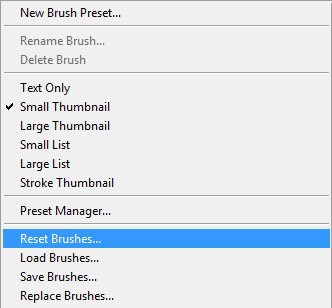
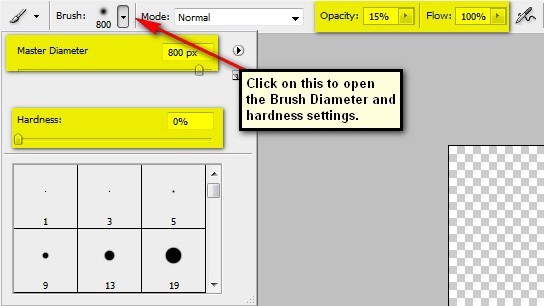
Now, activate the Brush tool (B) but before you proceed, make sure that the Brushes to be used are the default PS brushes. The default Photoshop brushes are shown on the image below, if that's not what you see, then follow the instructions below: Right click the canvas while a layer is selected and while the Brush tool (B) is activated and then click on the button highlighted below: Then click on "Reset Brushes" from the contextual menu. Now, that that is done input the following settings for our Brush tool (B):
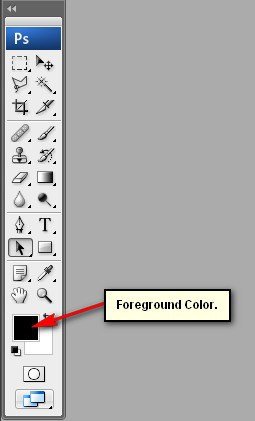
The Color Picker box opens once you click the Foreground Color box.
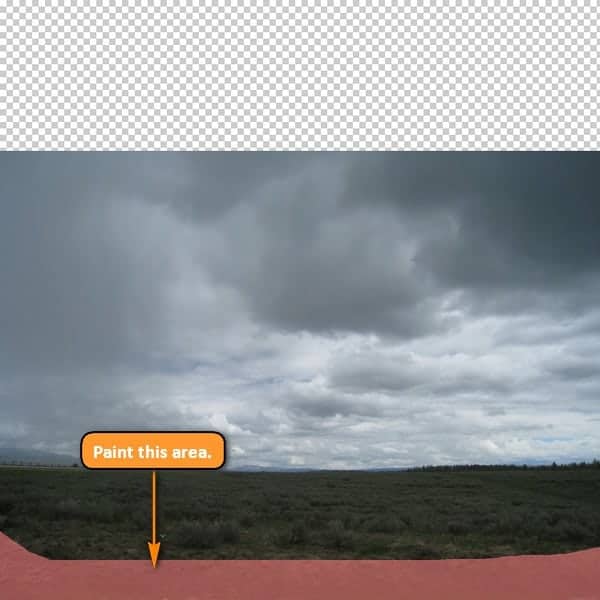
Now, paint over the area shown below:
Brush on it several times until it results to something like what is shown below:
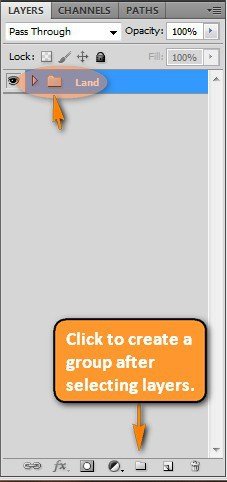
Once done, select all the layers and press Ctrl/Cmd + G to group them. This will avoid clutter and confusion in later Steps. Rename this group to "Land". To rename a layer, simply double-click on the words "layer 1" for example and a text box will appear, you may rename it then.
|
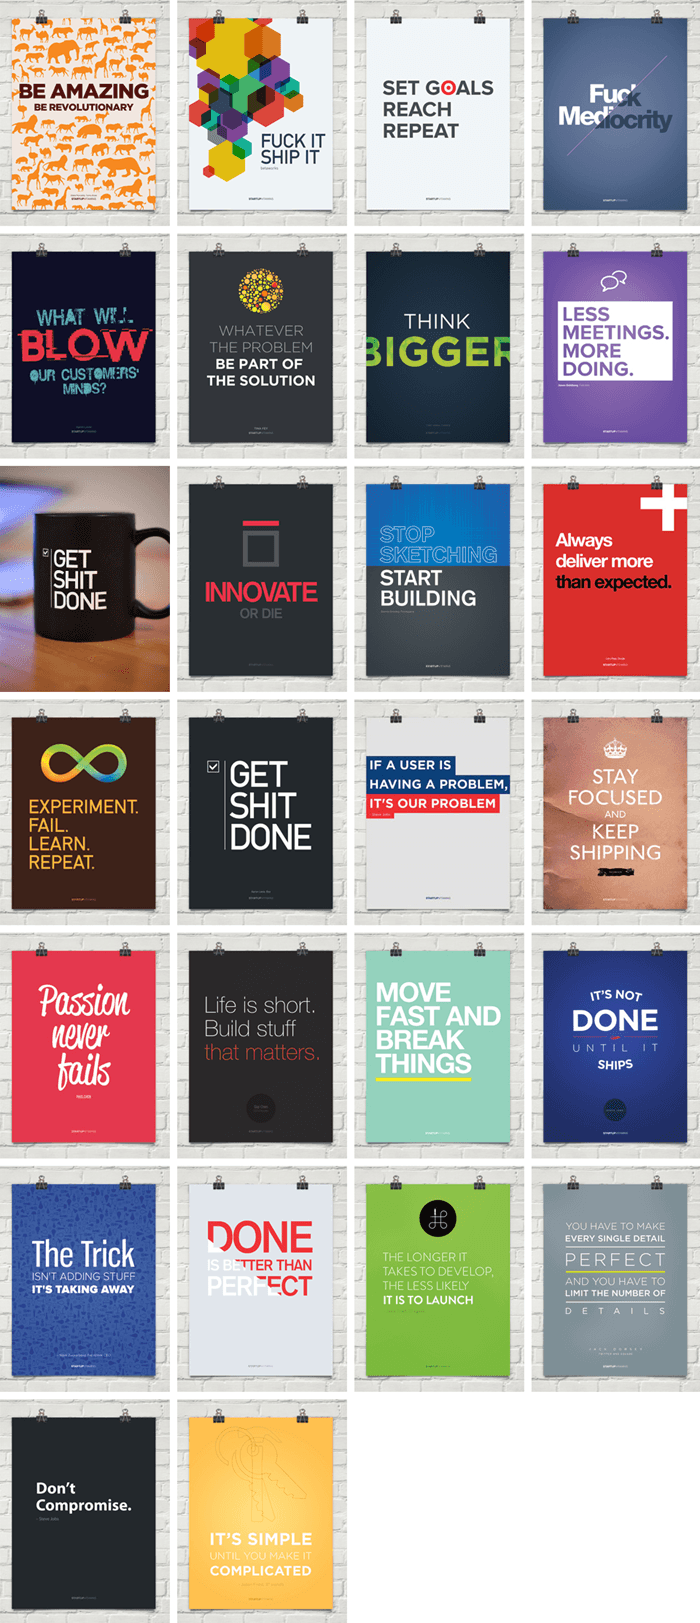
| Giveaway: Win Inspiring & Motivational Posters for Startups Posted: 24 Jun 2013 12:11 PM PDT Designed for Designers by DesignersRemind yourself daily to be the best designer you can be with inspiring tips and quotes from leading entrepreneurs. These posters are professionally printed on thick and durable matte paper and they look great in any office setting. They retail for $36 each but you can get them now on Dealotto for $25 or less for the large posters or $18 or less for the small posters!
|
| You are subscribed to email updates from Photoshop Tutorials To stop receiving these emails, you may unsubscribe now. | Email delivery powered by Google |
| Google Inc., 20 West Kinzie, Chicago IL USA 60610 | |



0 comments:
Post a Comment