Photoshop Tutorials: “The Controller” – Create this Floating Superhero Scene with Sci-Fi Lighting Effects in Photoshop |  |
| “The Controller” – Create this Floating Superhero Scene with Sci-Fi Lighting Effects in Photoshop Posted: 28 Nov 2012 12:55 AM PST Preview of Final Results
Tutorial Resources
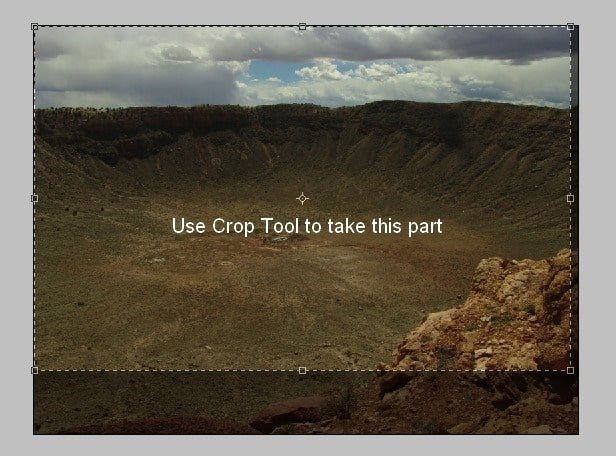
Step 1Create a new document and fill it with white. You can choose the size you want but in this tutorial I choose the width larger than the height. Open background stock. Press C to active Crop Tool and make selection of background as shown below:
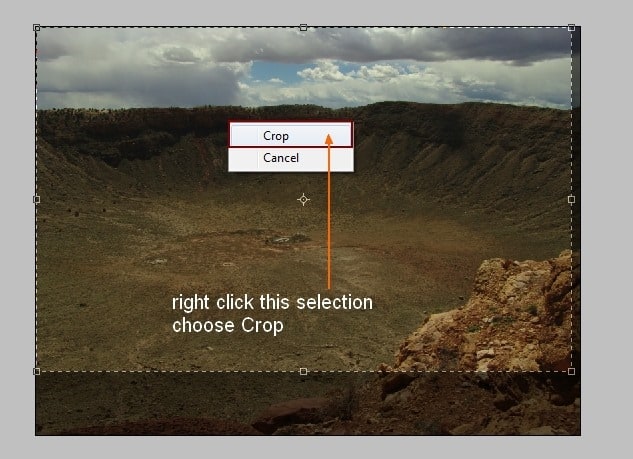
Right click this selection, choose Crop to complete this action:
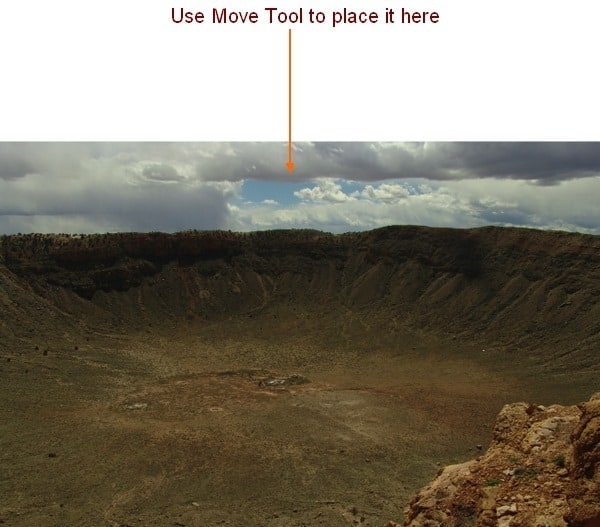
Use Move Tool ( V) to drag it into white canvas, remember to resize to fit the background:
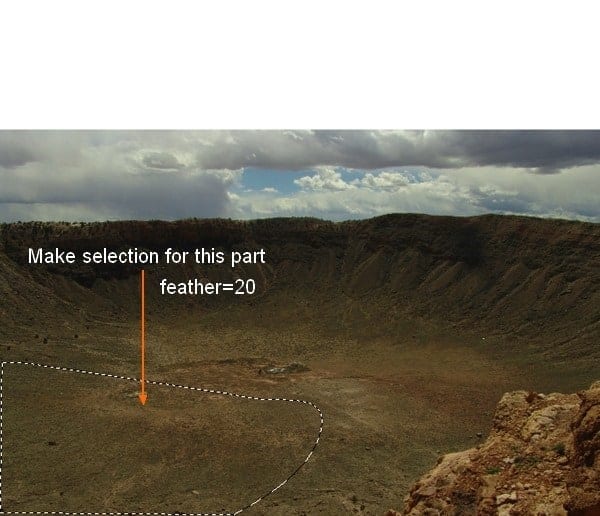
Name it as “land”. I want to remove the pile on the right side so on land layer, use Polygonal Lasso Tool ( hit L to active it) to make a selection on the left side with feather = 20:
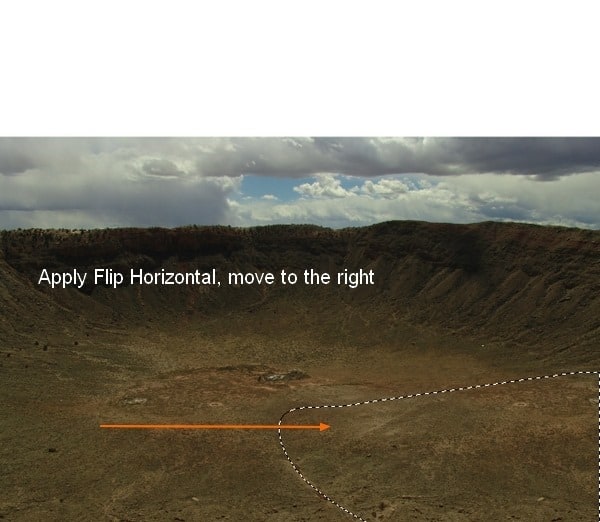
Right click this selection, choose Layer via Copy and we have it on a new layer. Go to Edit-Transform-Flip Horizontal then move it to right side to hide the pile:
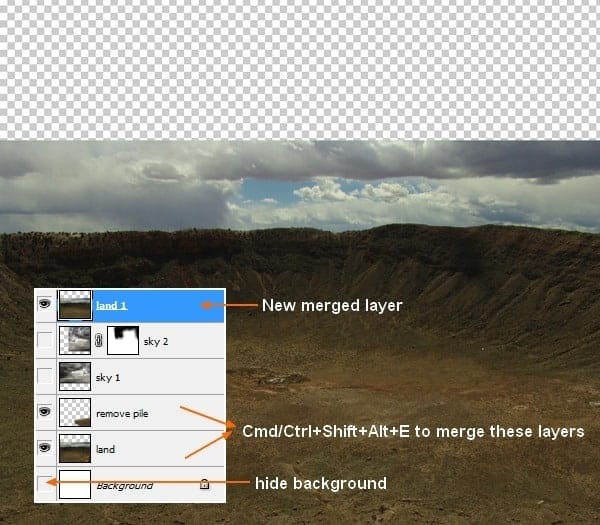
Hide background layer ( white canvas) then press Cmd/Ctrl+Shift+Alt+E) to merge all visible layers ( “land” and “remove pile” layers). Call the new layer as “land 1″ or whatever you want.
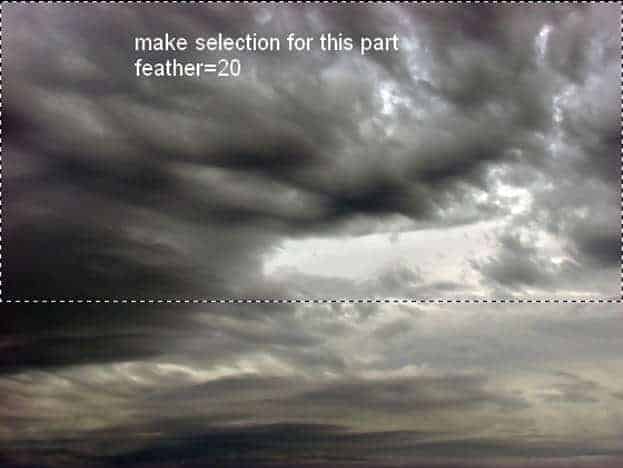
Step 2Open sky stock. You can use another image if you can’t download this sky from Photoxpress but a dark one with dramatic look is a good choice. Use Retangular Marquee Tool to make a selection for the part you want and set feather as 20 ( depends on the size of your picture):
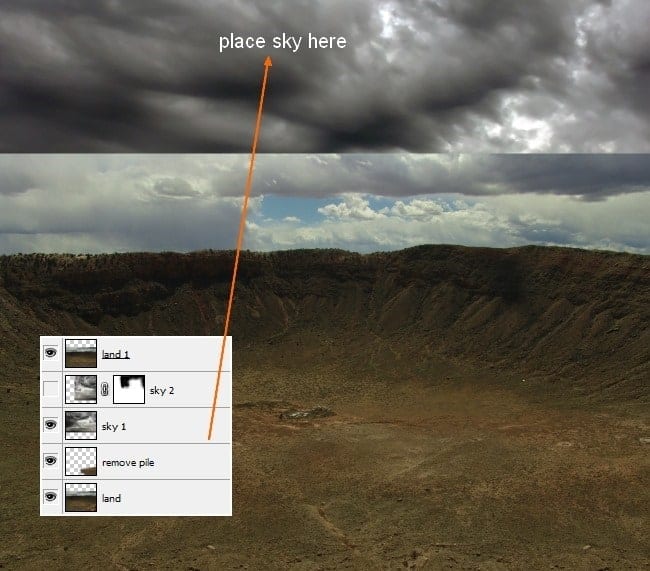
Use Move Tool to drag it into our document, downsize and place this layer under “land 1″ layer but above “land” and “remove pile” one. Name it as “sky 1″:
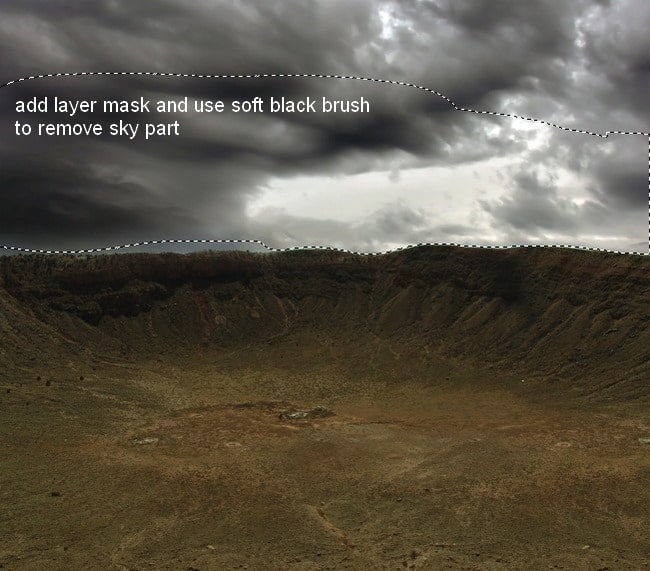
On land 1 layer, add layer mask and use soft black brush to remove sky part of land:
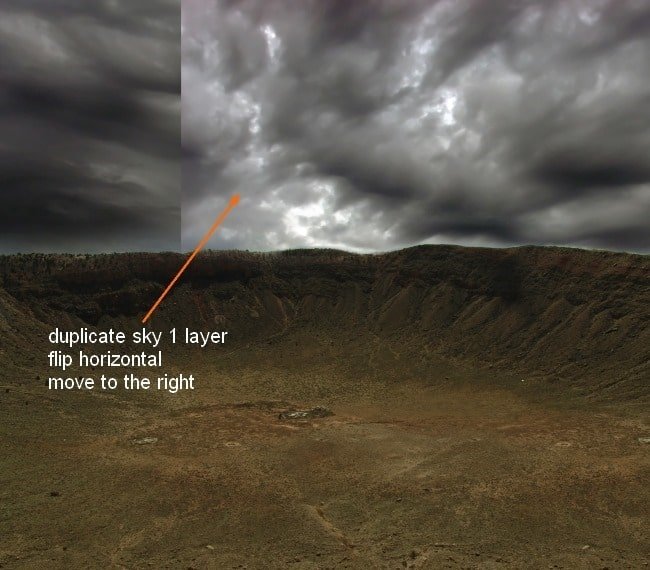
Duplicate sky 1 layer, apply Flip Horizontal for it then move it to the right like the image below shows:
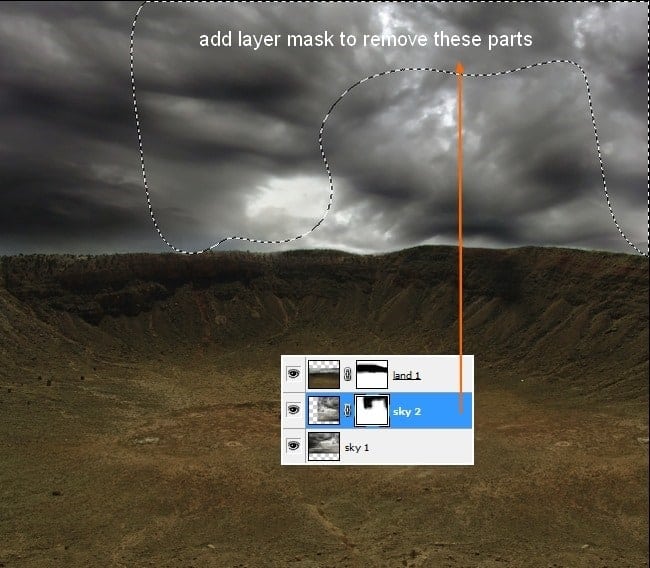
Name it “sky 2″. Add layer mask to remove some parts to make this sky blend better with background:
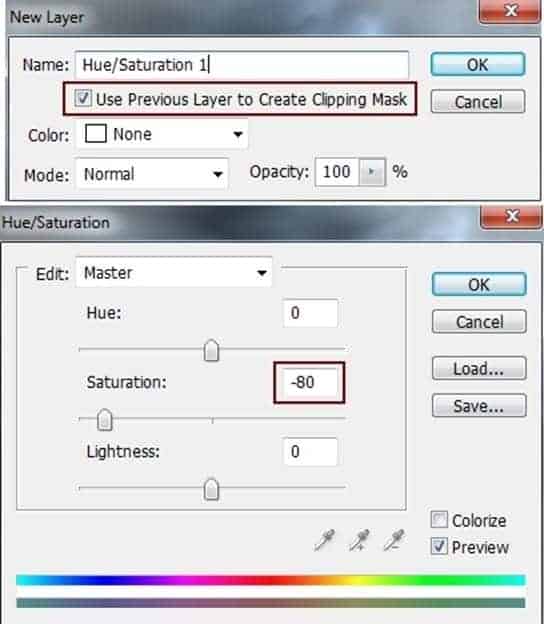
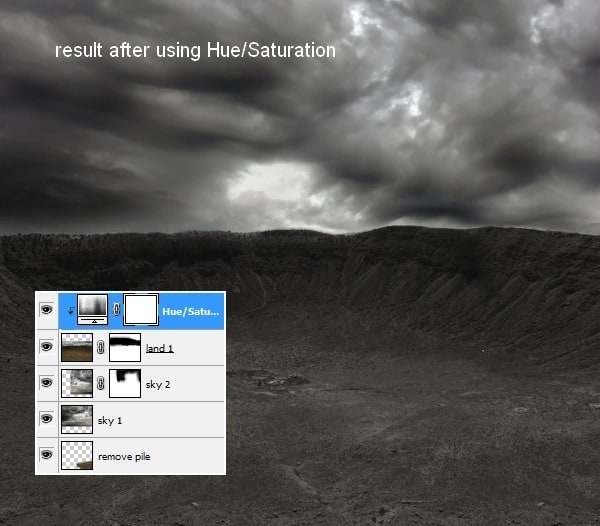
Step 3To make color of the land fit sky, I use a new adjustment layer for land 1 layer with Clipping Mask. On land 1 layer, go to Layer-New adjustment layer-Hue/Saturation:
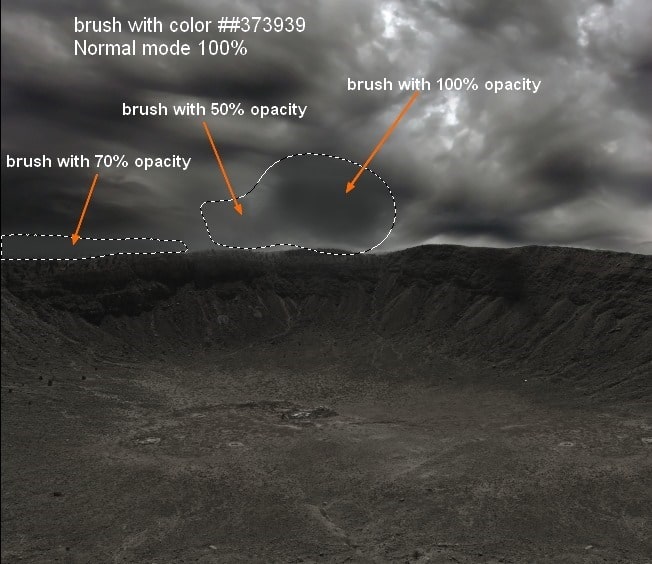
Step 4In this step I do a bit retouch for background. Create a new layer on the top. Use soft brush with color #373939 and paint on some parts of sky. I vary opacity of brush as shown below:
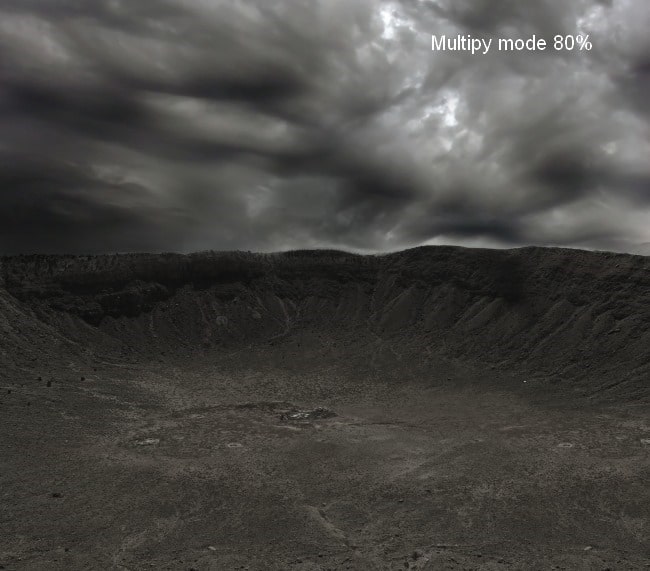
Change the mode to Multipy 80%:
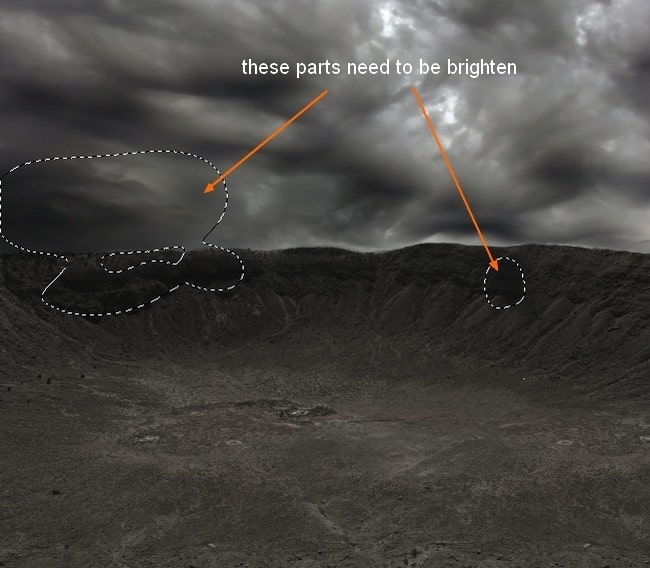
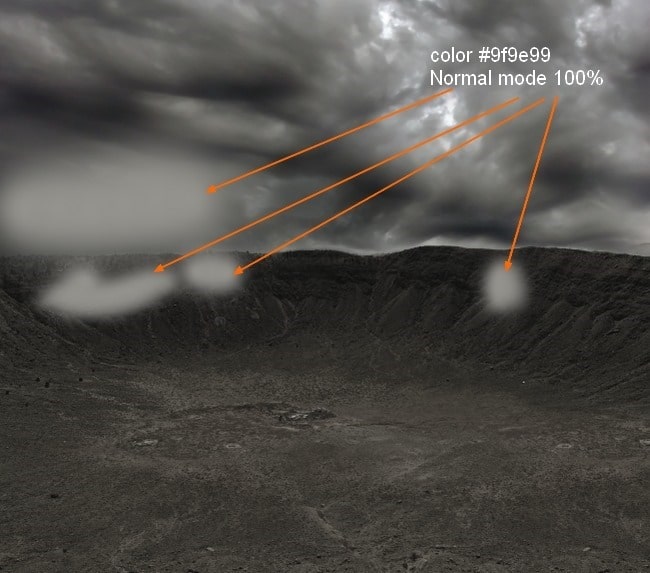
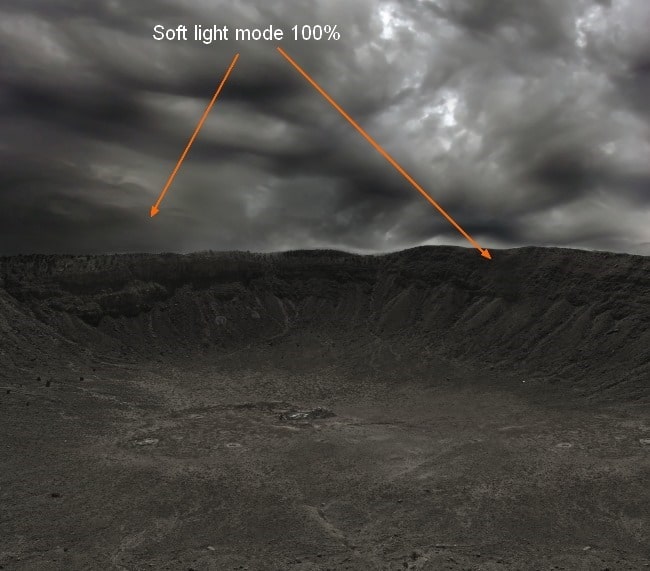
Make a new layer ( Cmd/Ctrl+Shift+N) and I use brush with color #9f9e99. Painting on the left side of sky and some parts of background to brighten them. Set the mode of this layer to Soft light 100%:
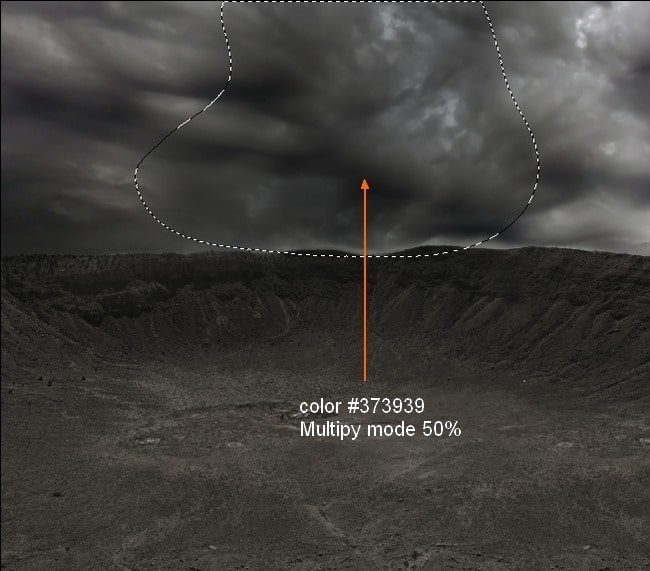
To darken another parts of sky I use brush and color #373939. On a new layer, use this brush and paint on sky center. Put the mode as Multipy 50%:
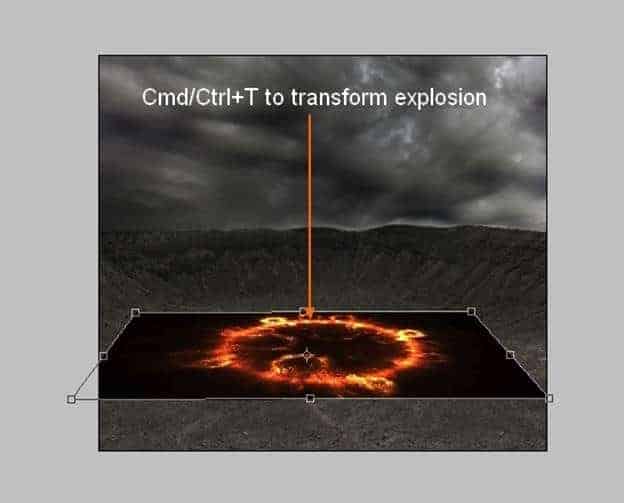
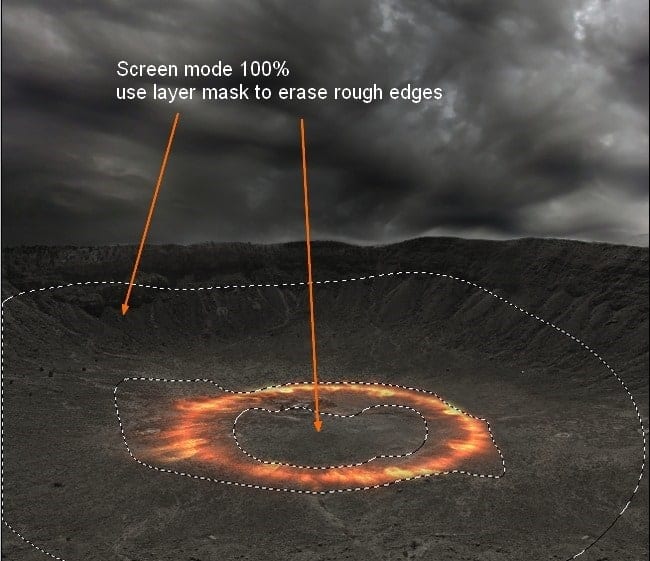
Step 5Open explosion stock. Use Move Tool to drag it into our canvas. Press Cmd/Ctrl+T to scale it down and transform it as shown below:
Change the mode to Screen 100% and add layer mask for this layer. Use soft black brush to remove the rough edges and the part within this explosion:
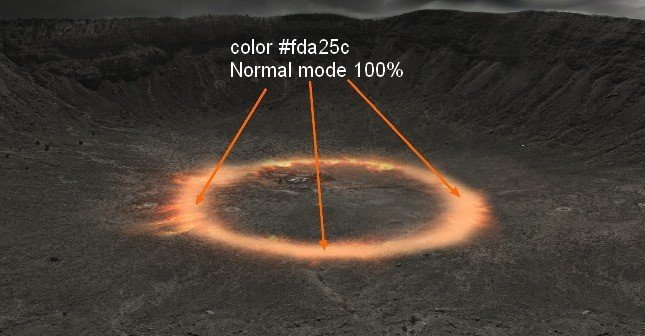
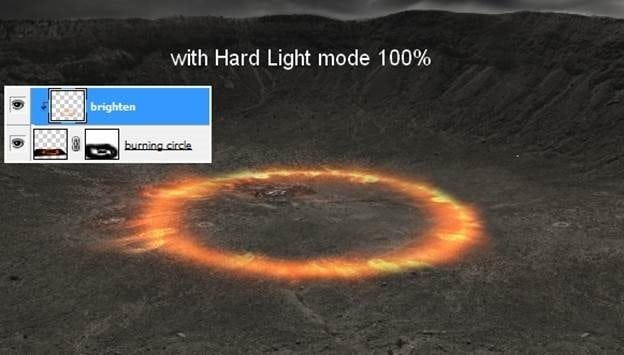
Name this layer as “burning circle”. Step 6I use a layer with Clipping Mask to brighten this circle. Take soft brush with color #fda25c. Painting around this circle and change the mode to Hard Light 100%:
|
| You are subscribed to email updates from Photoshop Tutorials To stop receiving these emails, you may unsubscribe now. | Email delivery powered by Google |
| Google Inc., 20 West Kinzie, Chicago IL USA 60610 | |



0 comments:
Post a Comment