Photoshop Tutorials: Quick Tip: How to Create a Triangle Pixelation Effect in Photoshop |  |
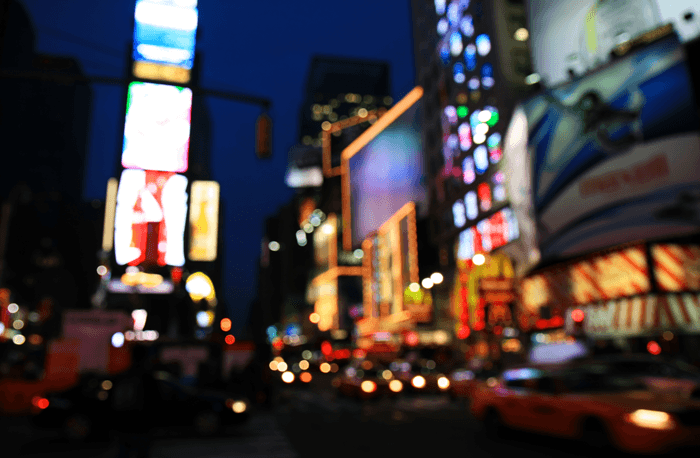
| Quick Tip: How to Create a Triangle Pixelation Effect in Photoshop Posted: 27 Jun 2013 07:42 PM PDT Final Results 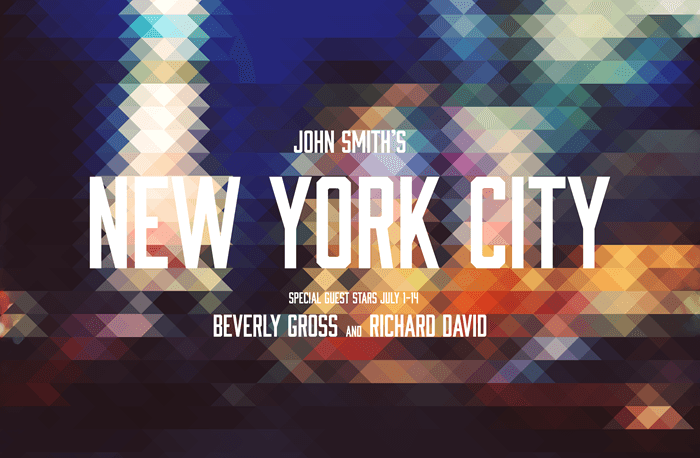 Step 1Start by opening any photo you want into Photoshop. You should resize the image to your final output size before you continue. This is the photo that we'll be using.
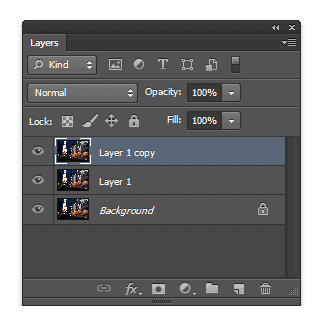
Step 2Duplicate your background layer twice.
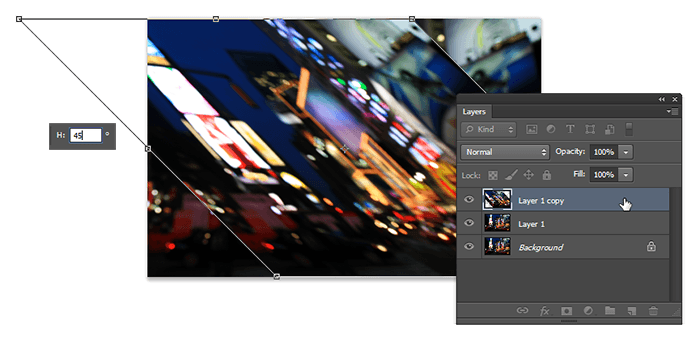
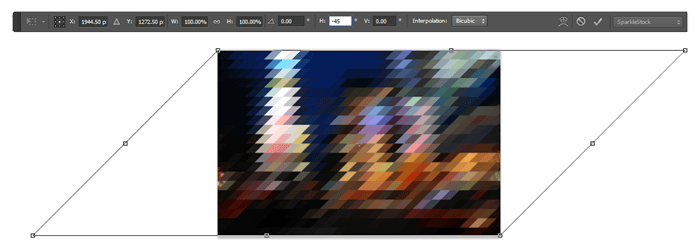
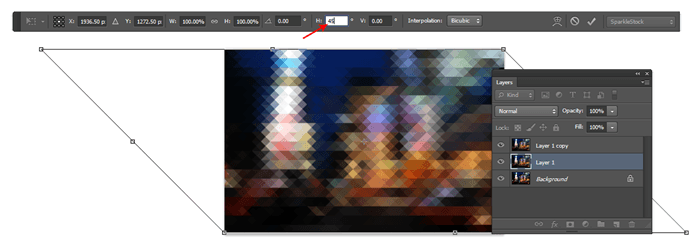
Step 3Activate the Transform tool (Ctrl/Cmd+T or Edit > Free Transform) then set the horizontal skew value to 45º. The horizontal skew setting is located in the options bar when you have your Transform tool activated. Press Enter to apply the transformation.
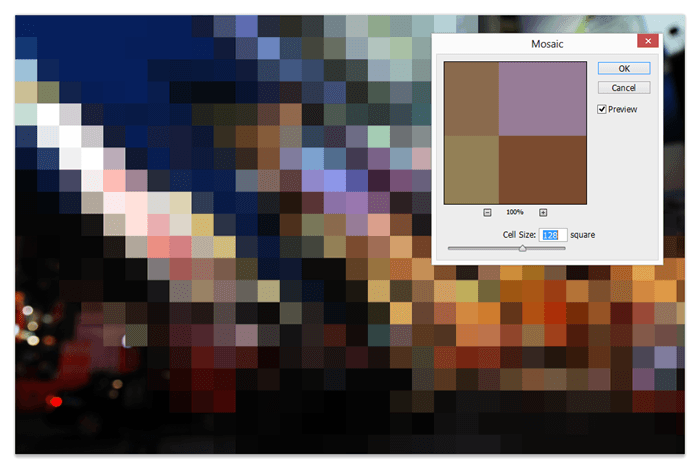
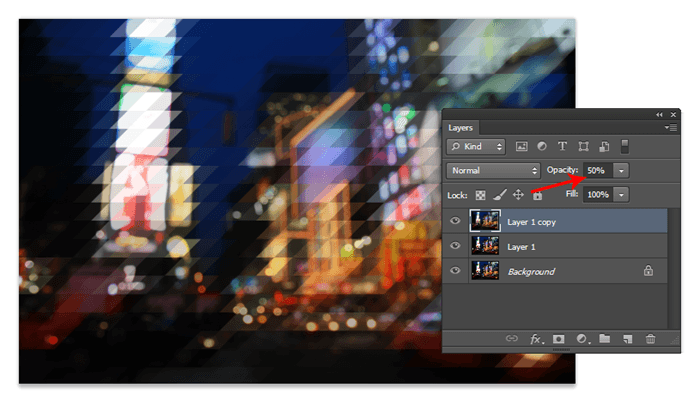
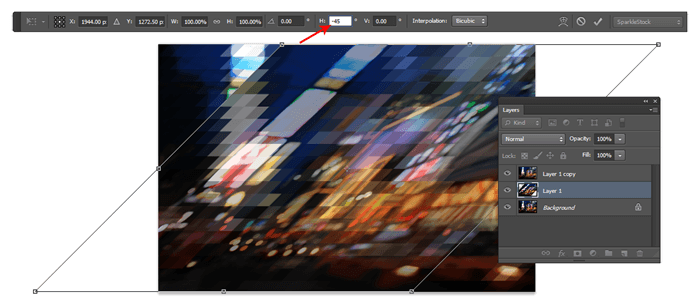
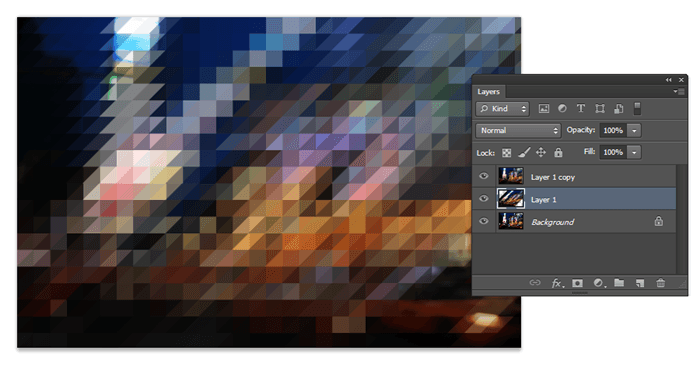
Step 4Go to Filter > Pixelate > Mosaic. Adjust the cell size setting to anything you like then click OK. Step 5Next, we're going to transform it the opposite way. Activate the Free Transform tool (Ctrl/Cmd+T or Edit > Free Transform) then set the horizontal skew setting to –45º. Press enter to apply the transformation. Step 6Set this layers opacity to 50% then select the middle layer. We're going to be doing the same steps but with transformations done Step 7With the middle layer selected, activate the Free Transform tool (Ctrl/Cmd+T or Edit > Free Transform) then set the horizontal skew to –45º. Step 8Apply the same mosaic filter again. You can do this quickly by pressing Ctrl/Cmd+F or by going into the filter menu and selecting the first filter in the menu. Photoshop automatically places your last used filter on the top of this menu. Step 9Use the Free Transform tool (Ctrl/Cmd+T or Edit > Free Transform) to transform the layer back to its original shape by setting the horizontal skew value to 45º.
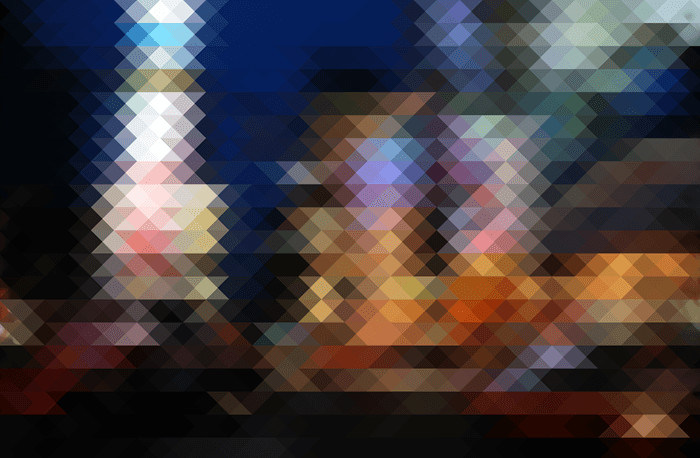
Step 10We're pretty much done but if you zoom, you can see that the edges don't really line up. To fix this, press the left or right arrows on your keyboard to nudge the layer until the intersections align.   Here's how the image looks like so far. Step 11If you'll be using this as a background, you might want to apply a faded/vintage film effect. We used the Vesper effect from the Instagram Video Photoshop actions and completed the look with some text using the Abolition font.
Final Results  Download the PSD |
| You are subscribed to email updates from Photoshop Tutorials To stop receiving these emails, you may unsubscribe now. | Email delivery powered by Google |
| Google Inc., 20 West Kinzie, Chicago IL USA 60610 | |



0 comments:
Post a Comment