Photoshop Tutorials: Create a Mysterious Scene with Planets |  |
| Create a Mysterious Scene with Planets Posted: 22 Jul 2013 12:06 AM PDT
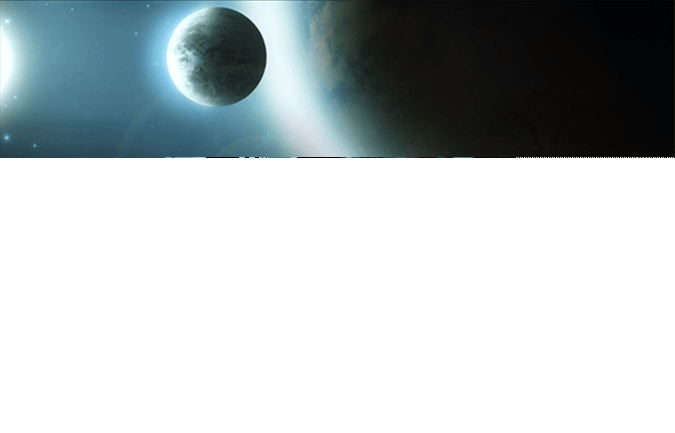
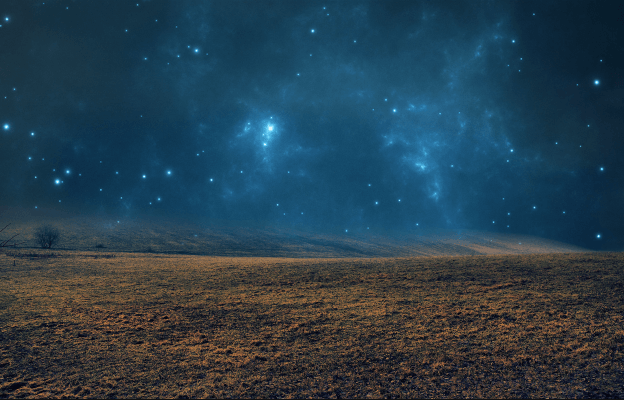
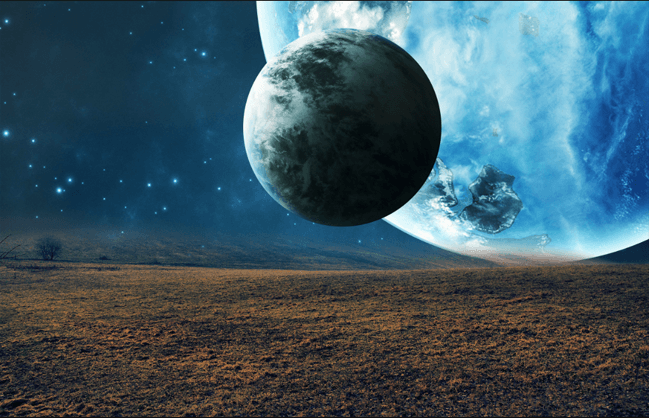
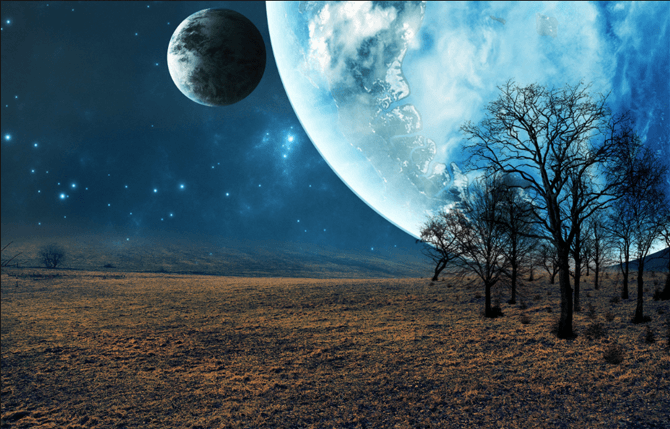
Preview of Final Results
Tutorial Resources
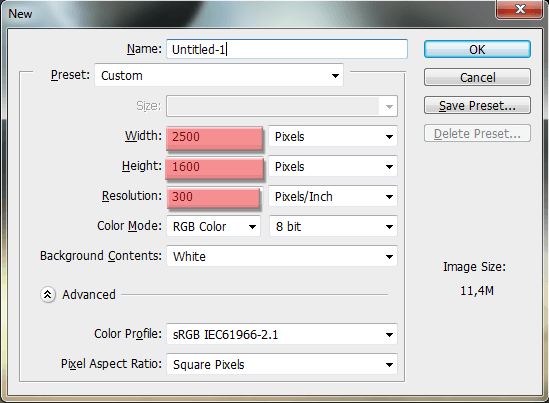
Step 1: Creating a new Photoshop fileLet's start off by creating a new Photoshop file. Create a new file with the following settings:
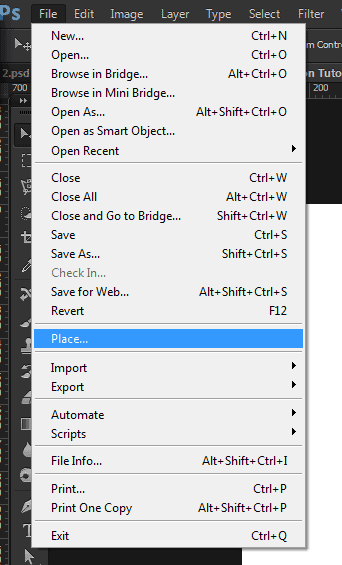
Step 2: Adding the fieldThe first thing we're going to add to our manipulation is the field. Go to File -> Place (see image below for reference) and place the Field resource into our project.
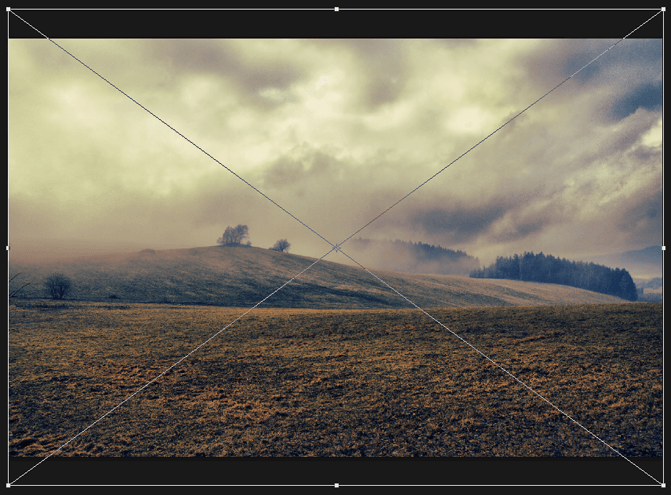
This is what you should see in your screen now:
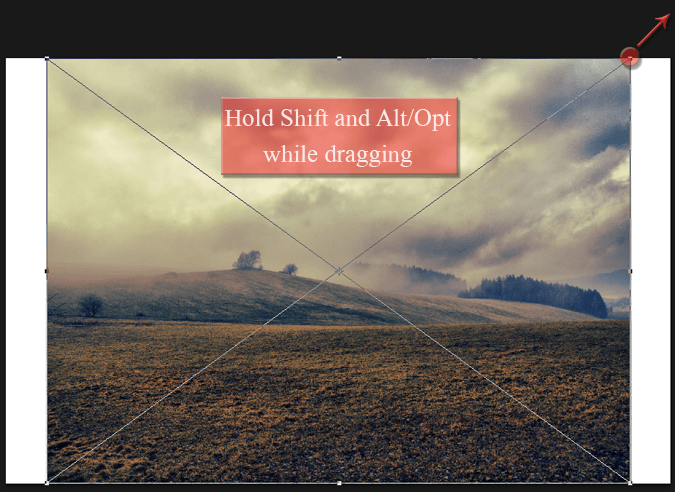
Now hold Shift+Alt/Opt, click on the top right corner of the image, and drag the mouse in the direction of the arrow shown in the image below. This will increase the size of the image while maintaining it in its center.
Try to increase the size of the field until it reaches the borders of our project.
To confirm the changes just hit Enter, or click in that little check sign on the top bar:
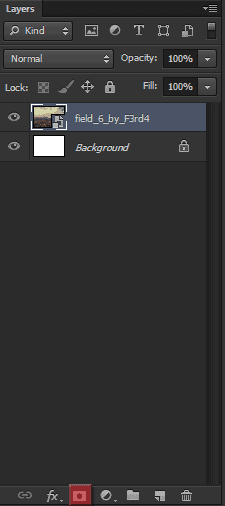
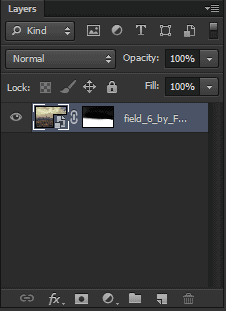
Now let's create a layer mask to hide the sky part of this image, because we won't be needing it. With this layer selected, click on the "Add Layer Mask" button (highlighted in the image below).
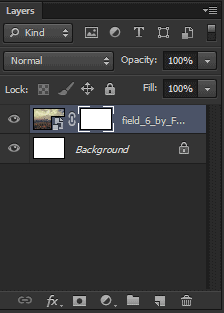
This is how your layers panel should be looking like after that:
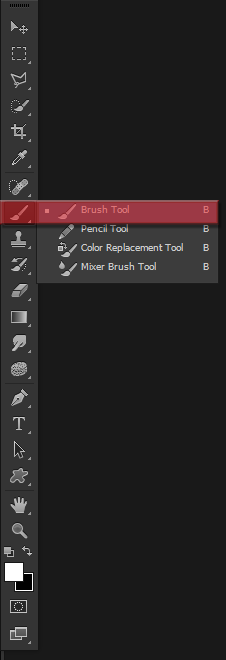
Now select the brush tool (see the image below). You can also use the shortcut B.
Keep the Opacity and the Flow of the brush at 100% (settings are located on the top panel).
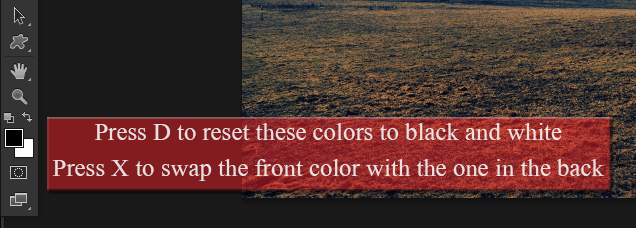
We're going to paint the sky part of our layer with black, to hide unwanted parts of our image in a non-destructively way. To easily select black while painting a layer mask, press D to reset the colors of your palette, and then press X to swap them and make black as your foreground color.
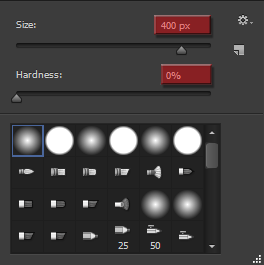
Right click anywhere in the image to change the size and hardness of the brush. Keep the size between 200-400px (you can reduce the size to help paint some parts) and keep the hardness at 0% at all times. Here are some shortcuts to help speed up your work: · To increase the size of a brush hit ] · To decrease the size of a brush hit [
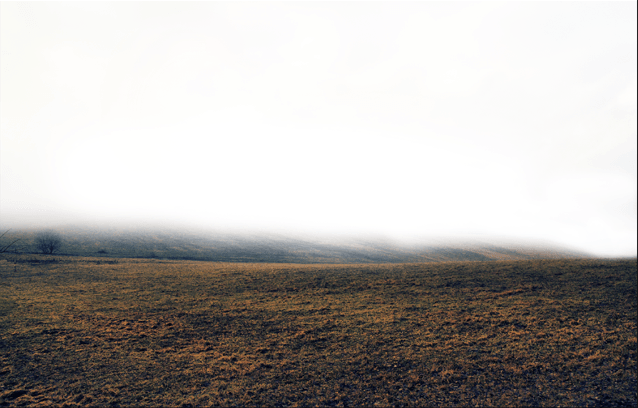
Paint the whole sky and some parts of the mountains with black. Check the image below and try to reach a result similar to this one.
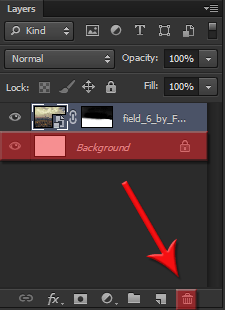
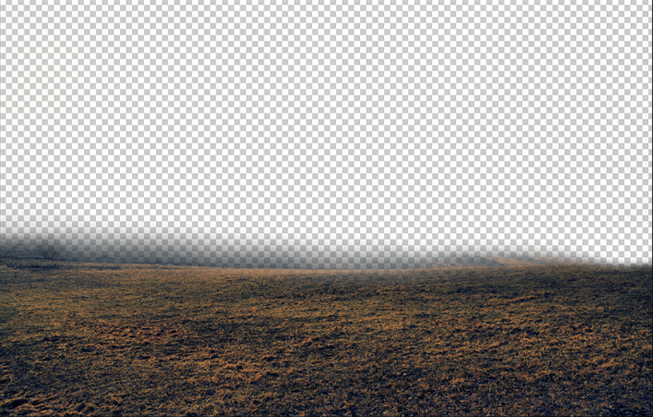
And we're done with the Field. If you have a Background layer like me, delete it by clicking on it and dragging it to the recycle bin (check the image below for reference).
Now your canvas should be transparent instead of white, just like this:
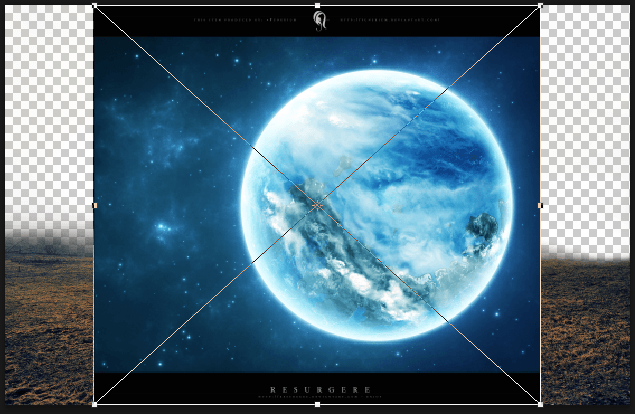
Step 3: Adding the skyLet's add some sky to our project. Go to File -> Place again and select the big blue planet ("cosmos1_0009").
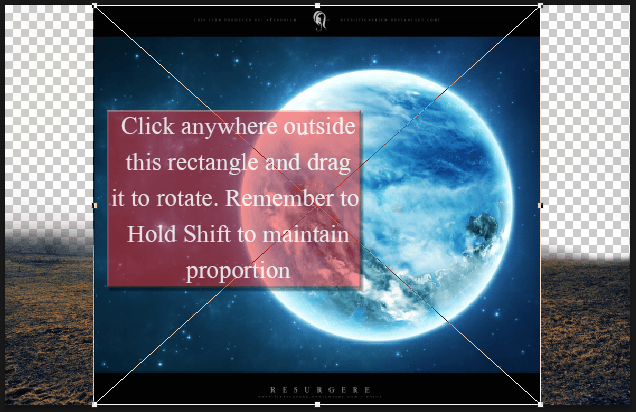
Every time you place an image into your project, you automatically have the control of the Free Transform Tool. This is a really common tool, and basically it lets you move, rotate and scale your image. Here's how it works:
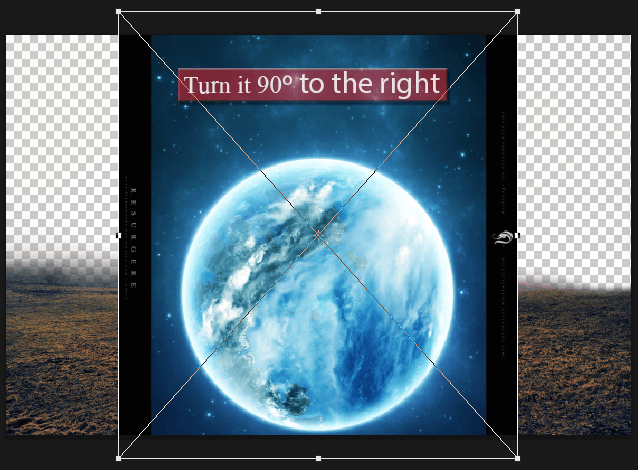
Ok, so we'll start with a rotation. Rotate the image following the instructions above, and remember to hold Shift while doing it, so the rotations will be multiples of 15º.
Rotate the planet 90º to the right, like this:
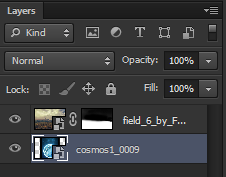
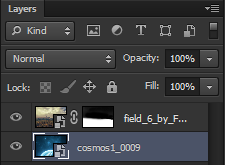
Now we have to put this layer behind the field layer. To do that, just click and drag this layer below the other one.
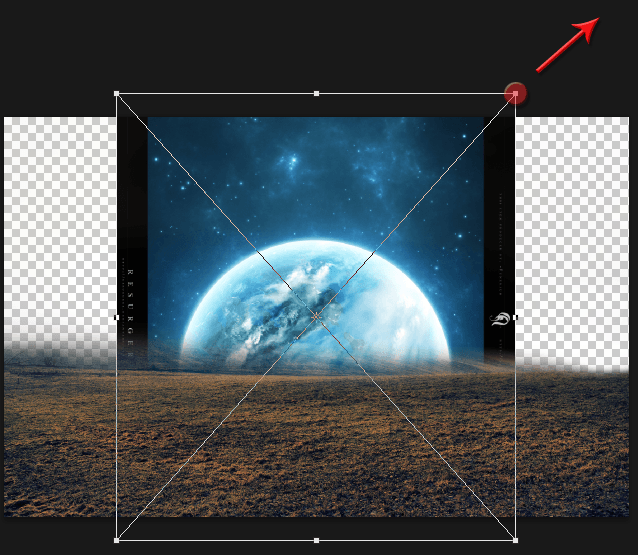
Now we're going to increase the size of this image so it can fill our whole canvas. Hold Shift, click on the top right corner of the image and drag it on the direction of the arrow:
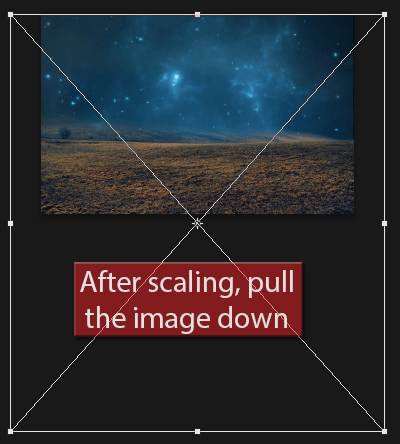
After scaling the image, drag it down by clicking anywhere inside the rectangle and dragging everything down. Check the image below for reference.
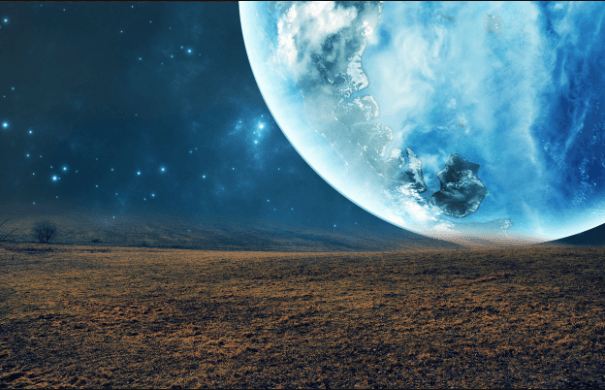
So here's the result of this step:
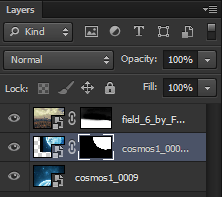
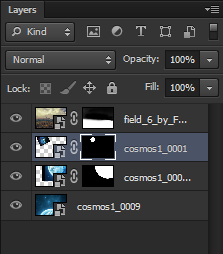
And this is how your layers panel should be looking like:
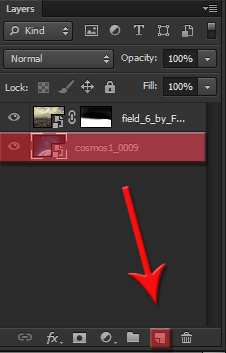
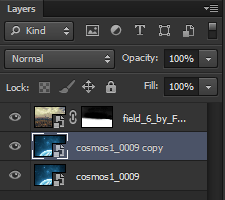
Step 4:Adding the first planetIn this step we're going to add the big planet into our project. Because we are working with smart objects, we can easily do this by creating a copy of our cosmos layer. Drag the cosmos layer into the button highlighted in the image below to create a copy of it.
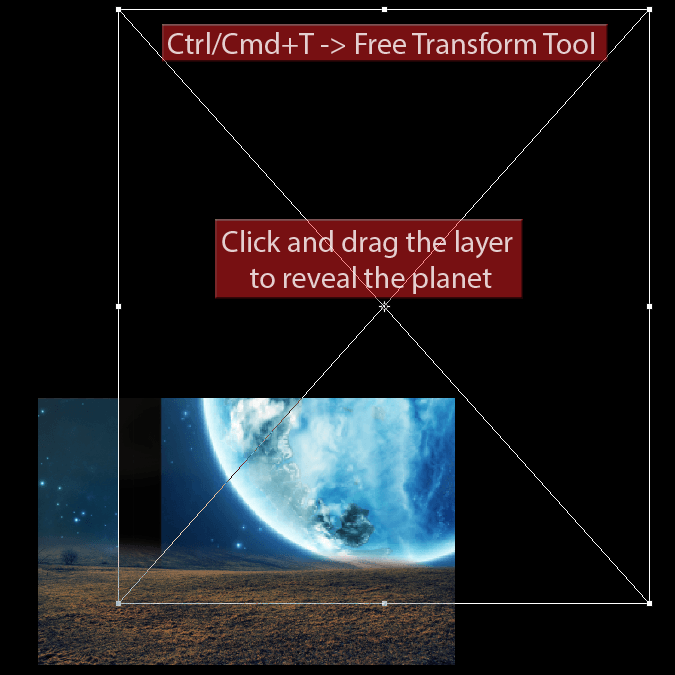
Now hit Ctrl/Cmd+T to bring up the Free Transform Tool (or go to Edit->Free Transform). To reveal the planet, all we have to do is drag this layer up, like this:
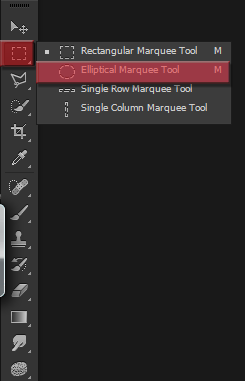
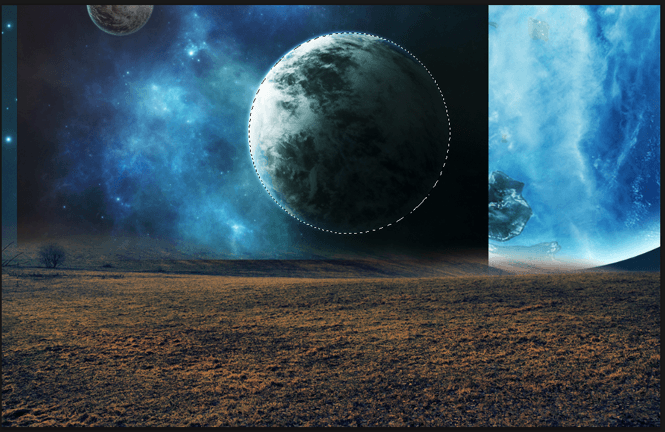
Let's select the only part of the layer we want to work with (the planet itself) and delete the rest of it. To do that, select the Elliptical Marquee Tool (Shortcut: M).
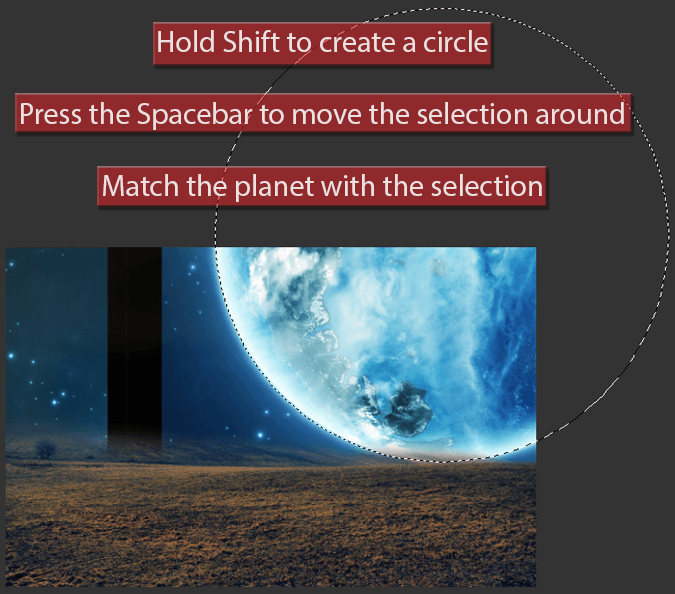
Now we have to make a perfect round selection of the planet. Take a look at the instructions in the image below and try to make the selection as accurate as possible.
With the selection made, create a new layer mask in the image by clicking on the "Add Layer Mask" button.
Here's the result:
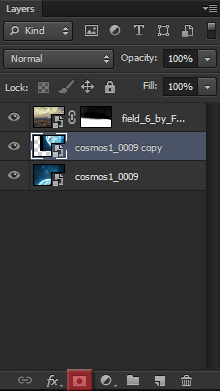
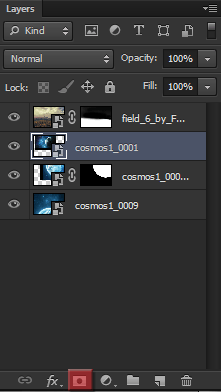
And here's how your layers panel should be right now:
Step 5: Adding the second planetTo add our second planet into the project, follow the same process we did before. Go to File -> Place and select the "cosmos1_0001.jpeg" image.
Drag the image up a little bit so we can make a selection around this new planet.
Select the Elliptical Marquee Tool again (Shortcut M) and repeat the same steps we did with the other planet to select this one.
With the selection made, create a new layer mask in this layer by clicking on the "Add Layer Mask" button.
Here's the result:
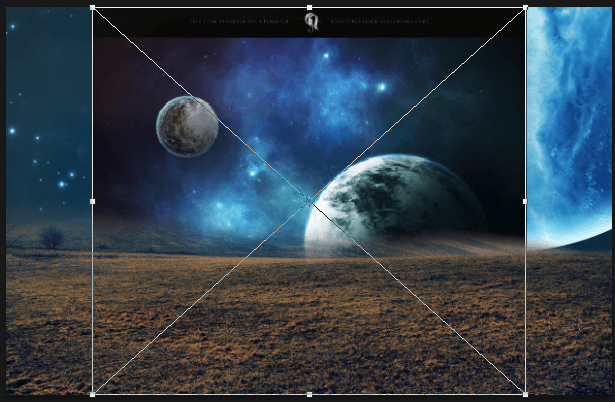
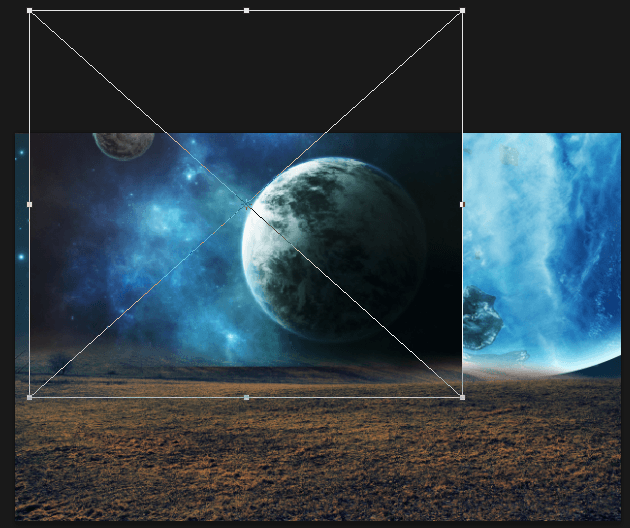
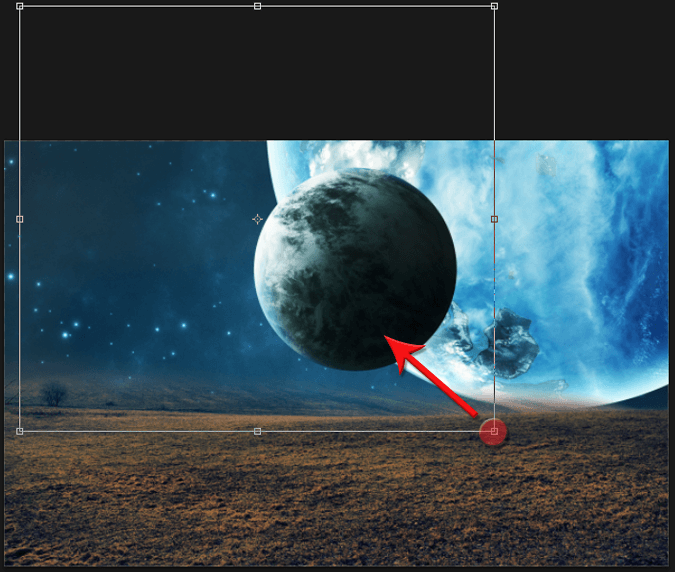
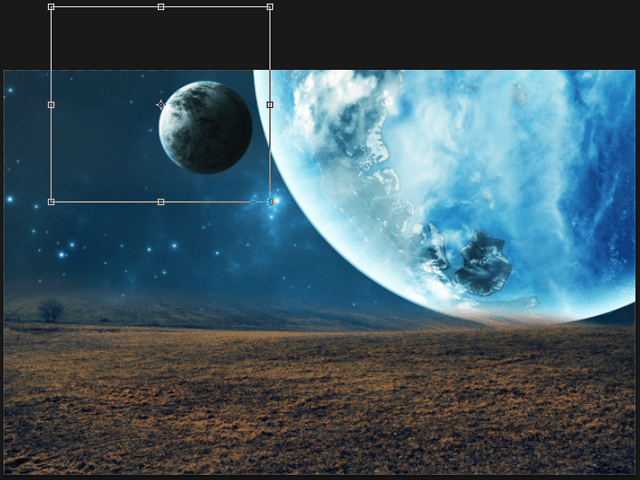
Now we're going to have to resize, move and rotate the planet. To do that, use the Free Transform Tool (Ctrl/Cmd+T) and check the images below: · Remember to always hold Shift while scaling to maintain the proportions
After resizing it, drag the planet to this position:
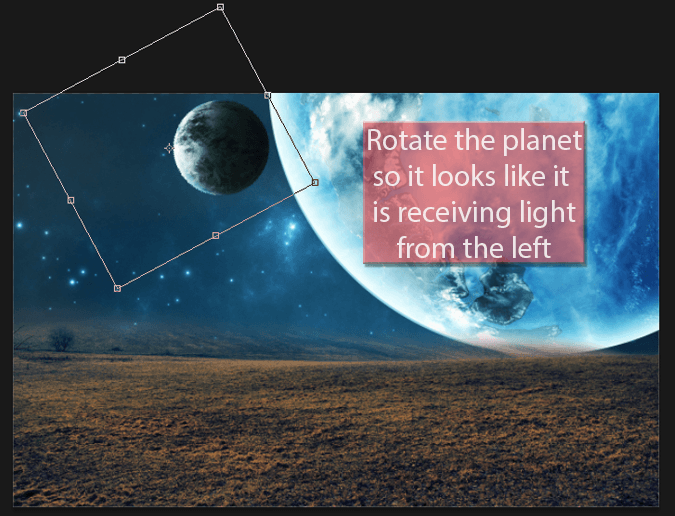
The final step is to rotate the planet. With the Free Transform Tool still activated, rotate the planet (click and drag outside the rectangle) based on the instructions in the image below: · You don't have to hold Shift while rotating this time
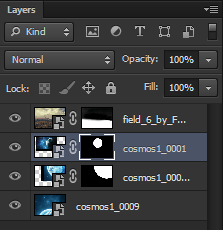
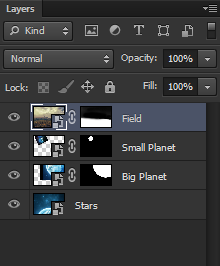
Here's the final result in our image and in our layers panel:
Step 6: Improving our layersBefore we continue let's arrange our layer in a better way. To start off, change the names of all ours layers to something that represent them (so we don't get lost in the future). To change the name of a layer simply double click on its name. Here's how I renamed my layers:
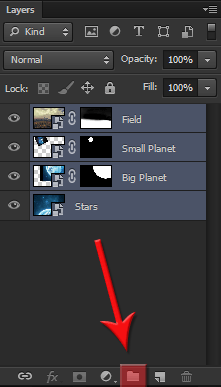
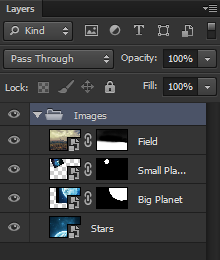
After you've renamed all of your layers, select all of them (click on the first one, hold Shift and click on the last one) and drag them to the "Create new Group" button.
Name this new group Images (or anything else you want) and we're good to go.
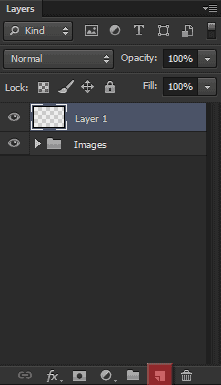
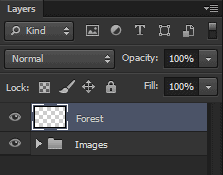
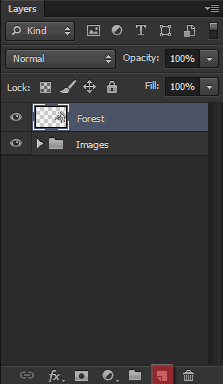
Step 7: Adding the forestWe're done with the photo manipulation part of our project, we are now only going to work with brushes. Let's start off by adding the forest to the right part of our image. If you're not familiar with installing and using Photoshop brushes, I suggest you take a look at this video on how to install Photoshop brushes. So now that you know how to install new brushes into Photoshop, you can go ahead and download and install the four brush packs that we are going to need for the next steps. It's two tree packs, one bushes pack, and one people pack. After all done, create a new layer in our project by clicking in the "Add new layer" button (or use the shortcut Ctrl/Cmd+Shift+Alt/Opt+N). Rename this new layer Forest.
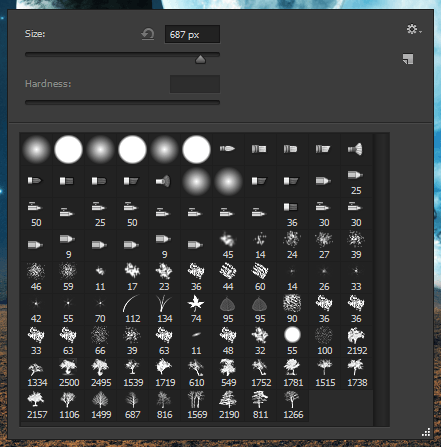
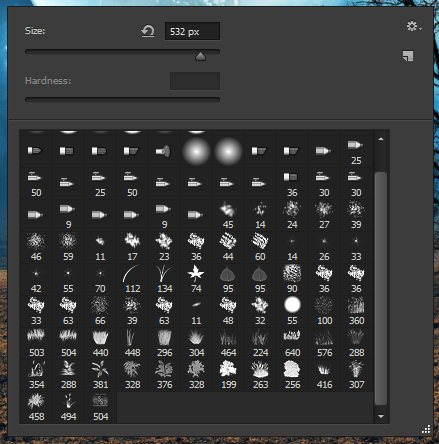
Now load the 2 trees silhouettes pack we downloaded into our brush panel (check the beginning of that video to see how).
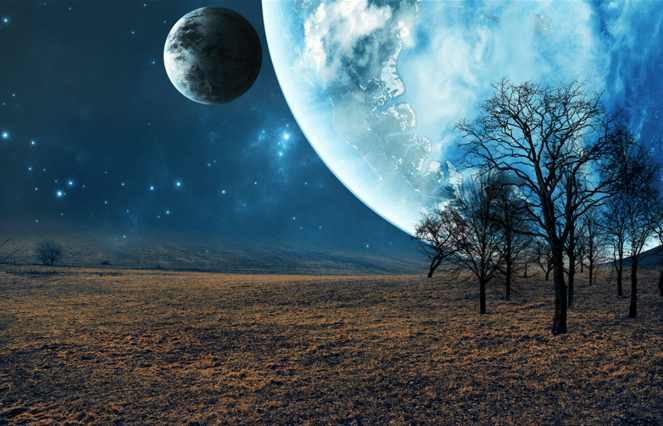
Make sure black is your foreground color (press D), leave the opacity at 100% and let's start creating the forest! · Try to achieve a fade away effect (taller trees in the front, smaller trees behind) · Do not overcrowd the image, try to keep a nice balance where the viewer can identify the trees · You can use any type of tree you want to, but make sure that you maintain a certain pattern with them (if you start with trees with no leaves, keep all of them like that) · You can use the same brush more than once, but make sure you use it with different sizes and place them in different places Here's the step-by-step of how I did mine:
Step 8: Adding the bushesNow we're going to do the same thing we did in the previous step, but this time with bushes. First, load up the bushes brush pack into Photoshop.
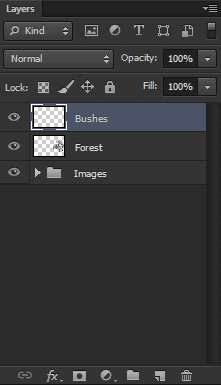
Create a new layer by clicking on the "Add new layer" button (or the shortcut Ctrl/Cmd+Shift+Alt/Opt+N) and name it Bushes.
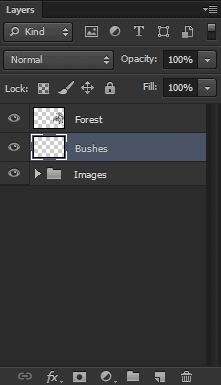
Place this new layer behind the forest layer.
Set your foreground color to black (press D), make sure the opacity of your brush is at 100%, and go crazy with the bushes! Try to follow the same idea we used with the trees, bigger bushes in the front, smaller on the back, and try to create a nice little grass for our trees. Here's my step-by-step:
Remember: there's no right or wrong in these two last steps, just be creative! |
| You are subscribed to email updates from Photoshop Tutorials To stop receiving these emails, you may unsubscribe now. | Email delivery powered by Google |
| Google Inc., 20 West Kinzie, Chicago IL USA 60610 | |










0 comments:
Post a Comment