


Photoshop Tutorials: Quick Tip: Easily Create Seamless Photo Textures You can Tile | |

| Quick Tip: Easily Create Seamless Photo Textures You can Tile Posted: 17 Feb 2013 06:04 PM PST Final Results Preview 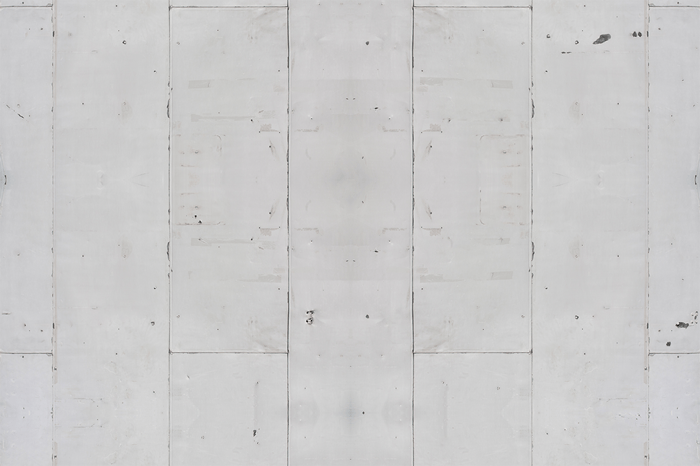 Tutorial ResourcesStep 1Open a photo that you want to turn into a texture. The easiest photos to use are the ones with the least lines, lens distortion, tilt, and differentiating colors. Here's the photo that we'll be using for this tutorial. Download the image and use it to follow this tutorial.
Step 2First, we need to get rid of the barrel distortion and vignette. You can do this quickly and easily with the Lens Correction tool (Filter > Lens Correction). Your photo should have its original camera metadata for this to work its best. In the Lens Correction tool, Photoshop should auto-detect the settings and apply the correction for you. If it doesn't work out, go into the Custom tab and adjust the settings manually.
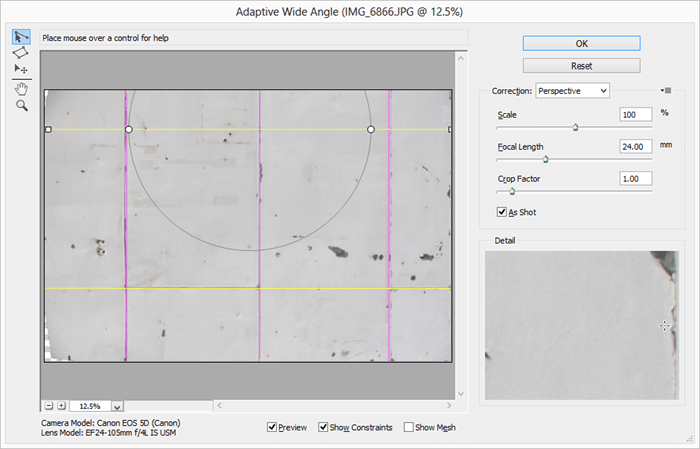
Here's our image with the lens correction applied. It's not perfect, but it's good enough – we can fix the settings later. 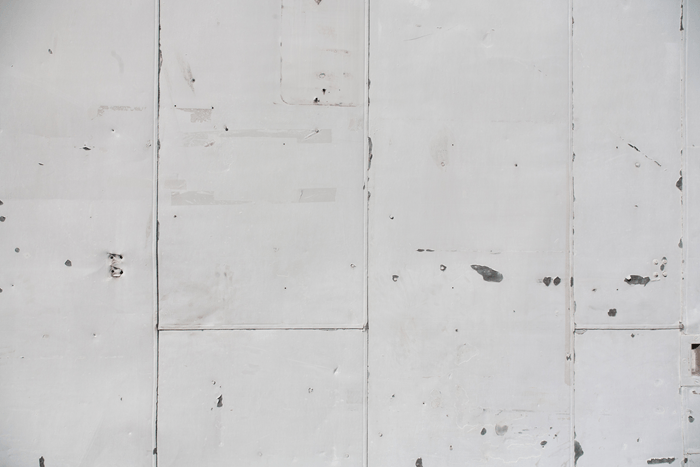 Step 3If your texture has lines that stretches from one side to the other, like the vertical lines in our photo, you'll need to use the Adaptive Wide Angle filter to align them so that they are perfectly horizontal/vertical. In the dropdown menu, select Perspective as the correction method. While holding down the Shift key, draw correction lines over any lines in the photos. Ensure that they match perfectly. Click OK when you're done.
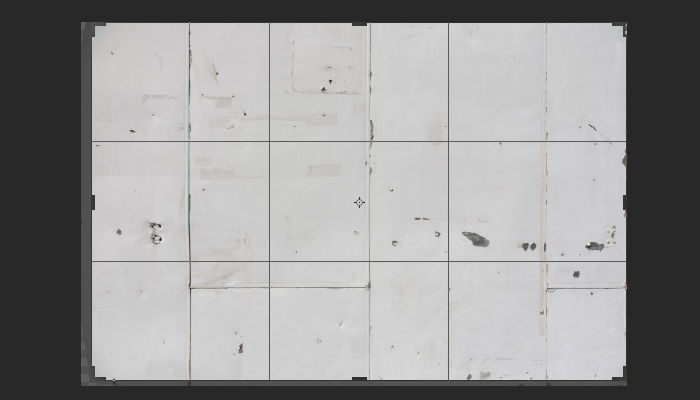
Step 4Select the Crop tool. In the options bar, checkmark the "Delete Cropped Pixels" option.
Crop the transparent areas out of the frame.
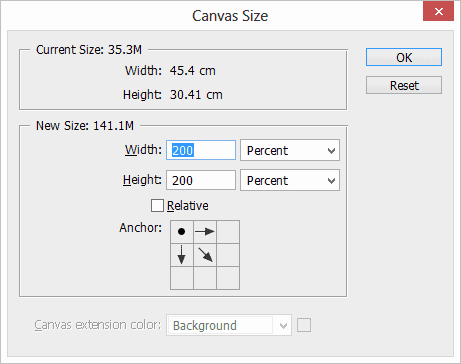
Step 5Go to Image > Canvas Size. Set the width and height to 200 percent, anchor to top-right, then click OK.
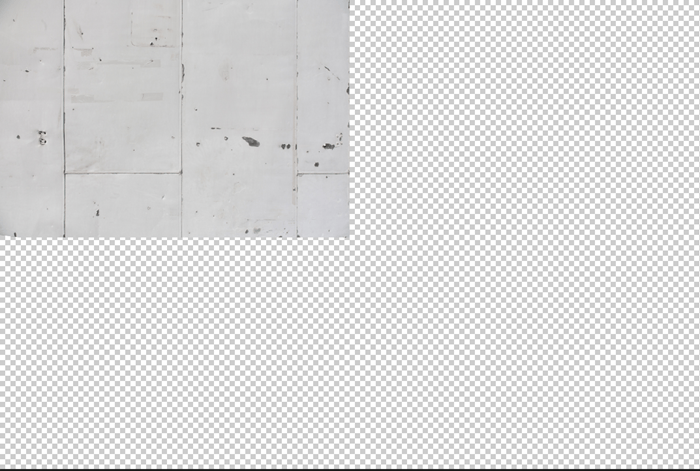
You should now have a lot of area to work with. We'll be extending the texture to cover these areas which will make your image dimensions around 4x larger.
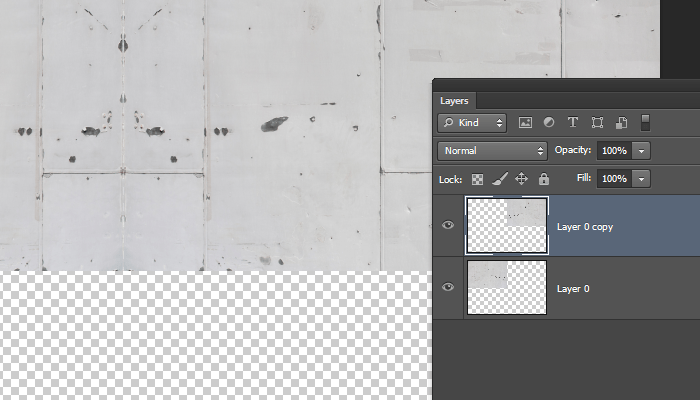
Step 6Duplicate the layer (Ctrl/Cmd+J) then go to Edit > Transform > Flip Horizontal. Use the Move tool to move the image to the top-right corner.
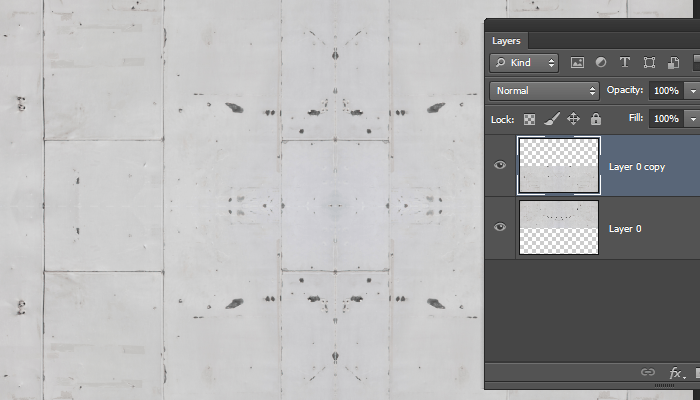
Merge the layers (Ctrl/Cmd+E) then duplicate the merged layers (Ctrl/Cmd+J). With the new layer selected, go to Edit > Transform > Flip Vertical. Use the Move tool to move the image to the bottom edge. Press Ctrl/Cmd+E to merge the two layers.
|

| You are subscribed to email updates from Photoshop Tutorials To stop receiving these emails, you may unsubscribe now. | Email delivery powered by Google |
| Google Inc., 20 West Kinzie, Chicago IL USA 60610 | |


0 comments:
Post a Comment