Photoshop Tutorials: Create this Breathtaking Photo Manipulation of a Tightrope Dancer in Photoshop |  |
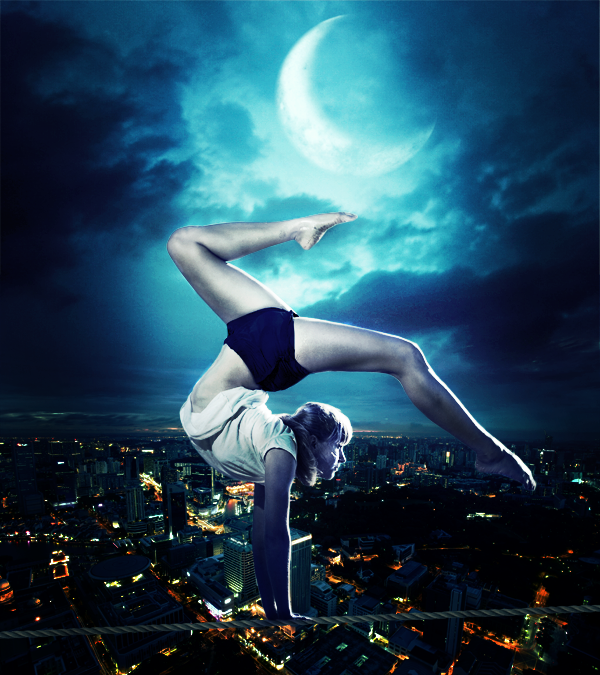
| Create this Breathtaking Photo Manipulation of a Tightrope Dancer in Photoshop Posted: 18 Feb 2013 11:47 AM PST Preview of Final Results
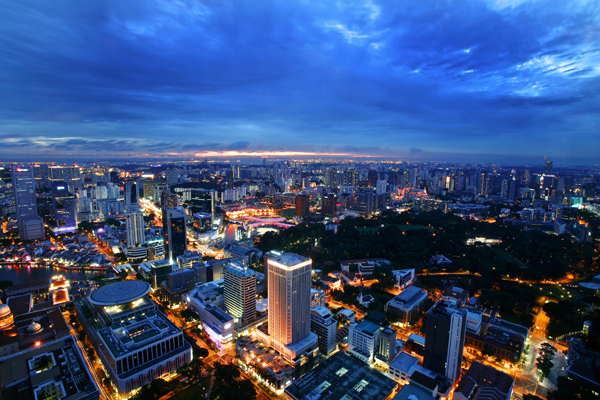
Download the PSDEquilibrium.zip | 106.38 MB Tightrope Dancer Photoshop TutorialResourcesStep 1Open the ‘City’ Stock.
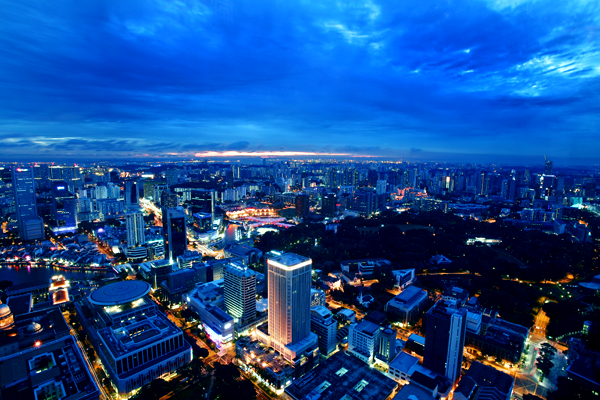
Step 2Add a Color balance Layer adjustment:
You’ll have this result.
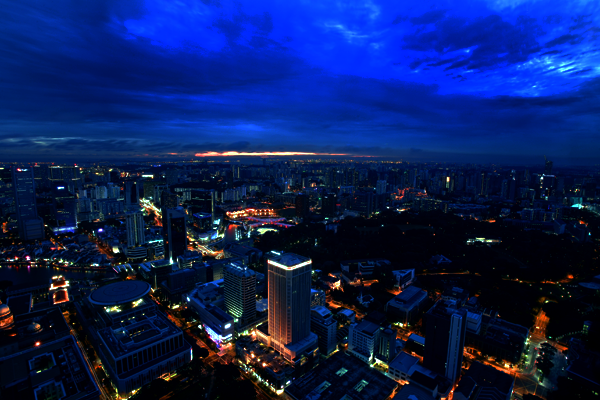
Step 3Add a Brightness / Contrast Adjustments Layer with these settings:
This is the result.
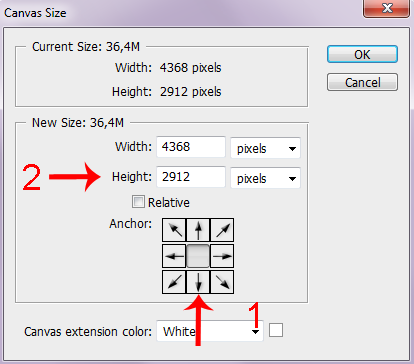
Step 4Now we have to add the ‘Sky’ to our work. So let’s create some space above the city. Go to Image > Canvas Size and click on the arrow I’m going to show you below (1). Then replace the Height with 4912 Pixels (2).
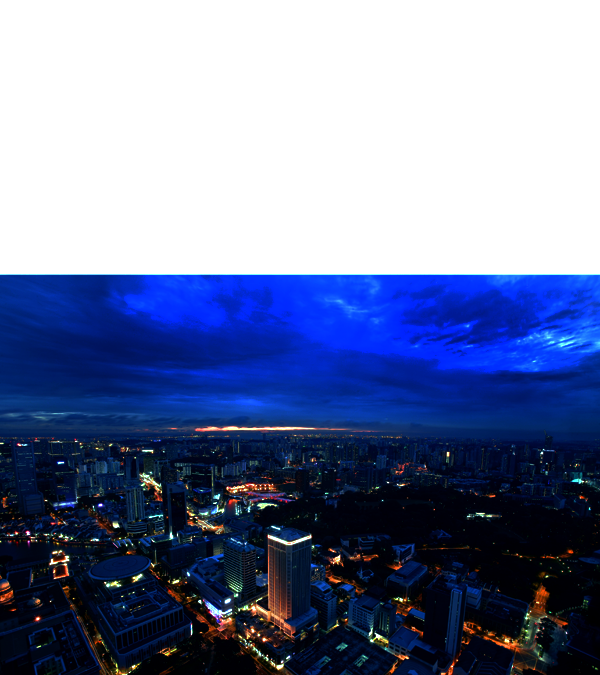
This is what we have now.
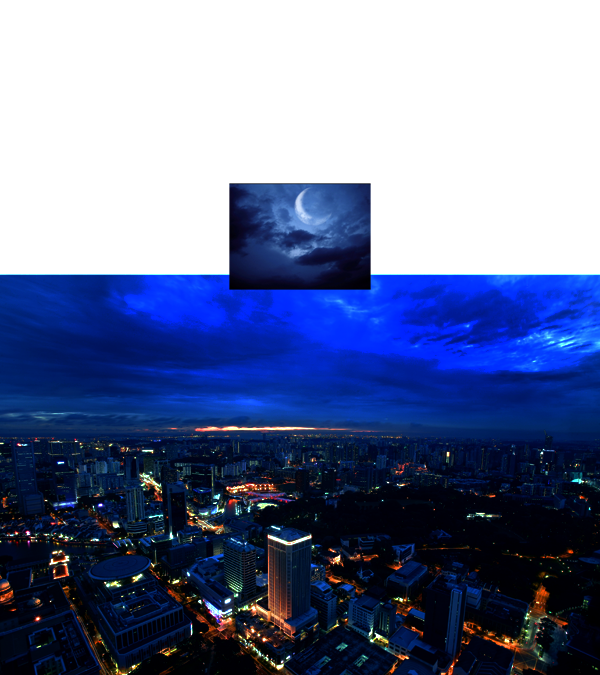
Step 5Open the ‘Sky’ stock. After cropping the stock rules advise put it in a new layer above everything.
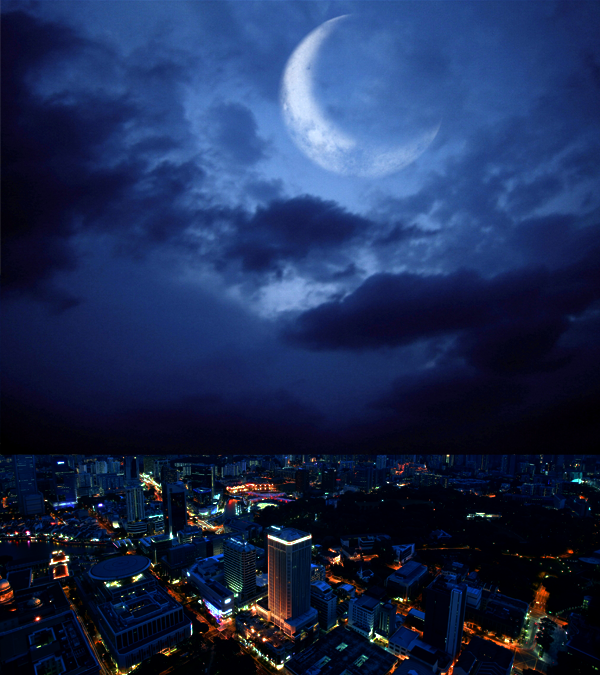
Step 6Now resize the sky to fit it in the canvas.
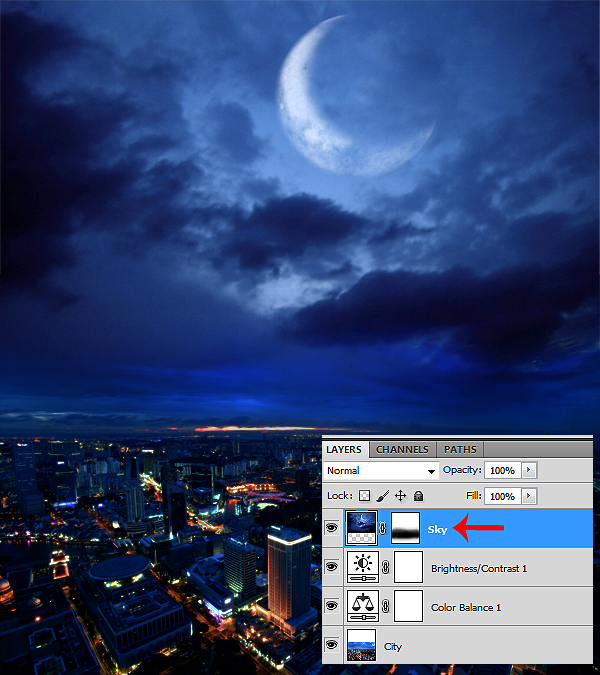
Step 7Add a Mask to the Sky layer. We need to blend it with the rest of the manipulation. Choose a soft round brush (Settings: Opacity > 30-40% – Size > 180 – Color > Black) and on the layer Mask start to paint at the bottom of the sky to gently delete the strong contrast between it and the city.
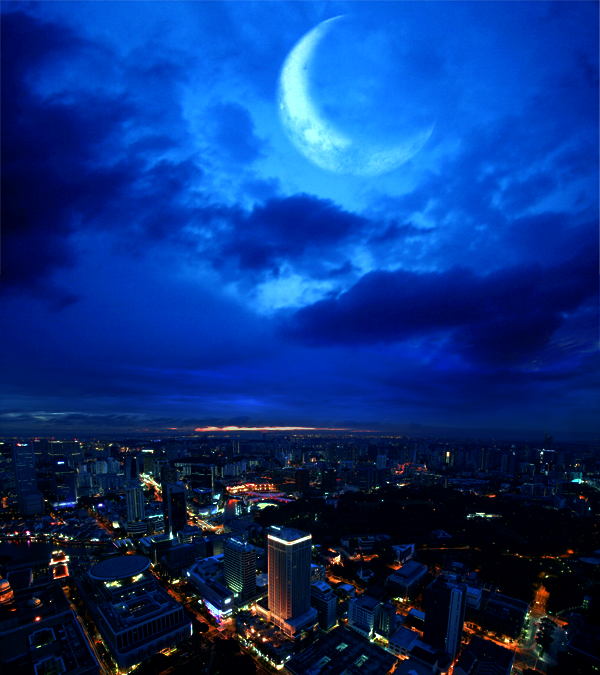
Step 8Add a Color Balance Adjustment Layer ONLY for the Sky.
This is the result.
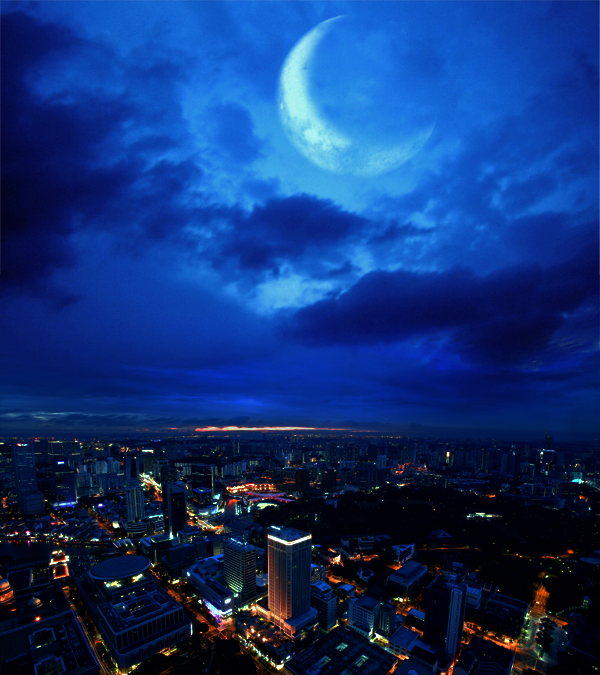
Step 9The background looks too saturated. Let’s add a Hue/Saturation Adjustment Layer
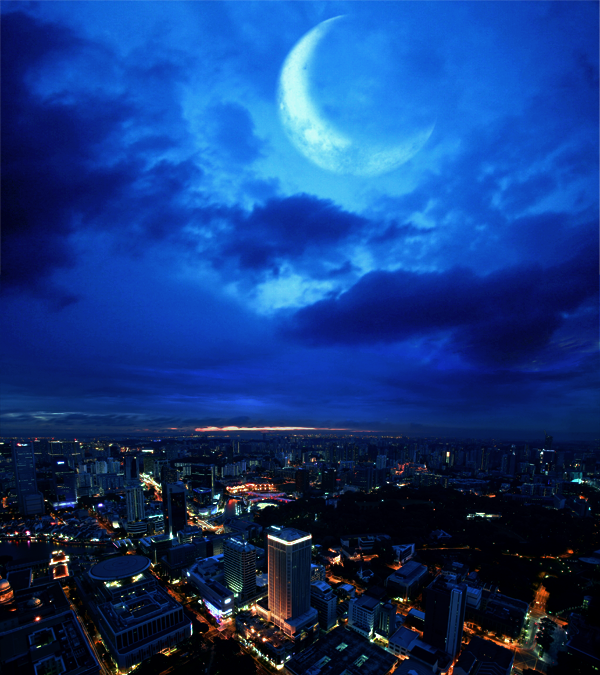
Step 10Add a Brightness / Contrast Adjustment Layer to give more Light. Set the brightness to +20. Here’s the result.
|
| You are subscribed to email updates from Photoshop Tutorials To stop receiving these emails, you may unsubscribe now. | Email delivery powered by Google |
| Google Inc., 20 West Kinzie, Chicago IL USA 60610 | |



0 comments:
Post a Comment