Photoshop Tutorials: How to Create a Breathtakingly Artistic Winter Horse Illustration in Photoshop |  |
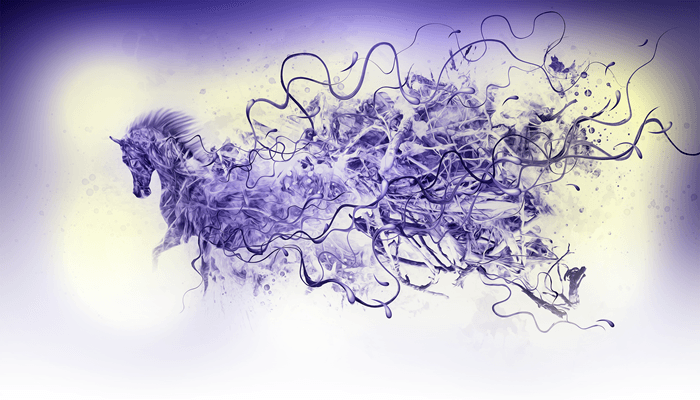
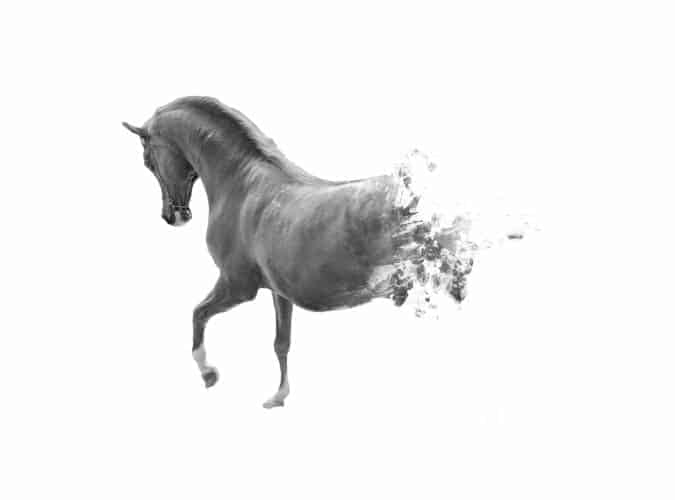
| How to Create a Breathtakingly Artistic Winter Horse Illustration in Photoshop Posted: 19 Aug 2013 03:07 AM PDT Preview of Final Results
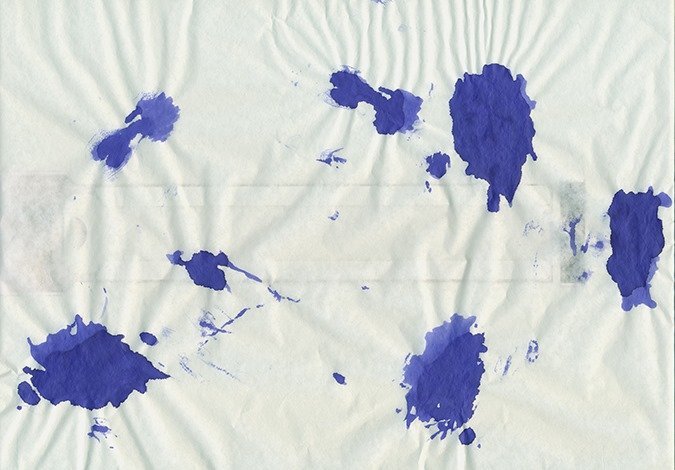
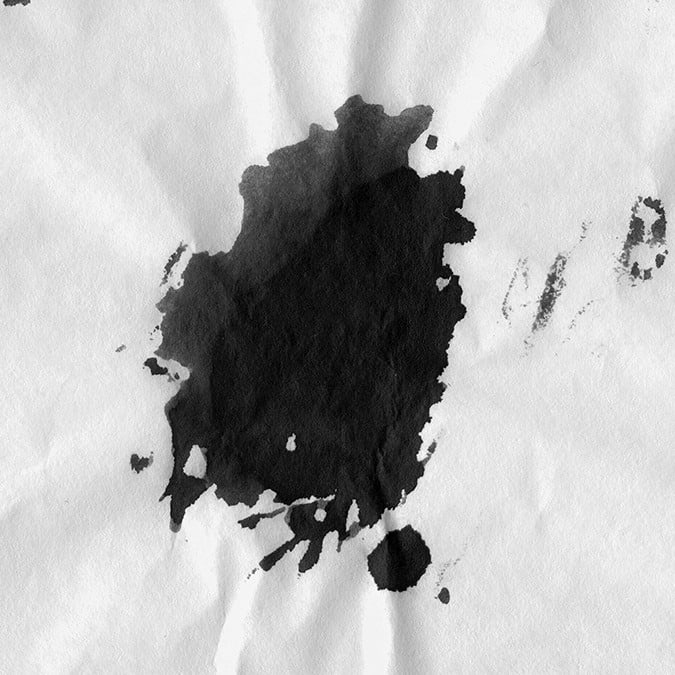
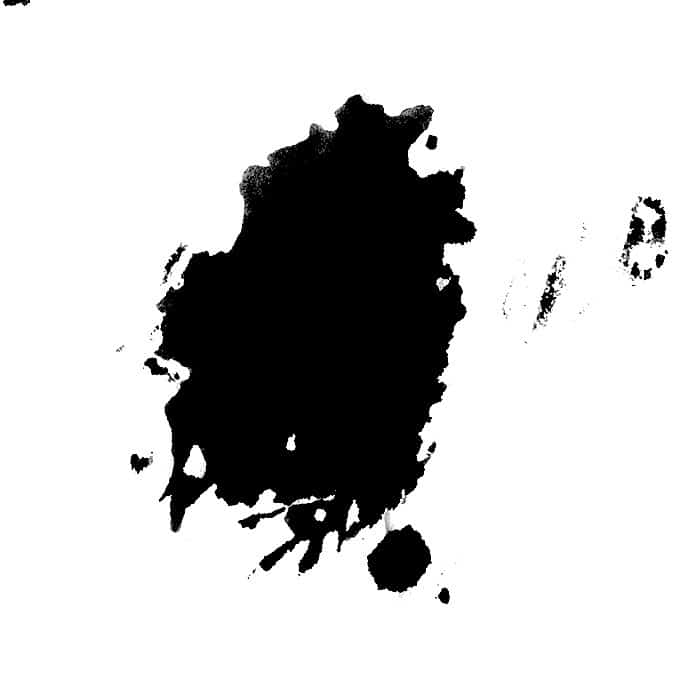
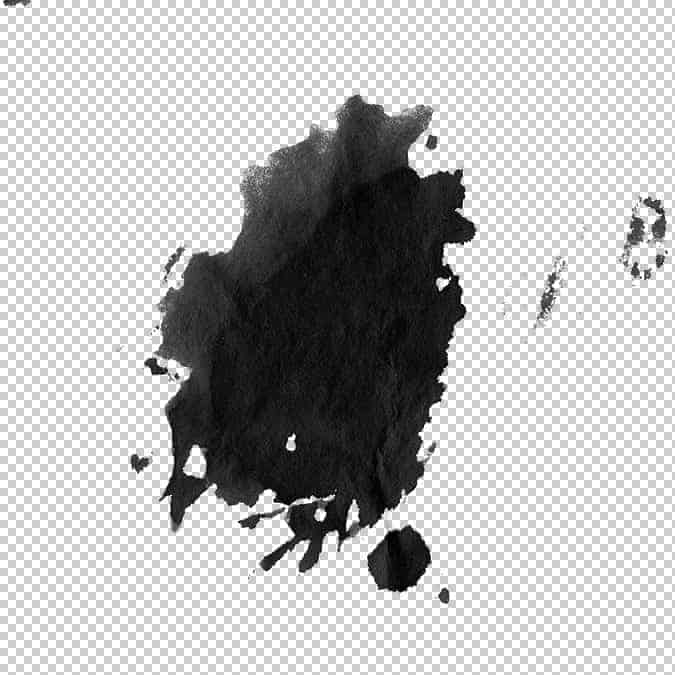
Tutorial ResourcesStep 1In this step I will show how to create custom brush. For this I used scan of splashes made with ink.
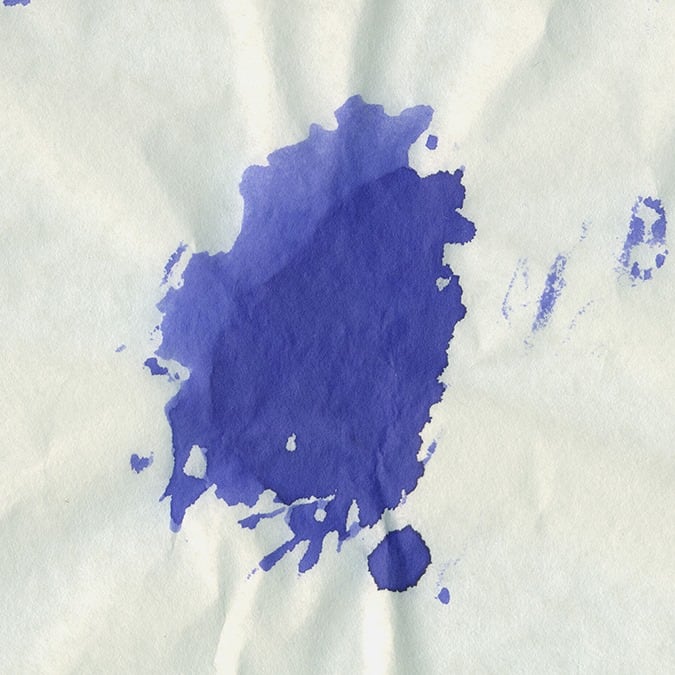
Use the Crop Tool (C) (by pressing shift key you will select square)
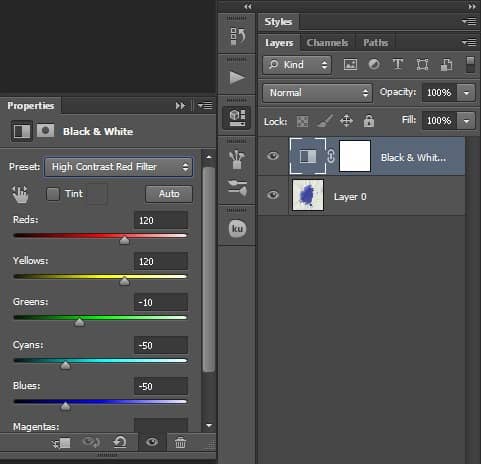
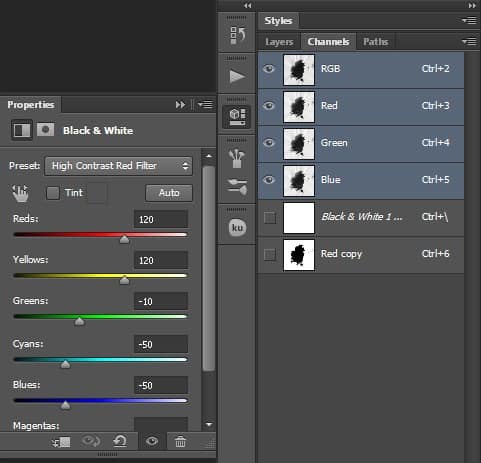
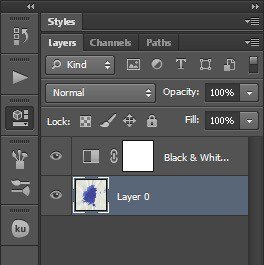
Add a Black & White Adjustment Layer by going to Layer > New Adjustment Layer > Black & White. Set to "High Contrast Red Filter"
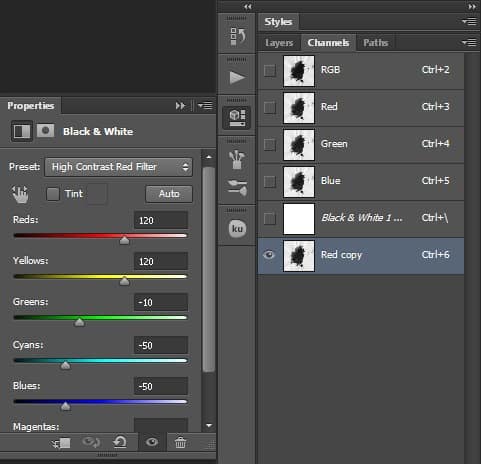
Go to Channels panel and duplicate Red Channel. Right click on Red channel and chose Duplicate channel.
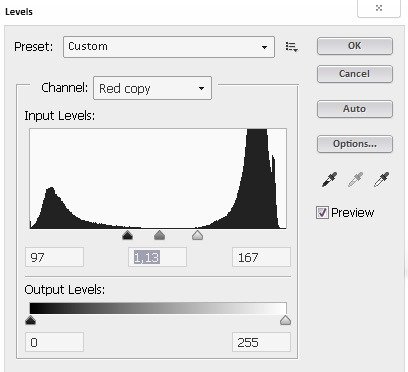
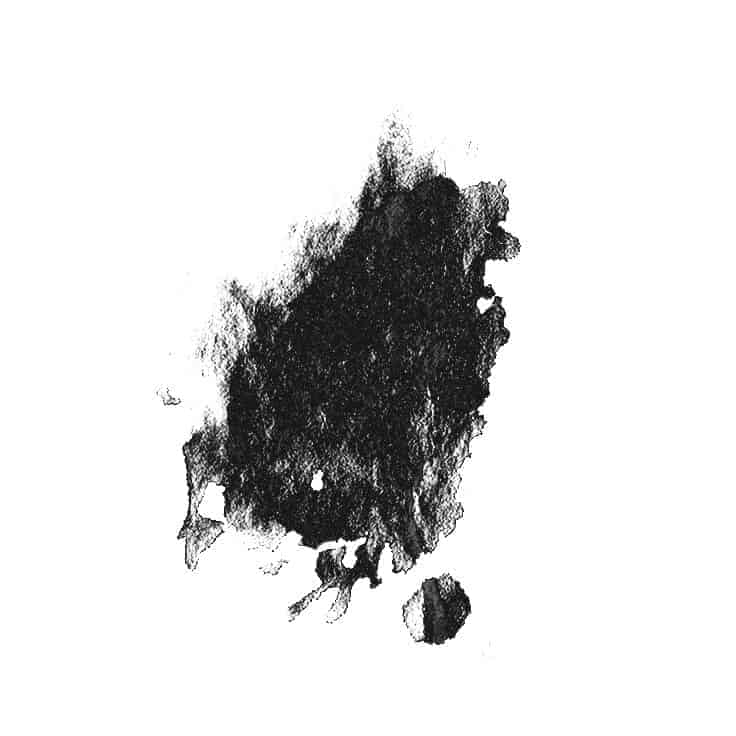
Go to Image/Adjustments/Levels. Move the sliders so that the splatter was dark and the background white. Settings
Load selection Press Ctrl then click Red channel. Invert selection Select/Inverse (Shift+Ctrl+I). Before you come back to Layers panel don't forget select RGB channel.
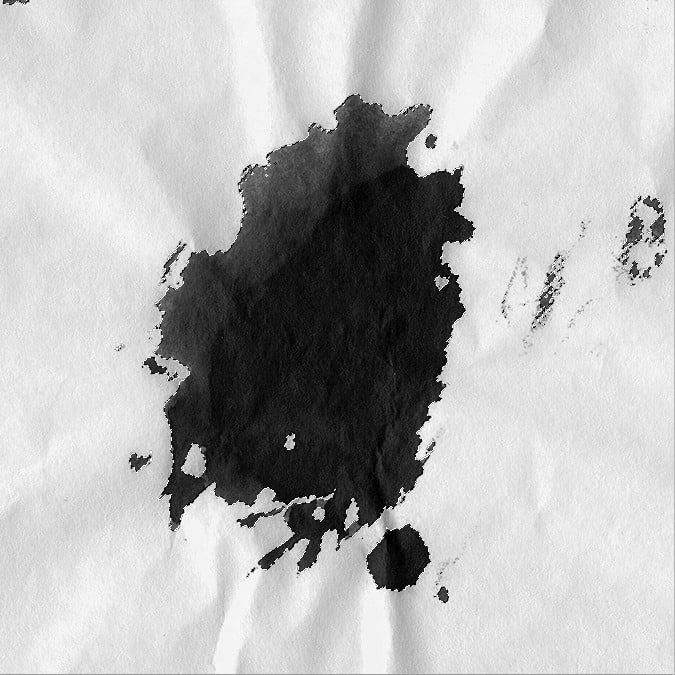
Go to Layers panel select splash layer then press Ctrl+J you will cut your selection.
Try to use different ways for selection like Color range or even Magic Wand Tool. Color range (example)
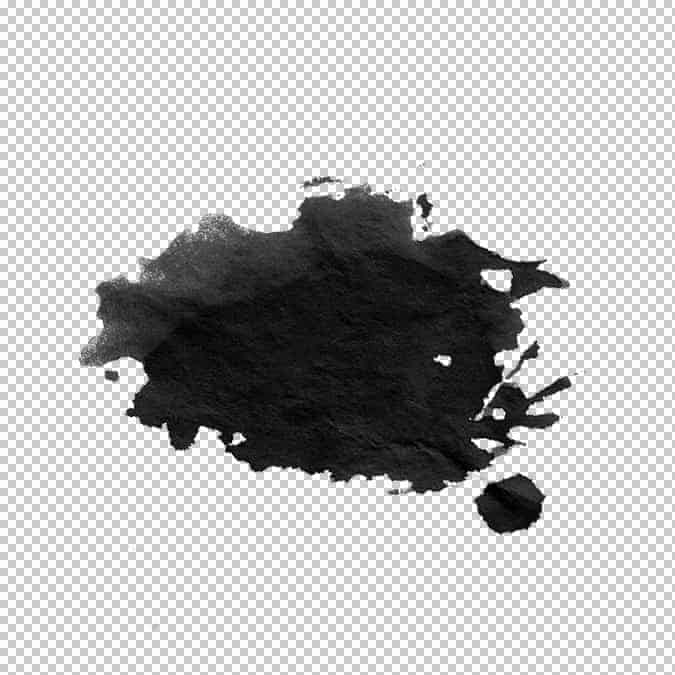
Now clean up parts which you don’t like. For this you can use Eraser tool (E) Also if you like change splash position.
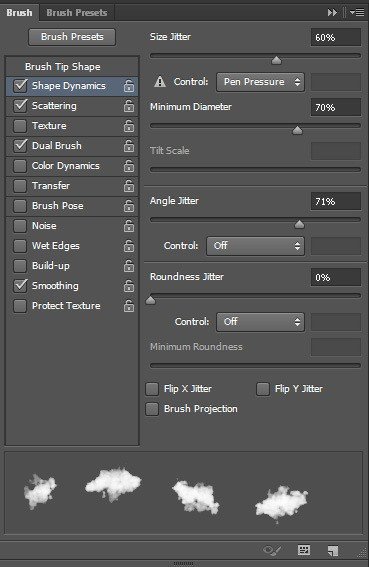
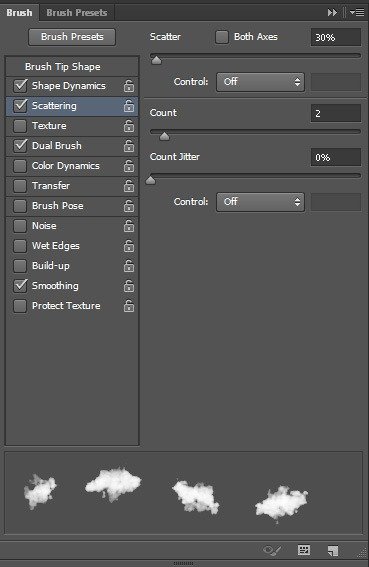
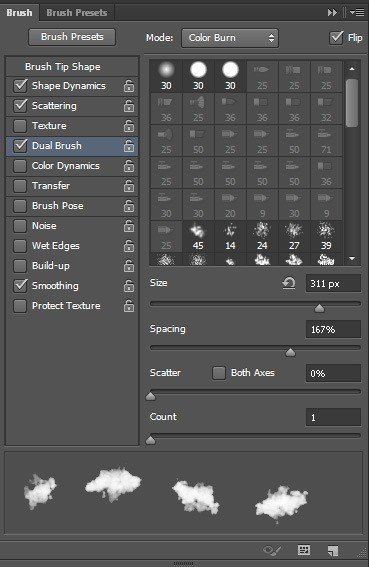
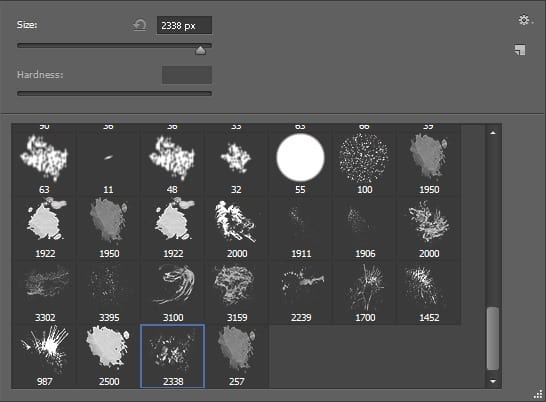
Create brush. I use 2500x2500px 300dpi canvas for my brushes. Go to Edit/Define Brush Preset. Please see my brush settings.
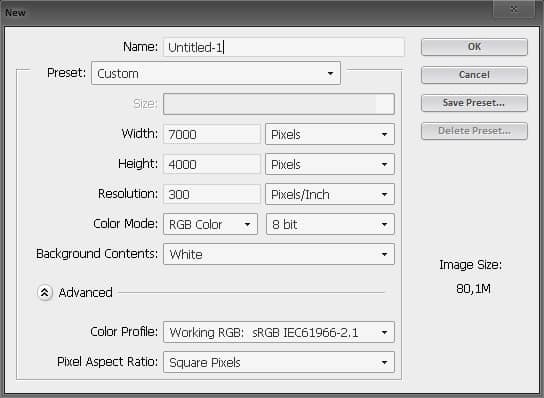
Step 2Create new document (File > New or Ctrl/Cmd+N)
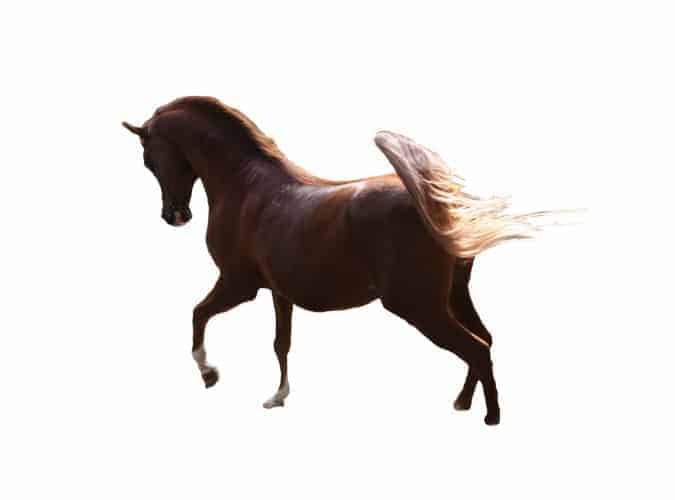
Add Horse photo. Folder: Resources/Horse.psd
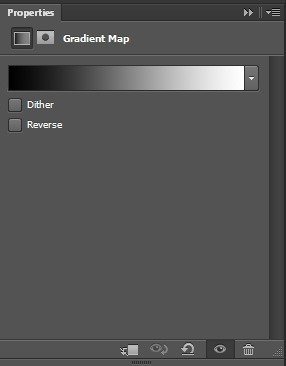
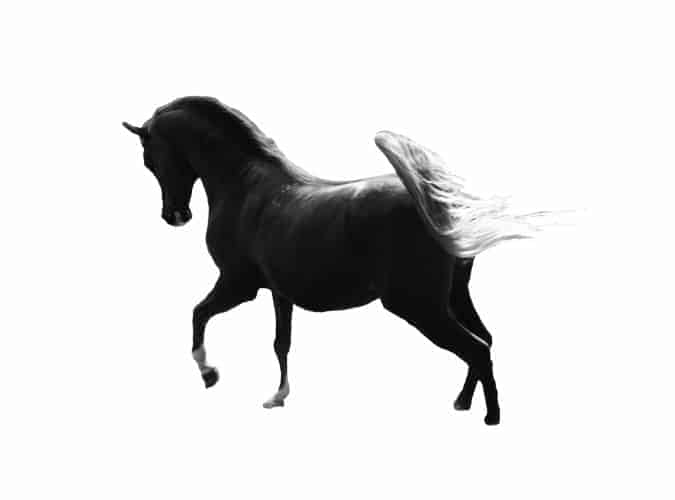
Add a black to white gradient map by going to Layer > New Adjustment Layer > Gradient Map.
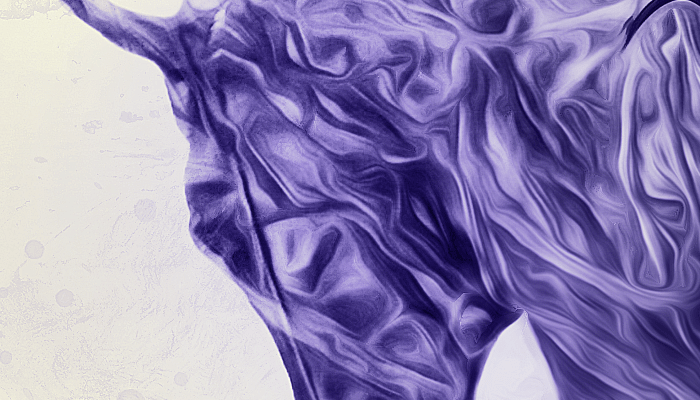
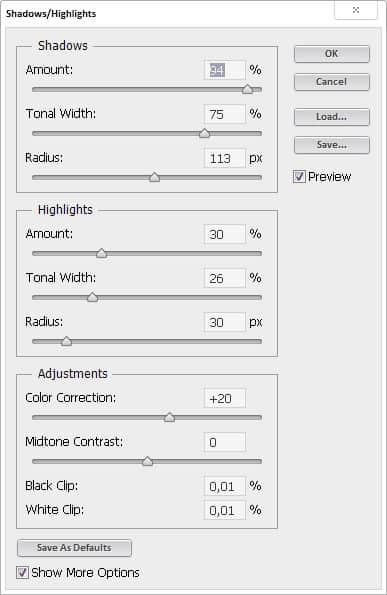
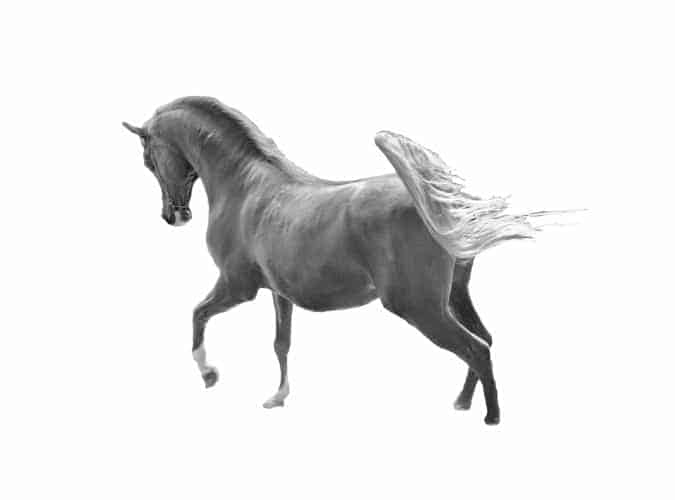
Right click on your layer and choose "Convert to Smart Object". Now we are ready to add some Shadow/Highlights (Image > Adjustments > Shadow/Highlights). Settings:
Click on the "Add layer mask" icon on the bottom of your Layers palette.
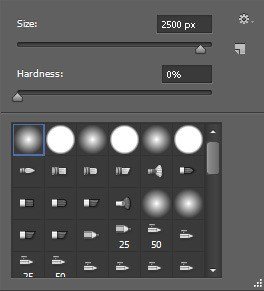
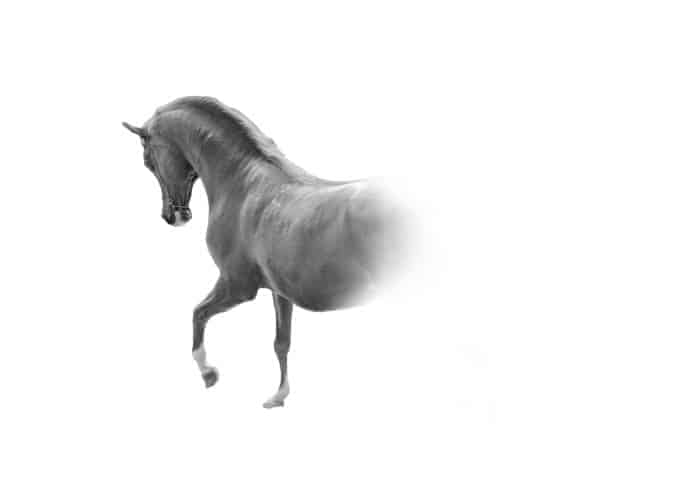
Select the Brush tool (B) then paint with black # 000000 on your layer mask. Usually, I just use the first default brush. Brush opacity 50%.
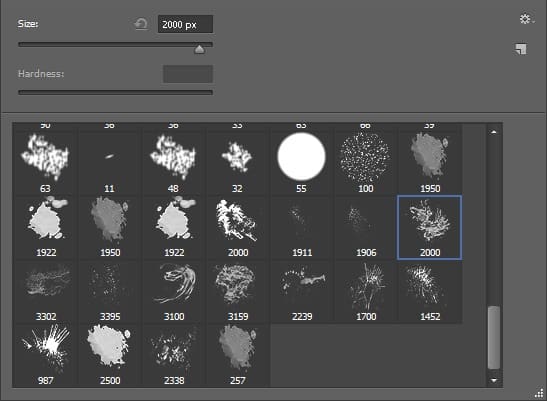
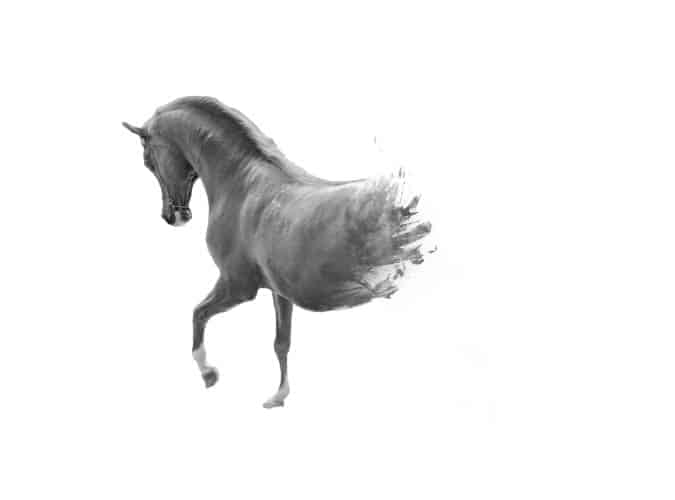
Use this brush and paint on layer mask with white color. Just move brush above the place you want to uncover and click once or twice.
Use this brush and paint on layer mask with white color.
|
| You are subscribed to email updates from Photoshop Tutorials To stop receiving these emails, you may unsubscribe now. | Email delivery powered by Google |
| Google Inc., 20 West Kinzie, Chicago IL USA 60610 | |




0 comments:
Post a Comment