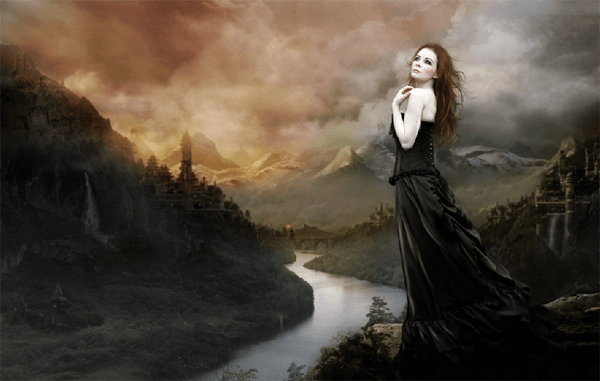
Preview of Final Results
Tutorial Resources
Step 1 – Size
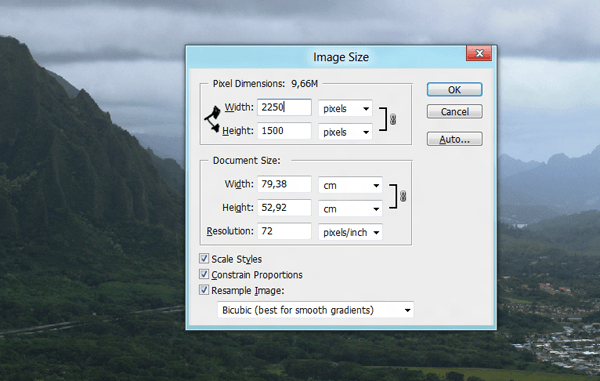
Open the background stock. The size of the stock is width: 2250px and Height: 1500px.
Step 2 – Smart Object
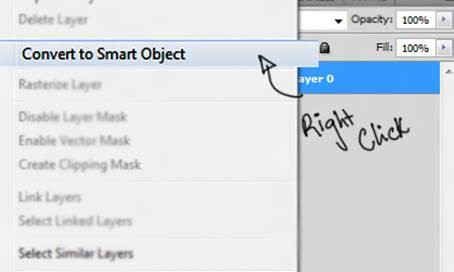
Transform the background into a smart object. Pressing right click in the layer thumbnail and selecting the option Convert to smart object.
Step 3 – Smart Object
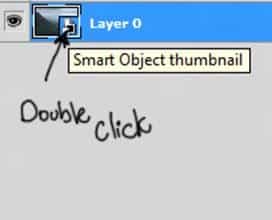
Press double click in the smart object thumbnail.
Step 4 – Edit
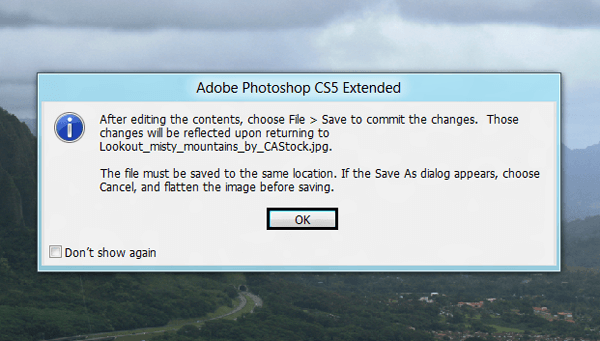
Now a new window will pop up. This allow you to edit the smart object. So press ok.
Step 5 – Duplicate
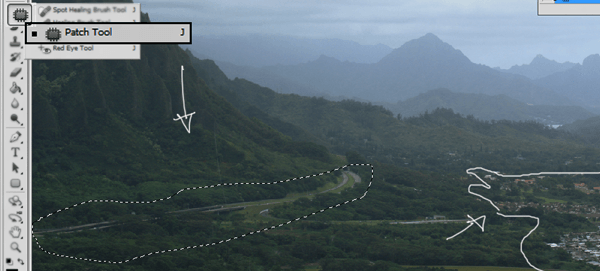
Now press Ctrl+J to duplicate the layer in case you need to go back to the original image.In this layer you will use the patch tool to hide undesired parts of the image.
Step 6 – Duplicate and Change color
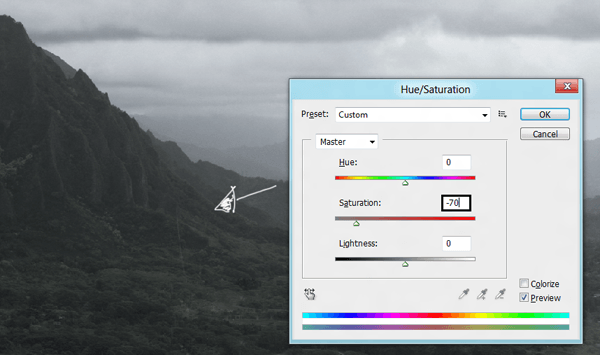
Press Ctrl+J to duplicate the layer and then press Ctrl+U and in the option saturation put -70. The image will have this color.
Step 7 – Save
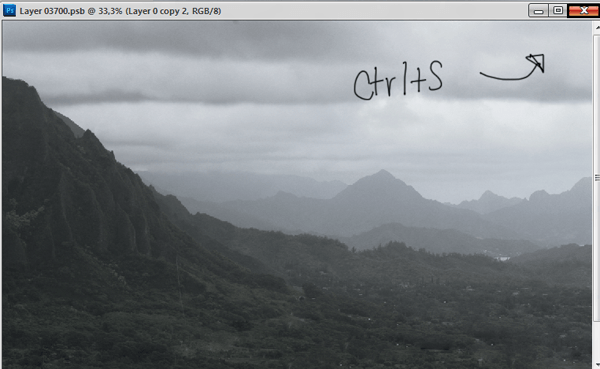
The the changes you made to the smart object press ctrl + S and close the window.
Step 8 – River
Now go to folder you have the stocks and grab the image of the river. You will see that the image is an smart object itself, you can change the size clicking in the corners.
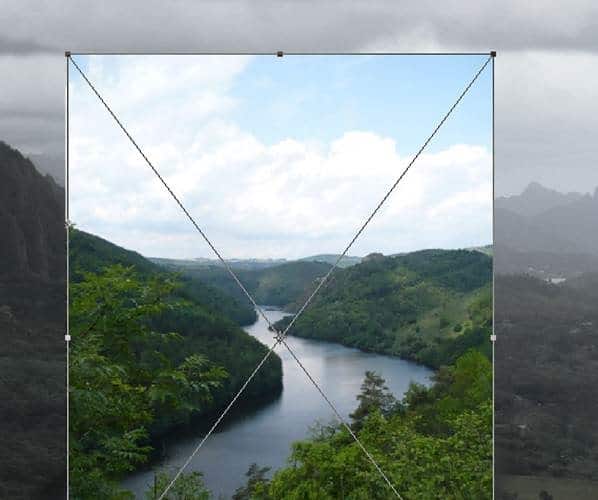
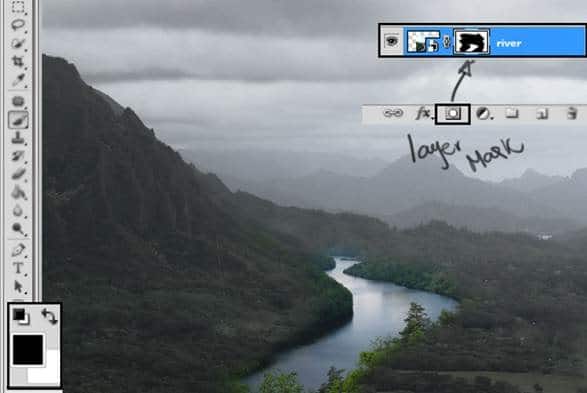
Step 9 – Layer Mask
Create a layer mask to erase the undesired parts of the image. Pick a soft round brush to paint over the parts you want to remove. You will have something like this:
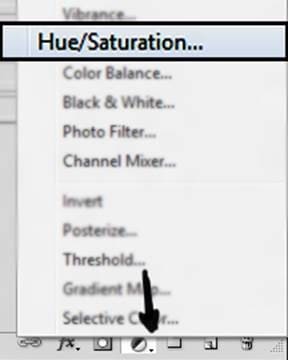
Step 10 – Hue and Saturation
Go to Create a new fill or adjustment layer and click in the option Hue/Saturation.
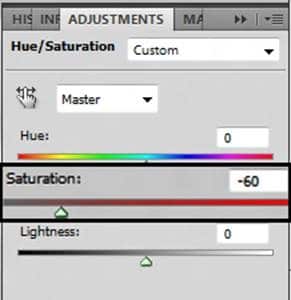
Reduce the Saturation to -60.
Step 11 – Apply to one object
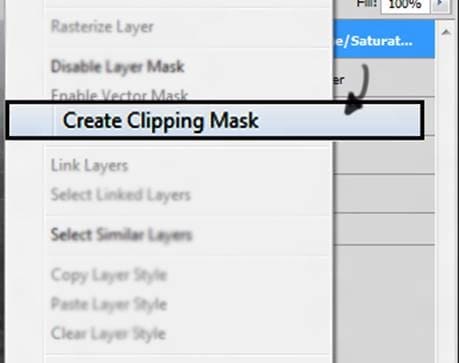
To Apply the changes only in the layer of the river you have to press right click over the Hue and Saturation layer and select the option Create Clipping Mask.
Step 12 – Duplicate
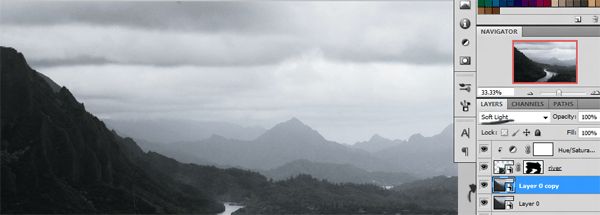
Now go back to the Background image and duplicate the layer pressing Ctrl+J and then change the layer mode to soft light.


0 comments:
Post a Comment