Photoshop Tutorials: Create a Horrific Flesh Eating Movie Poster in Photoshop CS6 |  |
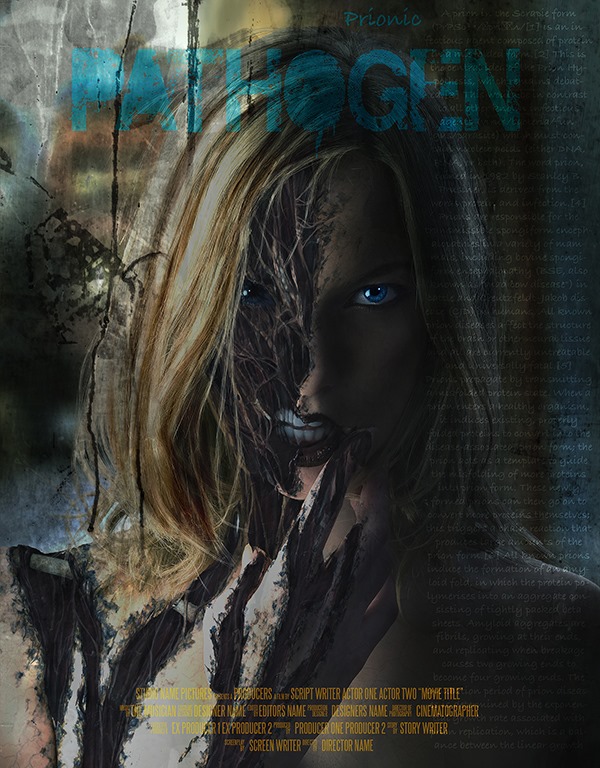
| Create a Horrific Flesh Eating Movie Poster in Photoshop CS6 Posted: 13 May 2013 12:20 AM PDT Final Image Preview
Tutorial Details
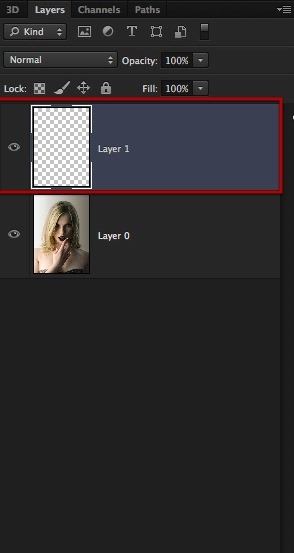
Tutorial Assets1.Base sketchStep 1Lets open up our image and crop it to about what is shown here, then create a new layer on top.
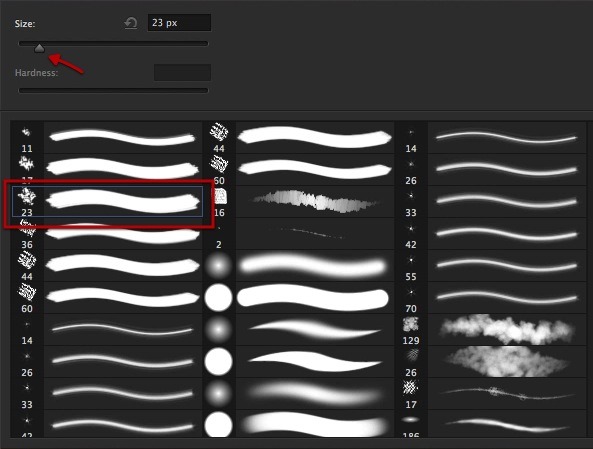
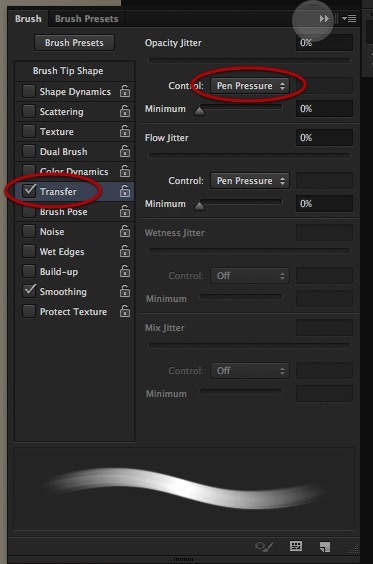
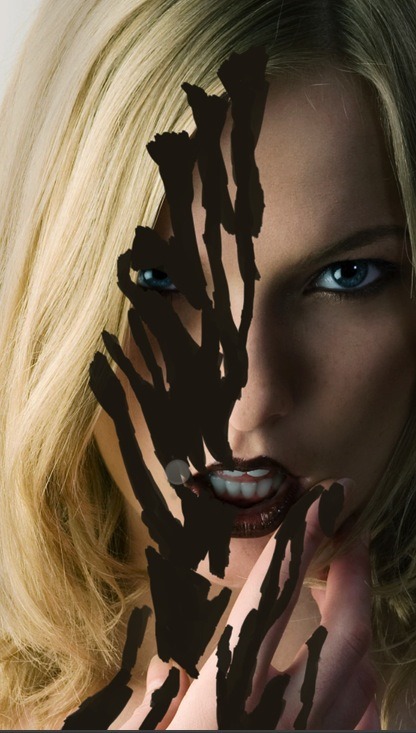
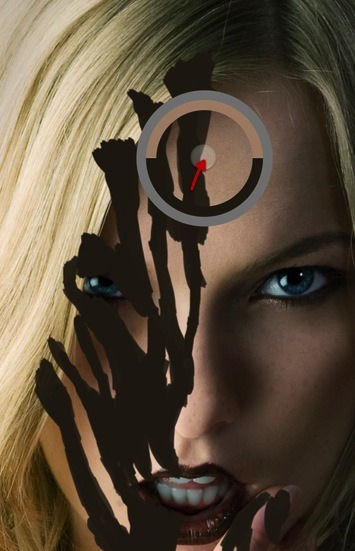
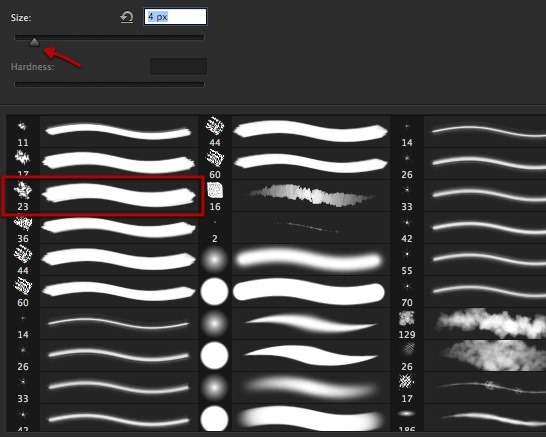
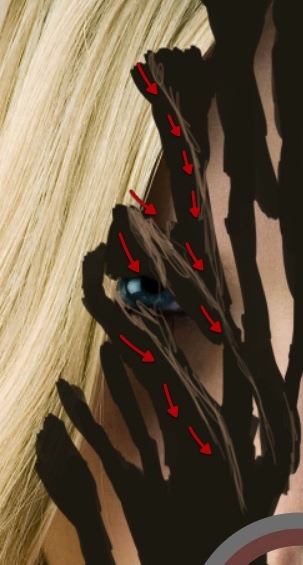
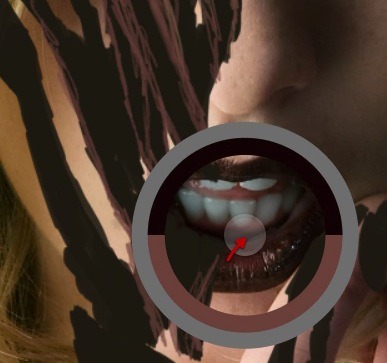
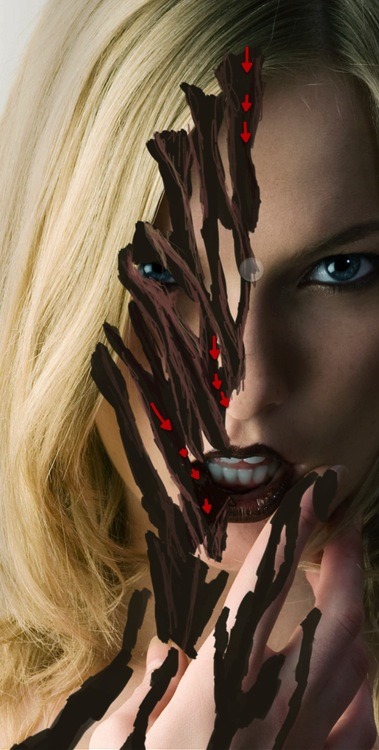
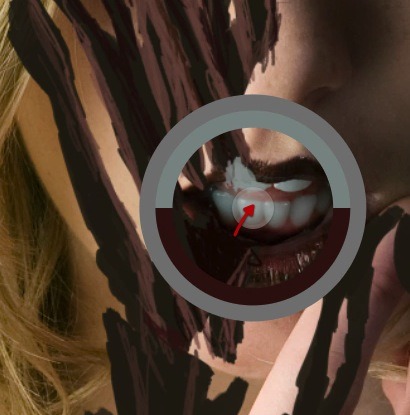
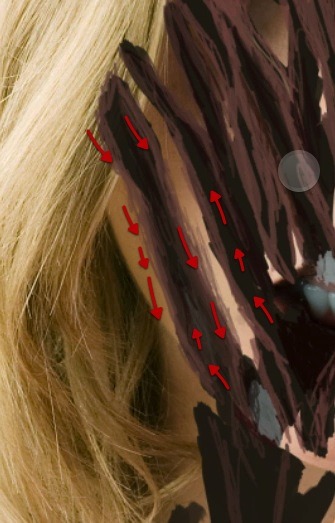
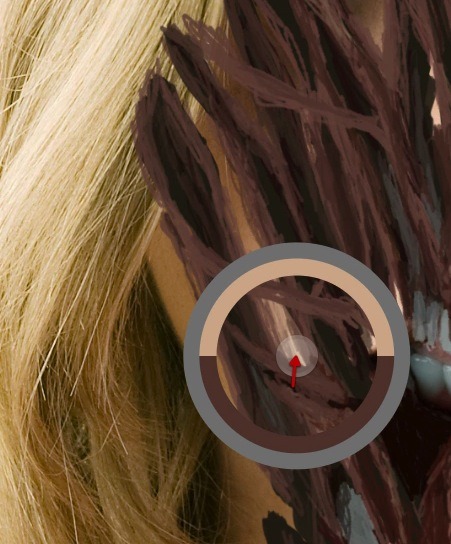
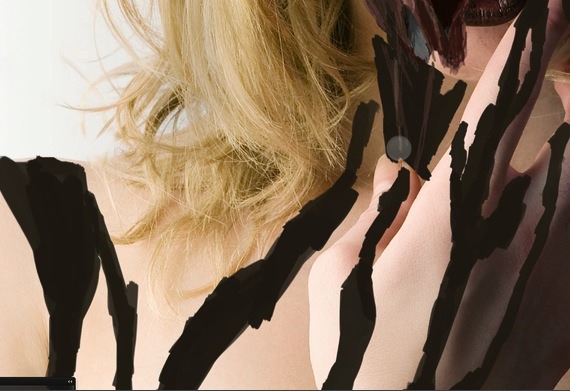
Step 2Select the brush shown here and setup the transfer and pen pressure in the brush palette as shown. Then just sample dark color from the image and start blocking in the areas and shapes of the-sections we will be messing up.
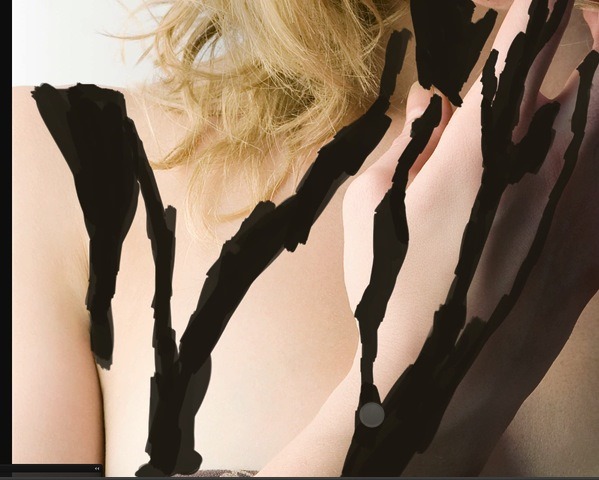
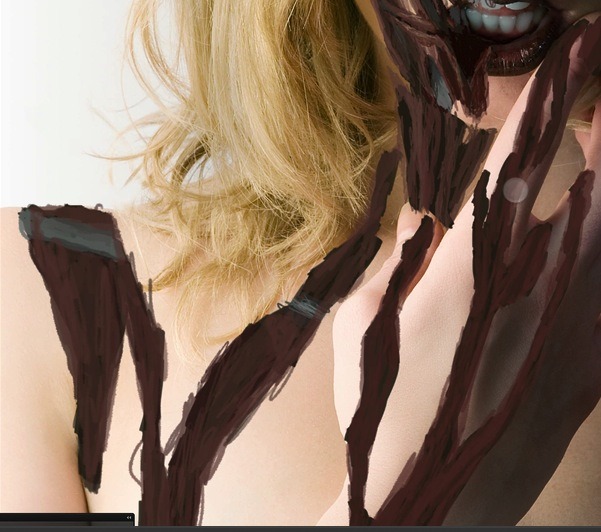
Step 3Do the same work on the shoulder and hand as shown here. Next sample lighter color from the skin.
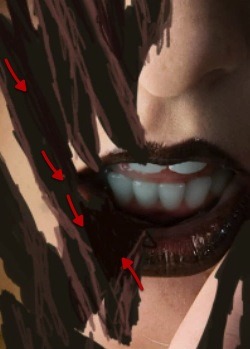
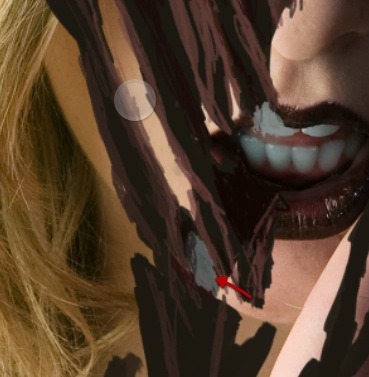
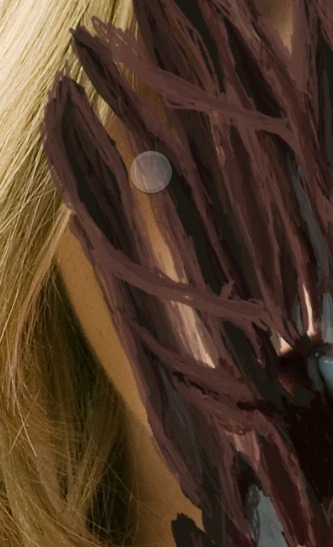
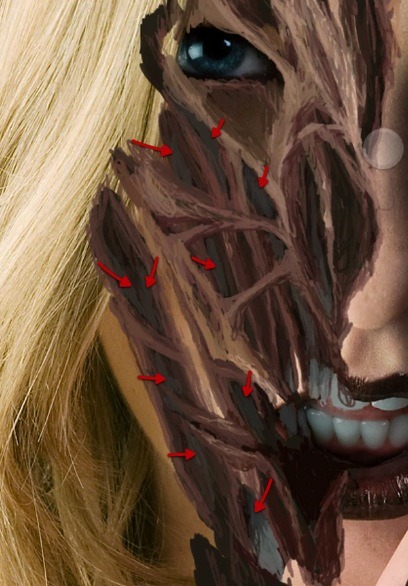
Step 4Reduce the brush size a bit and start painting in where we think the flesh its ripping apart.
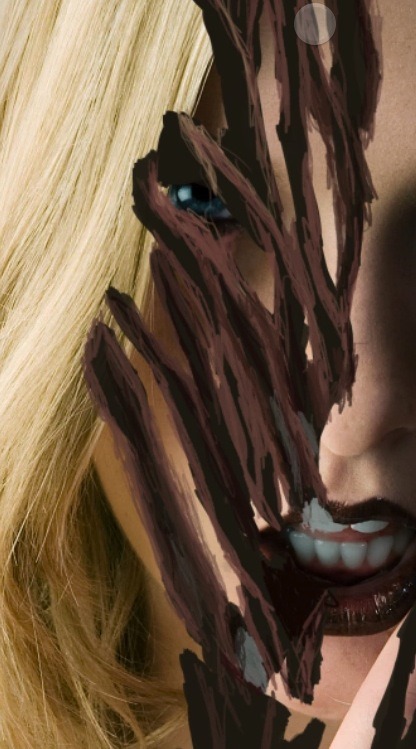
Step 5Then change the sample color to some pinkish top flesh like the tongue here and add to the previous strokes as shown here.
Step 6Continue adding flesh as shown here, remember we are sketching and planning how and where the pieces of flesh are ripped off; where do they go and how are they still attached. Next sample a darker color from the mouth and paint in to support the other strokes. Similar to the mouth the top layer of skin is lighter and as you go deeper into the flesh its more dark blood red.
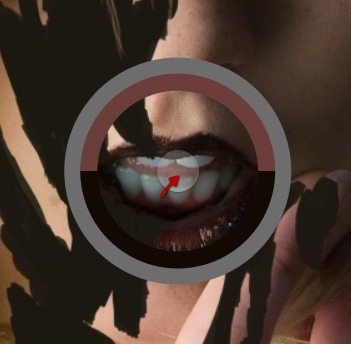
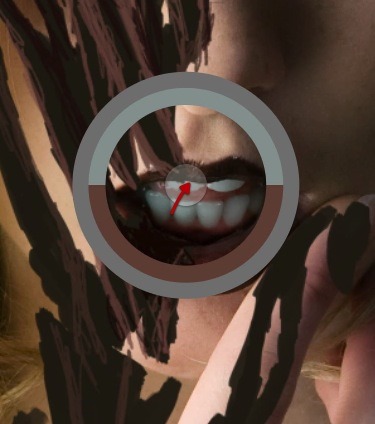
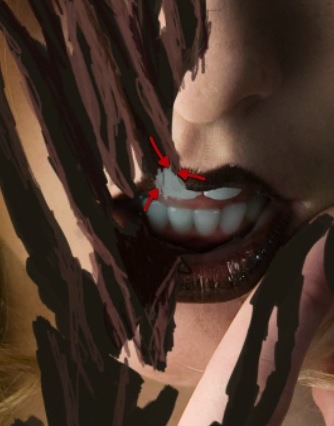
Step 7Now sampling color from the teeth we can start defining what will be exposed bone and teeth sections.
Step 8Then we continue to find all the sharp edges and give the same treatment so the flesh has some thickness.
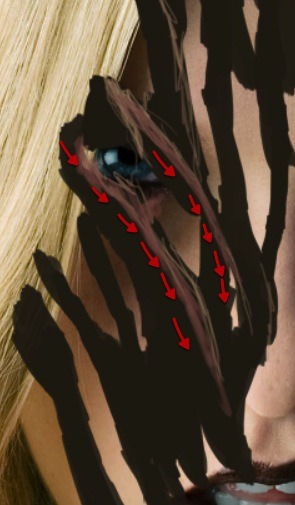
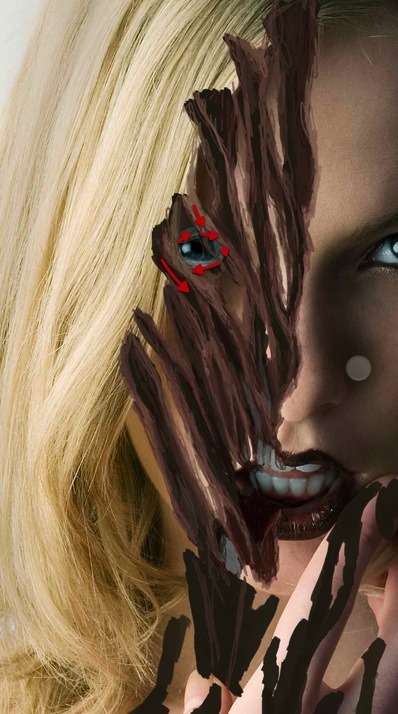
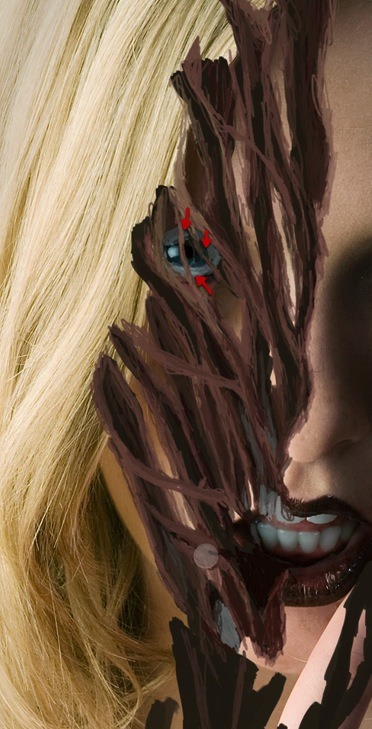
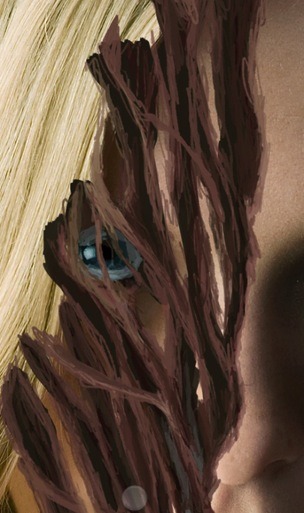
Step 9Also sketch a little bit around the eye so we know the area needed to take space for it.
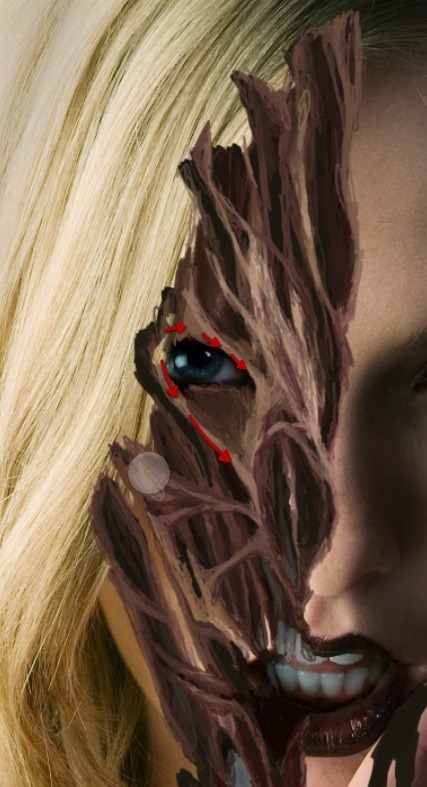
Step 10And then touch to add the flesh in front of the eye.
Step 11As we said previously we need to keep the top skin on top for the rest to make sense so touch up accordingly as show.
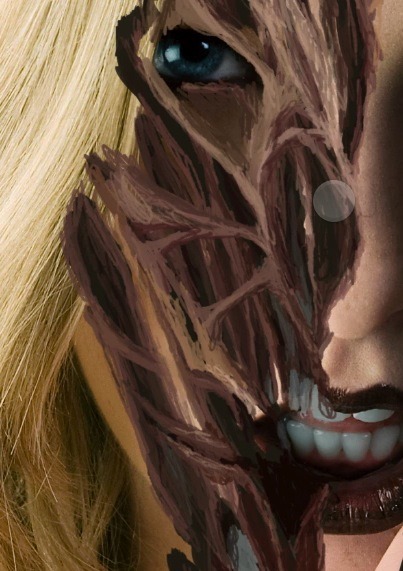
Step 12At this point I decided to clear the eye section a bit so we could later see a bit more of it.
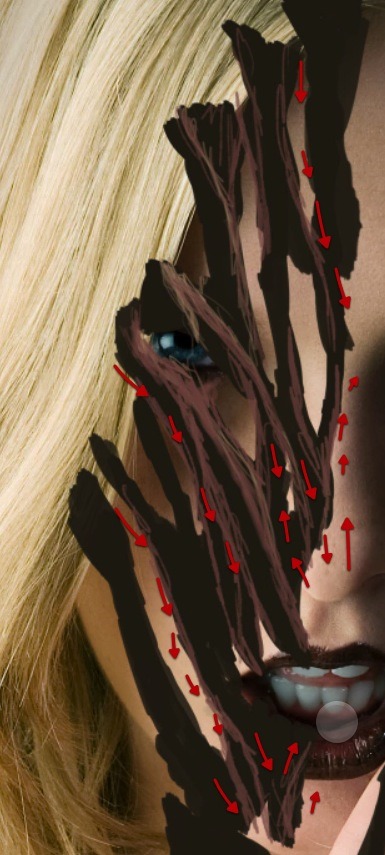
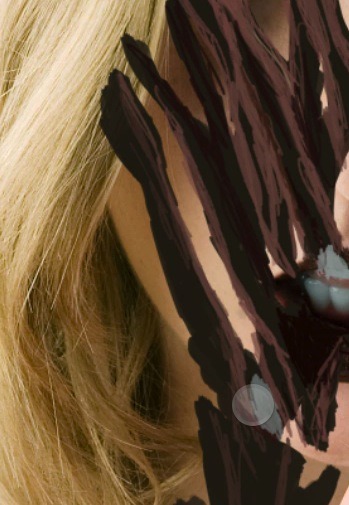
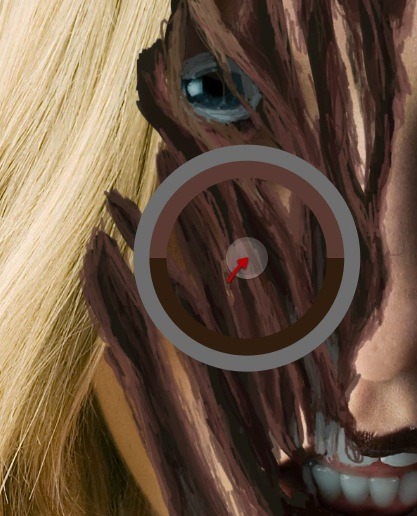
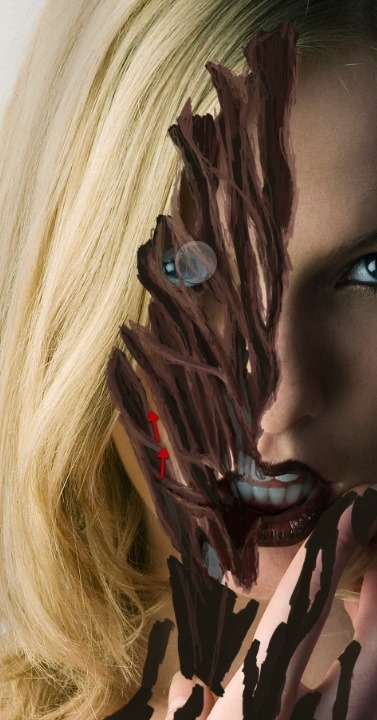
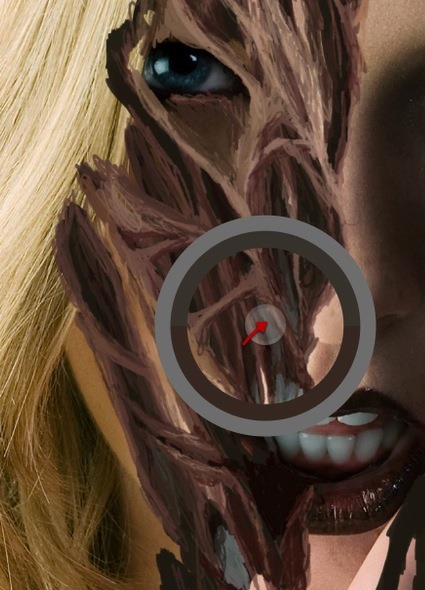
Step 13Then to suggest a limit to the depth of the skin and flesh we need to paint in some hint of bone bellow all this mess; so sample some color as shown here and paint in some bone back there as shown here.
Step 14OK great! at this stage we need to cover with the same sketching for the rest on the shoulder and hand. And that is it for this stage we should have all of our plan and sketch in place.
|
| You are subscribed to email updates from Photoshop Tutorials To stop receiving these emails, you may unsubscribe now. | Email delivery powered by Google |
| Google Inc., 20 West Kinzie, Chicago IL USA 60610 | |






0 comments:
Post a Comment