


Photoshop Tutorials: How to Retouch and Airbrush Skin in Photoshop | |

| How to Retouch and Airbrush Skin in Photoshop Posted: 11 Mar 2013 04:00 AM PDT VideoPreview of Final Results 
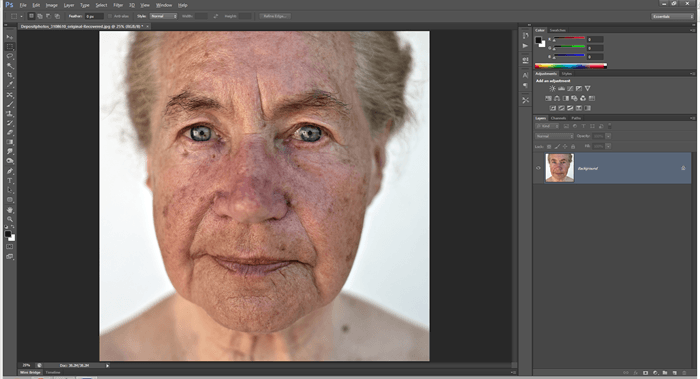
Step 1Open the image that you want to edit. The photo should be high-res with a lot of skin details. For educational purposes, this tutorial will be shown using a photo with more dramatic skin flaws. We like to thank DepositPhotos.com for providing the stock photos used in this tutorial.
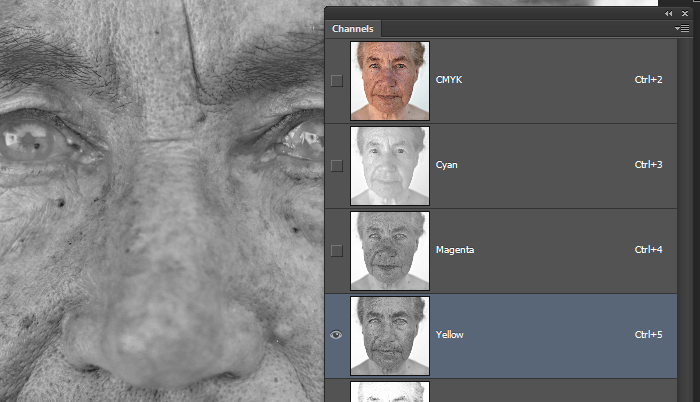
Step 2To begin, we're going to start with a subtle skin retouching method that uses the Yellow channel to reduce skin flaws. Go to Image > Mode > CMYK. In the Channels panel, click on the Yellow channel. Copy this channel by pressing Ctrl/Cmd+A then Ctrl/Cmd+C.
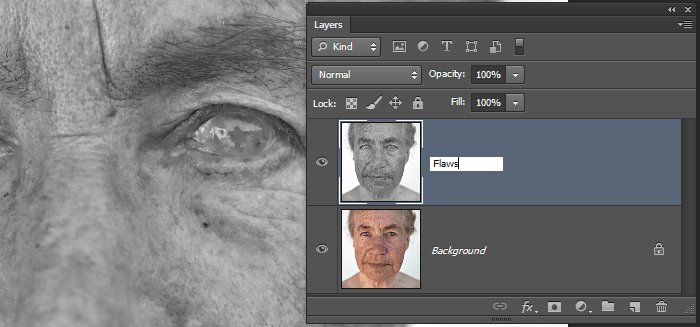
Step 3Undo the steps by pressing Ctrl+Shift+Z or Cmd+Option+Z on Macs until you're back in RGB mode. Press Ctrl/Cmd+V to paste and the Yellow channel will appear as a new layer. Name this layer "Flaws".
Step 4Invert the layer by pressing Ctrl/Cmd+I then change the blending mode to Soft Light. Reduce the opacity until you get the results that you like. You can add a layer mask and erase the areas around the face if it is affecting the color/details of the surrounding areas. We don't need to do this for our photo because the layer doesn't affect the surrounding areas in any noticeable way.
Here's the before and after of using the yellow channel to reduce skin flaws.
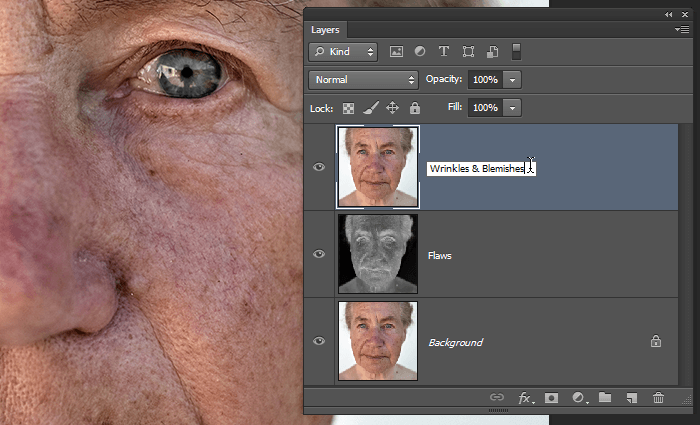
Step 5Before we do any sort of airbrushing on the skin, we're going to use the Spot Healing Brush to reduce wrinkles and blemishes. Select the Background layer then duplicate it by pressing Ctrl/Cmd+J. Move this layer to the top then rename it to "Wrinkles & Blemishes".
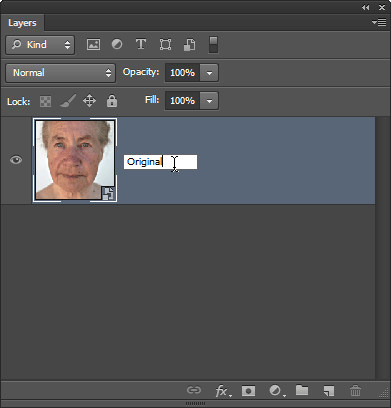
Step 6Use the Spot Healing Brush to erase the wrinkles and blemishes. Reduce the opacity of the layer to bring back some of the wrinkles and blemishes then position this layer below the Flaws layer. We're pretty much done and as you can see in this before and after preview, the skin looks a lot better than before.   Step 7If you're happy with the results, you can stop here. But if you want to continue with some more dramatic skin retouching techniques, follow the rest of the tutorial to learn how to airbrush skin and reduce discoloration in the skin. Before we proceed, convert all your layers into a single Smart Object. To do this, Hold Ctrl/Cmd and select all the layers. Right-click on the layers then choose "Convert to Smart Object". This will save you time by letting you make changes to the faces at a later time without having to undo and redo everything. Rename this layer to Original.
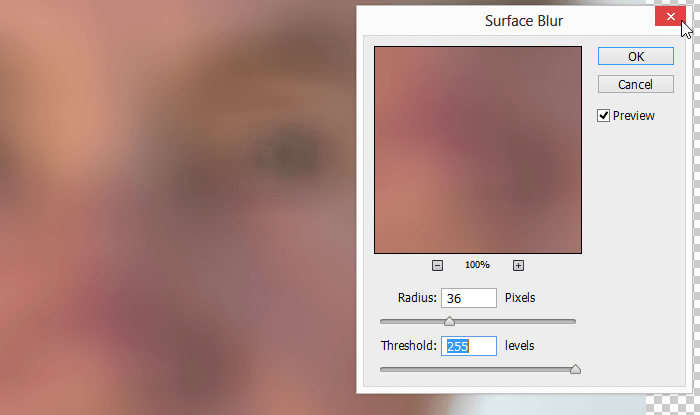
Step 8Duplicate the layer then rename it to "Smoothness". With the Smoothness layer selected, go to Filter > Blur > Surface Blur. Set the Threshold to 255 levels then adjust the radius so that you can barely make out the face.
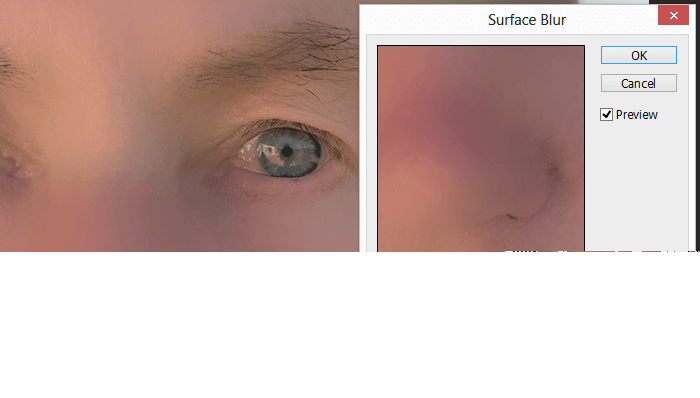
Reduce the Threshold until you can just start to make out the details. The skin should still be very blurry. Click OK to apply the filter.
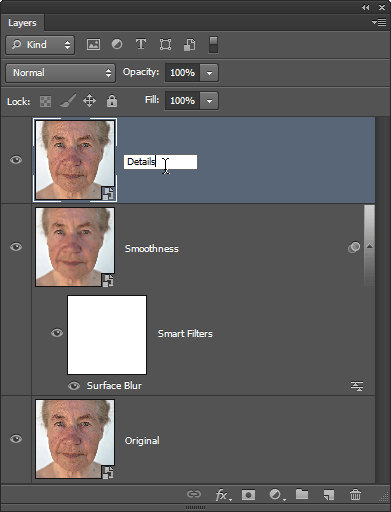
Step 9Duplicate the Original layer then move it to the top. Name this layer "Details". This layer will be used to restore the details lost in the Smoothness layer.
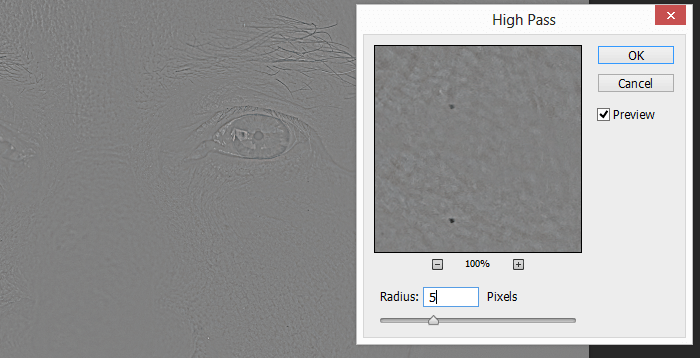
Step 10Go to Filter > Other > High Pass. Adjust the radius setting until you can barely bring back the details.
Step 11Change the blending mode of this layer to Linear Light. The skin looks cleaner, but it looks overly airbrushed and has a fake plastic look to it. This may work well for younger subjects with fair skin, but for skin with more complexions, you'll have to reduce this for it to look realistic. Here's what the airbrushing looks like before and after.   |


| You are subscribed to email updates from Photoshop Tutorials To stop receiving these emails, you may unsubscribe now. | Email delivery powered by Google |
| Google Inc., 20 West Kinzie, Chicago IL USA 60610 | |


0 comments:
Post a Comment