Photoshop Tutorials: Create This Incredible Surreal Photo Manipulation of a Dancer in Photoshop |  |
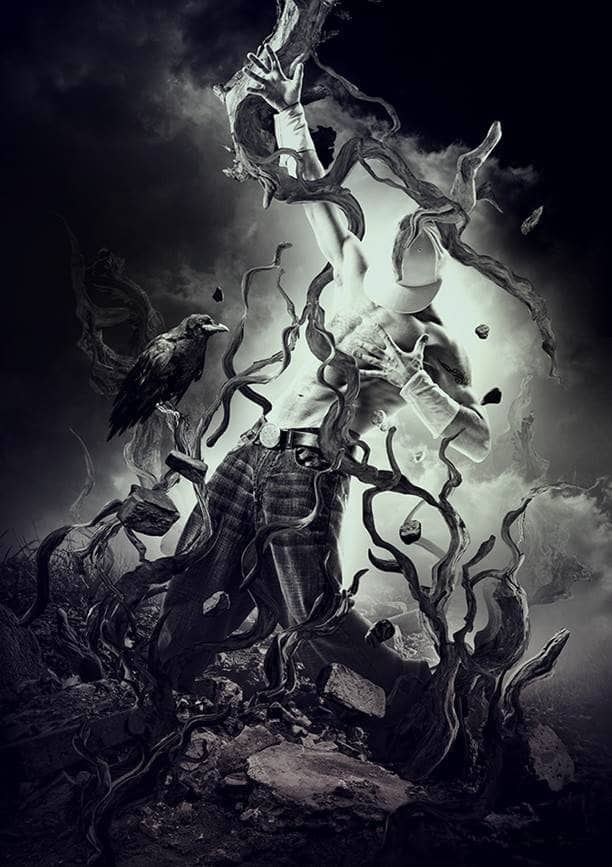
| Create This Incredible Surreal Photo Manipulation of a Dancer in Photoshop Posted: 20 Dec 2012 12:00 AM PST Preview of Final Results
Download the PSDTutorial Resources
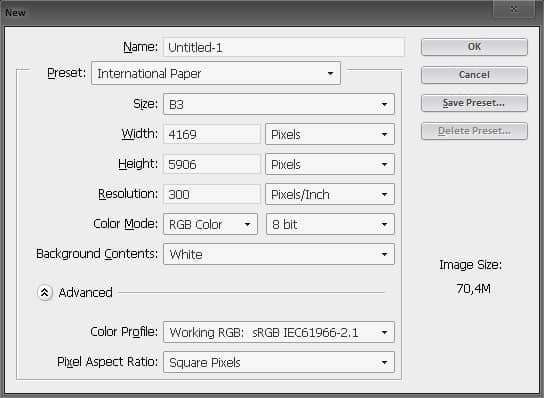
Step 1Create new document (File > New or Ctrl/Cmd+N)
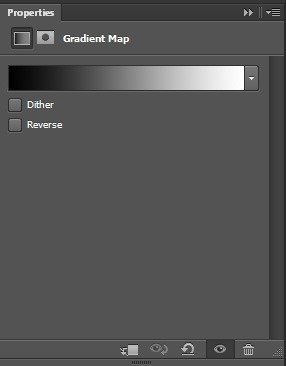
Use the Paint Bucket tool (G) and fill with the color #A1A1A1. Then, add a black to white gradient map by going to Layer > New Adjustment Layer > Gradient Map.
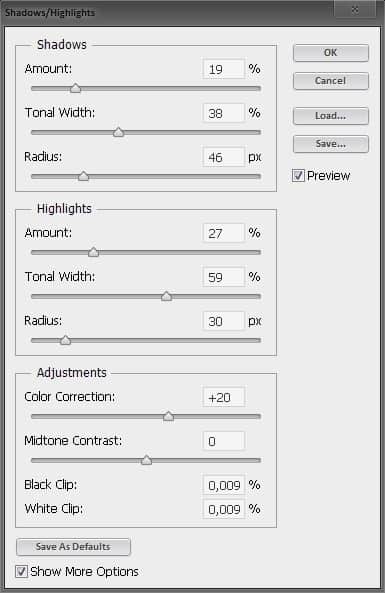
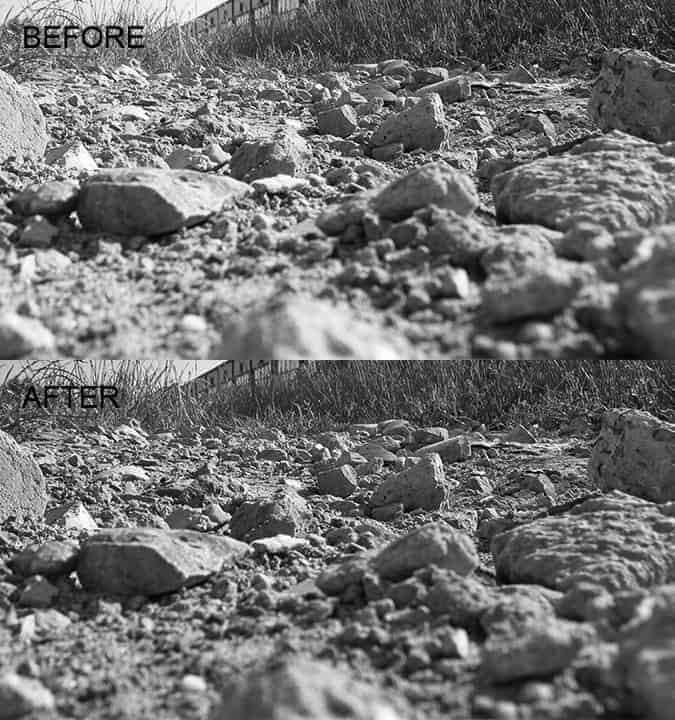
Step 2 – Add Ground LayersAdd the ground layer (GROUND\IMG_6231). Scale the image using the Free Transform tool (Edit > Free Transform or Ctrl/Cmd+T). Now, I will change the shadows and light a bit. Because you never know how it will work with layers and which one will come later, you should convert your layer to a Smart Object. To do this, right-click on the layer and choose “Convert to Smart Object”. Now we are ready to use the Shadow/Highlights adjustment (Image > Adjustments > Shadows/Highlights). Note: Every layer name will have the same number as the ones in the tutorial resources.
As you can see, the details of the rock has increased with the Shadow/Highlights adjustment..
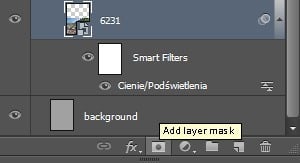
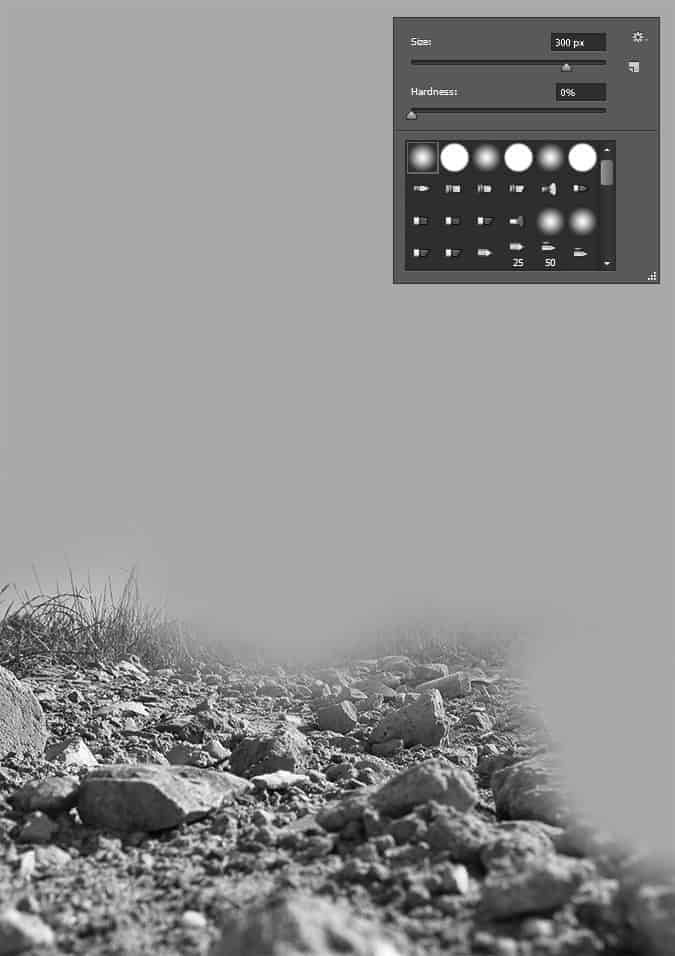
Now I will add a layer mask and erase parts of the image that I don’t want. Click on the “Add layer mask” icon on the bottom of your Layers palette.
Select the Brush tool (B) then paint with black on your layer mask. Usually, I just use the first default brush. You can change the opacity as needed. For this tutorial, I will only be using this brush.
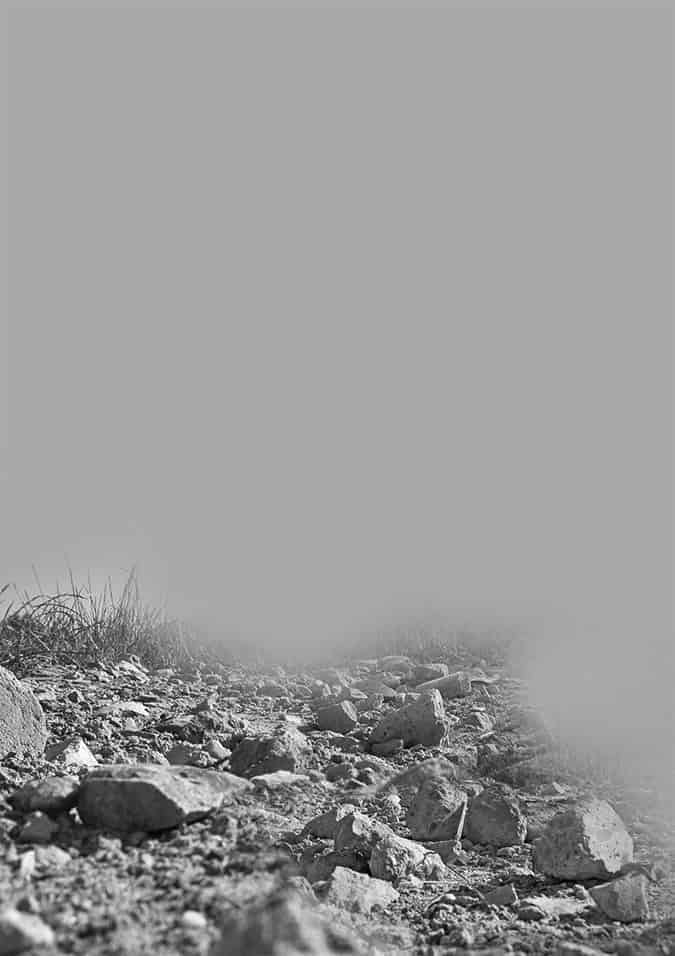
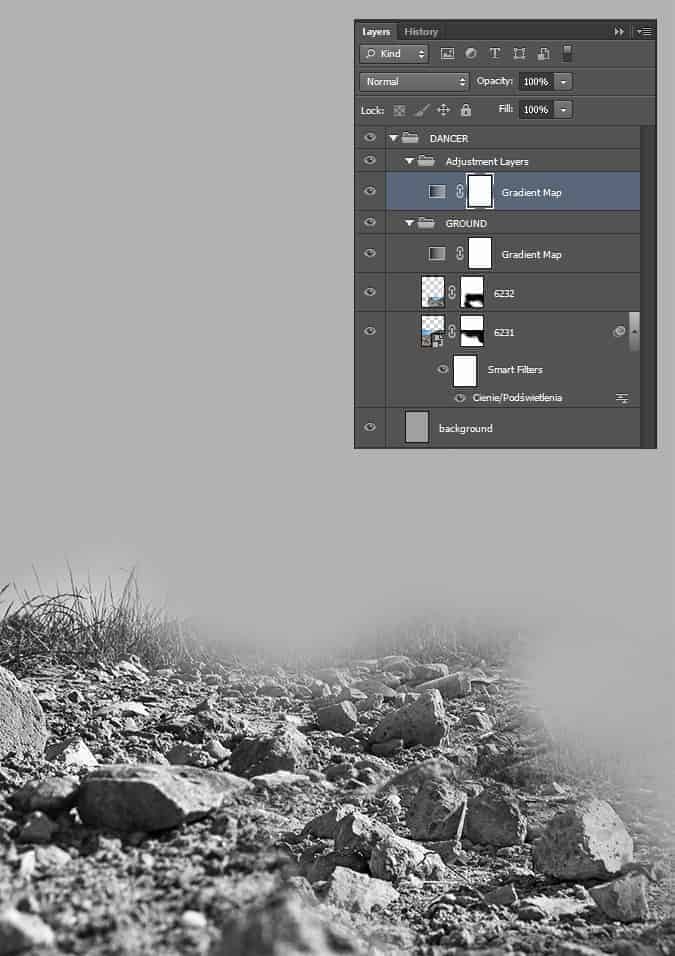
Because the bottom of this photo is too blurry, I will add another ground layer. Add the next ground layer located in the folder Ground\IMG_6232. Using exactly the same step as before, I added a layer mask and painted on it with black.
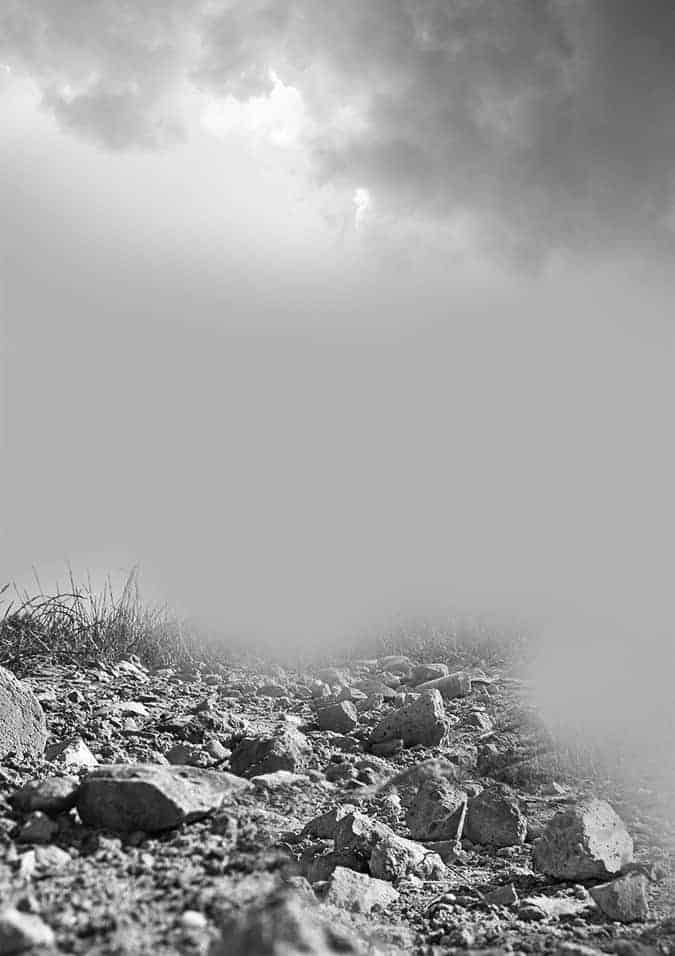
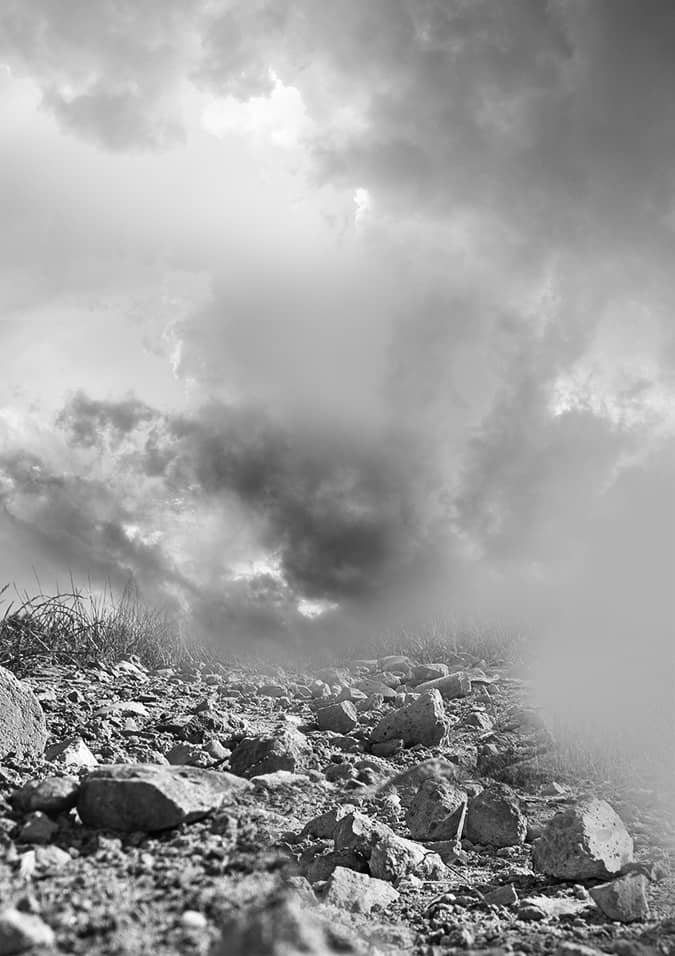
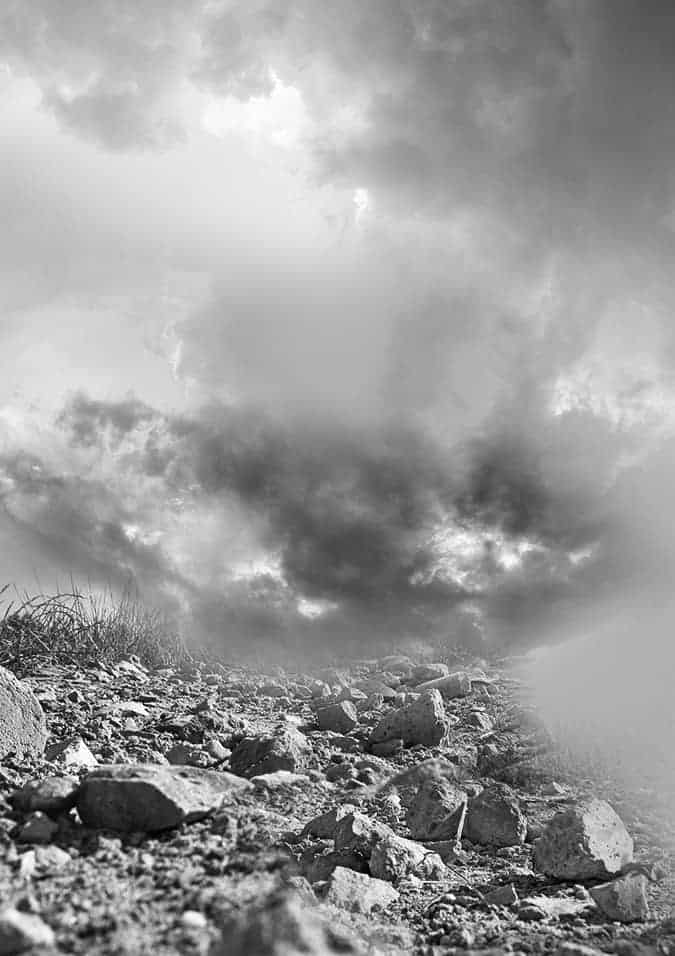
Step 3 - Add Clouds layersNow I will add some clouds using the exact same technique we did with the ground layers. Remember, you will get better results if you decrease your brush opacity; I usually work between 30-50%. First, I will add a new Gradient Map adjustment layer (Layer > New Adjustment Layer > Gradient Map). It will be the same gradient map as the previous layer so you can just duplicate the previous layer. To do this, select the layer then press Ctrl/Cmd+J to duplicate the layer. Move the layer to the top of your layer like shown in the image below.
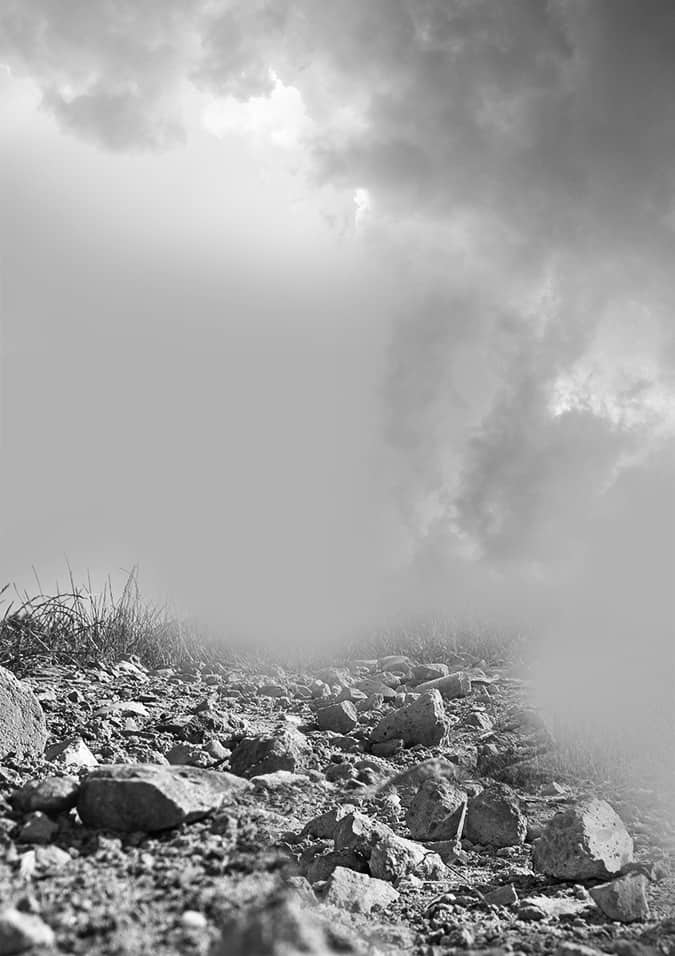
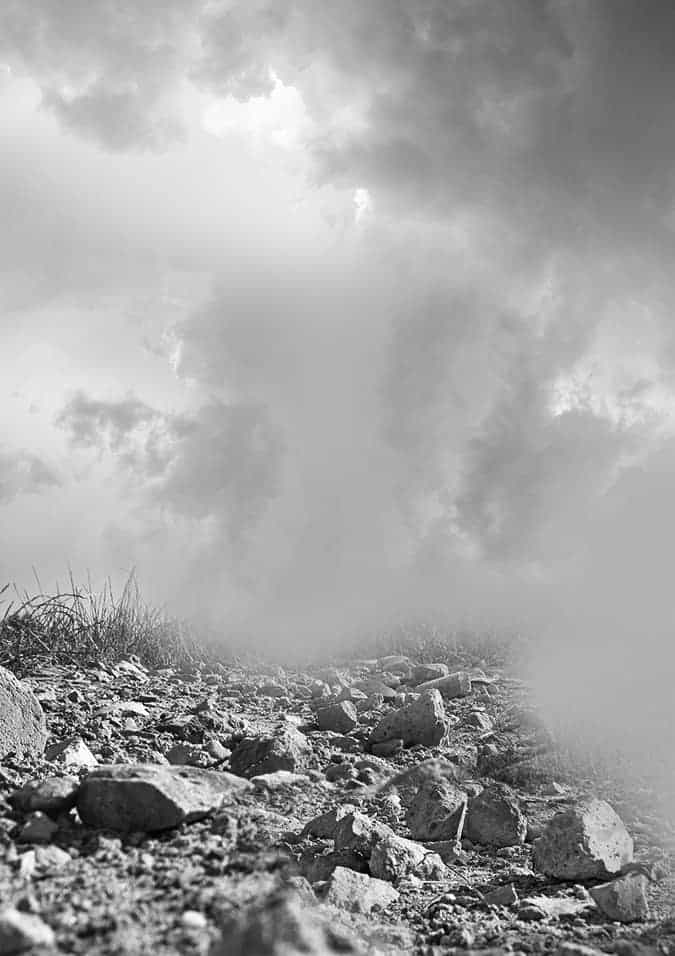
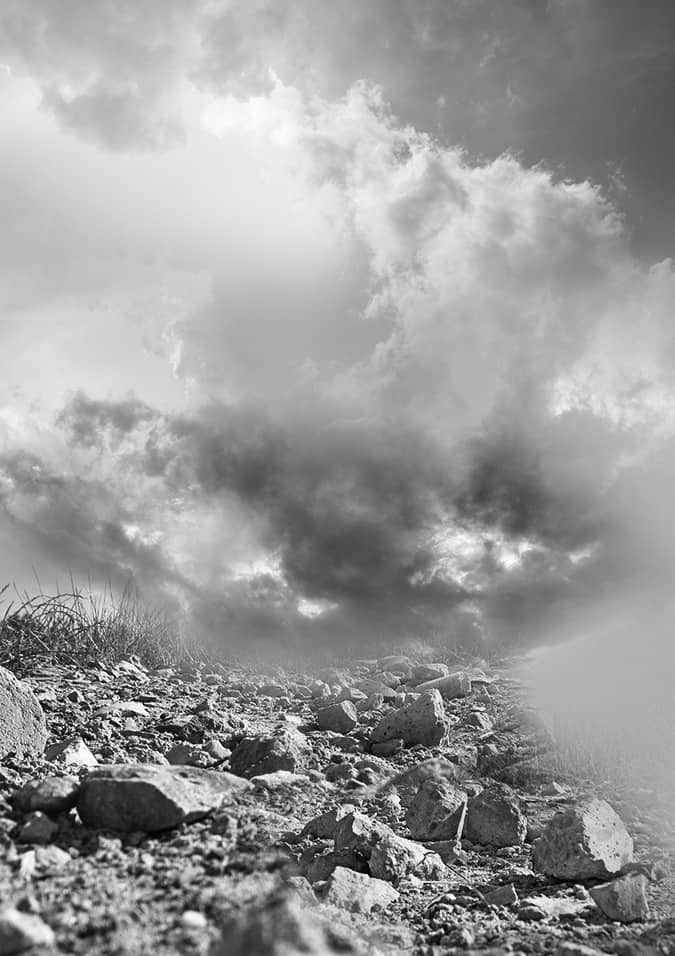
Copy Cloud 6011 then press Ctrl/Cmd+T to activate the Free Transform tool. Change the position and transform then press Enter or double-click on your image to apply the transformation. Set the layers blending mode to Overlay and opacity to 100%.
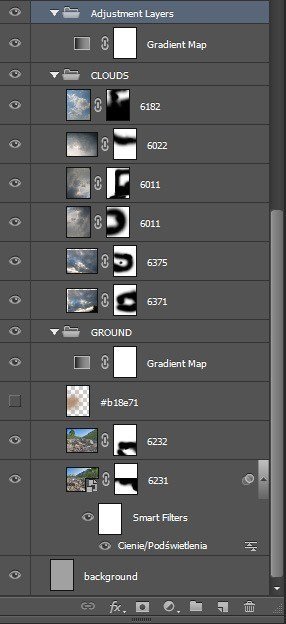
Here’s what our layers look like:
|
| You are subscribed to email updates from Photoshop Tutorials To stop receiving these emails, you may unsubscribe now. | Email delivery powered by Google |
| Google Inc., 20 West Kinzie, Chicago IL USA 60610 | |





0 comments:
Post a Comment