Photoshop Tutorials: How to Create a Breathtaking Christmas Artwork in Photoshop |  |
| How to Create a Breathtaking Christmas Artwork in Photoshop Posted: 24 Dec 2012 12:00 AM PST Preview of Final Results
Download the PSDHow to Create a Giant-sized Christmas tree in a Winter FieldTutorial Resources
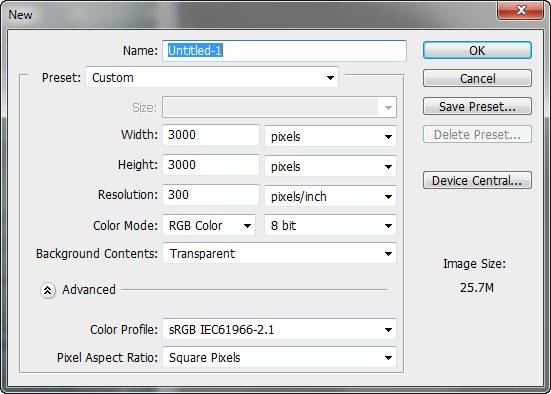
Step 1Now, let’s start by creating a new image file, go to the Menu bar and click File > New, and then input the following values on their respective fields:
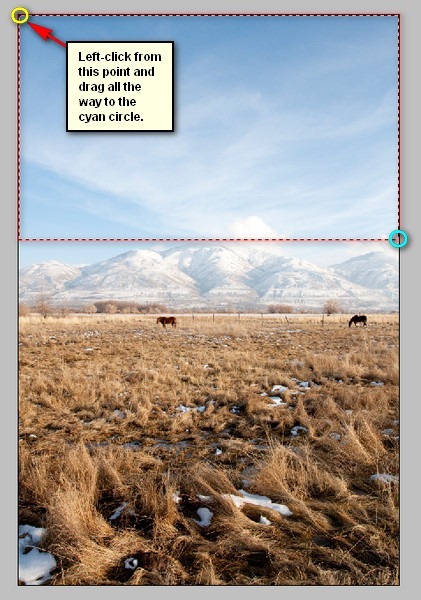
Step 2Now, we will be creating the sky of our Christmas image. To start, open “dry winter field” by night fate stock. Next activate the Rectangular Marquee Tool by pressing M on your keyboard.
Once activated, create a selection area around the sky as shown below:
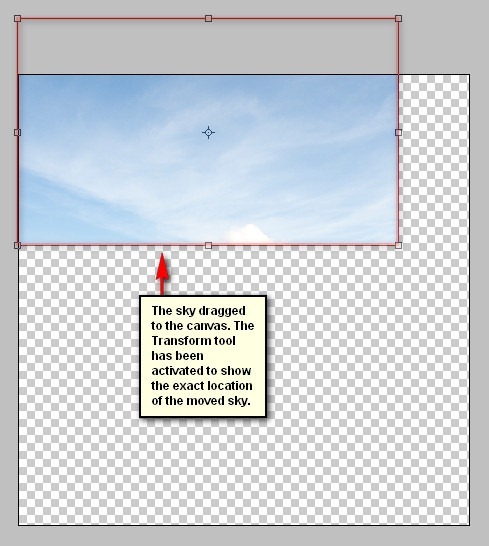
Step 3After that, activate the Move tool (V) and drag the image by first left-clicking on it and dragging it to our canvas. Once on the canvas, position it as shown below:
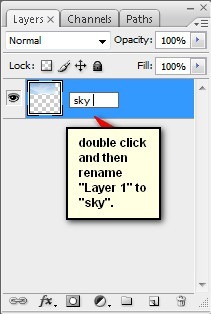
Step 4Rename the layer to “sky 1″. To rename a layer, simply double-click on the words: “layer 1″ (you can find that on the layer window) to prompt a text box to appear.
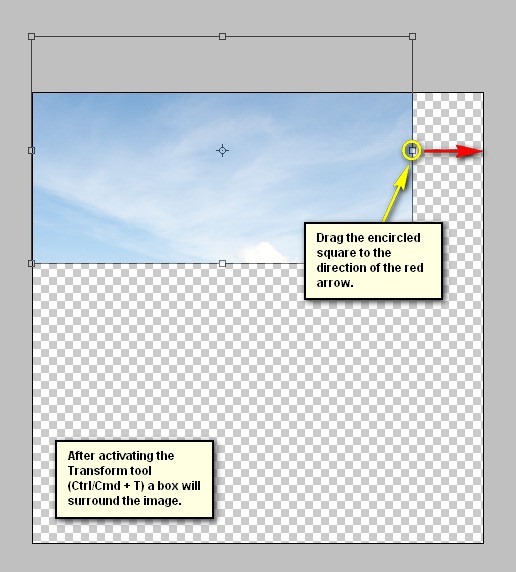
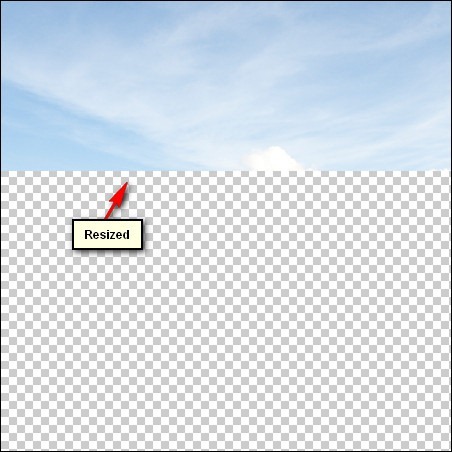
Step 5Now, activate the Transform tool (Ctrl/Cmd + T) and resize the image as shown below:
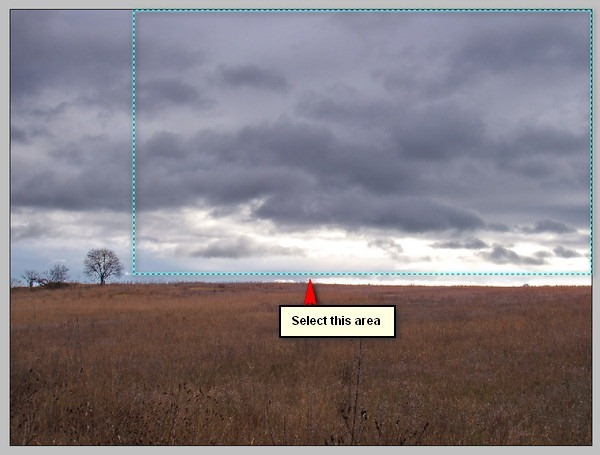
Step 6Next, let’s add the second sky. Open “storming sky” by vimark and once open, activate the Rectangular Marquee Tool (M) and create a selection area around the sky of this image. See image below:
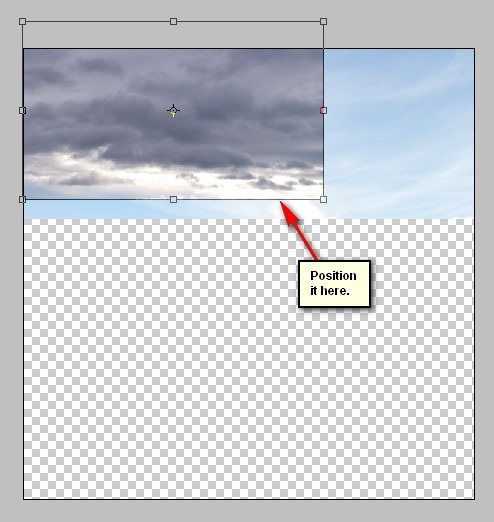
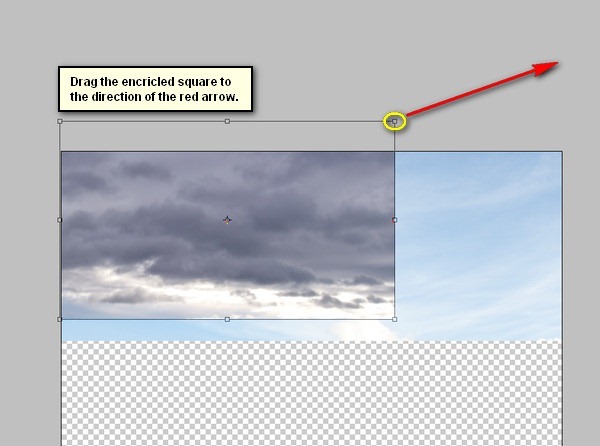
Step 7Now, activate the Move tool (V) and drag this image to our canvas and put this layer above the “sky 1″ layer. To do that, simply drag this new layer on top of the “sky 1″ layer. Rename this layer to “sky 2″. Position it on the canvas as shown below:
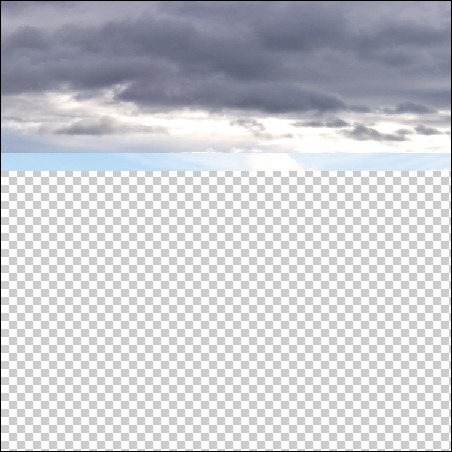
Now, activate the Transform tool (Ctrl/Cmd + T) and resize this layer as shown below:
The result:
Step 8Now, let’s blend these two skies together. To do that, simply change the Blending mode of “sky 2″.
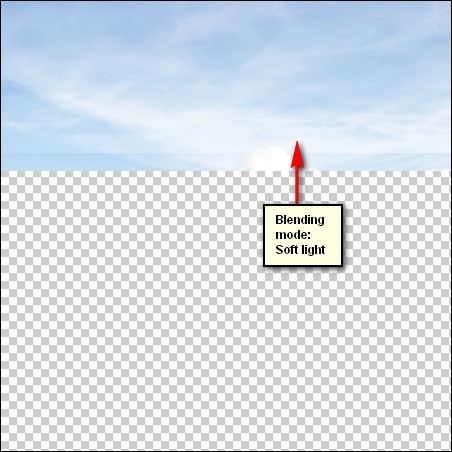
Change the Blending mode of “sky 2″ to Soft Light and the Opacity, should still be at 100%.
The result:
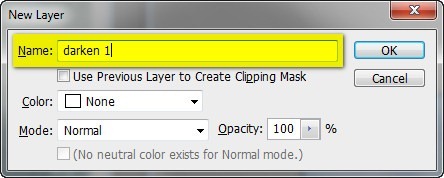
Step 9Next, we will darken the sky so it wouldn’t look flat. Start by left-clicking on the “sky 2″ layer and then press Ctrl/Cmd + Shift + N on your keyboard to create a new layer directly above the selected layer; once the box opens, input “darken 1″ on the name field.
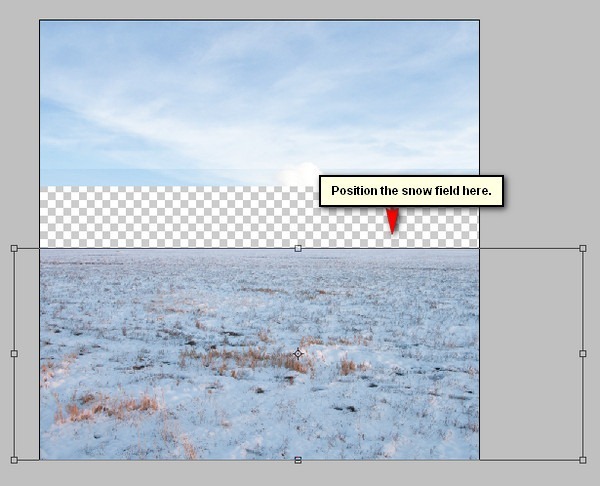
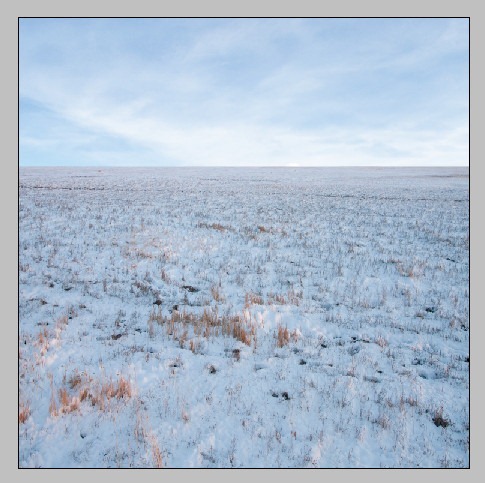
Step 10Now, we will be creating the snow covered field. To start, let’s open “Winter Field” by night fate stock. Once open, activate the Move tool (V) and drag it to our canvas. Make sure to put it above the “darken 1″ layer. Position it as shown below:
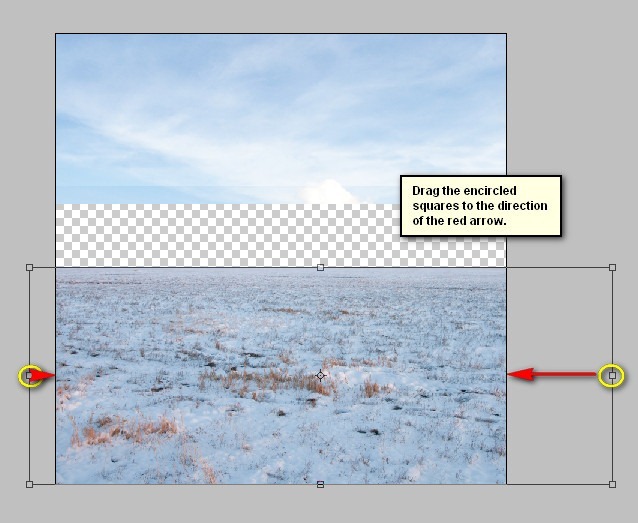
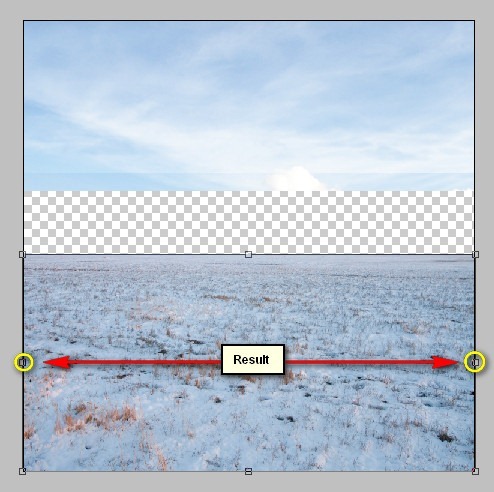
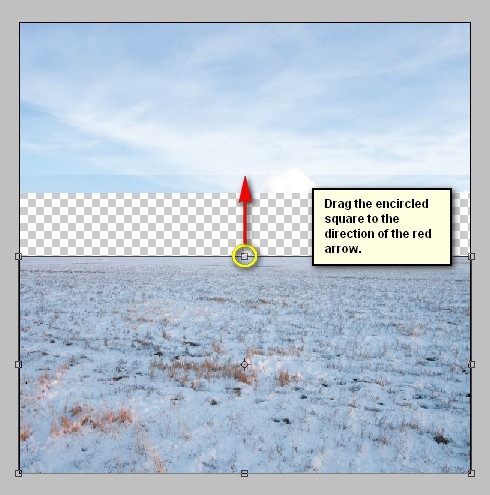
Rename this layer to “ground”. Activate the Transform tool (Ctrl/Cmd + T) and resize it as shown on the images below:
The result:
|
| You are subscribed to email updates from Photoshop Tutorials To stop receiving these emails, you may unsubscribe now. | Email delivery powered by Google |
| Google Inc., 20 West Kinzie, Chicago IL USA 60610 | |






0 comments:
Post a Comment