Photoshop Tutorials: Create a Mystic Lady Photo Manipulation |  |
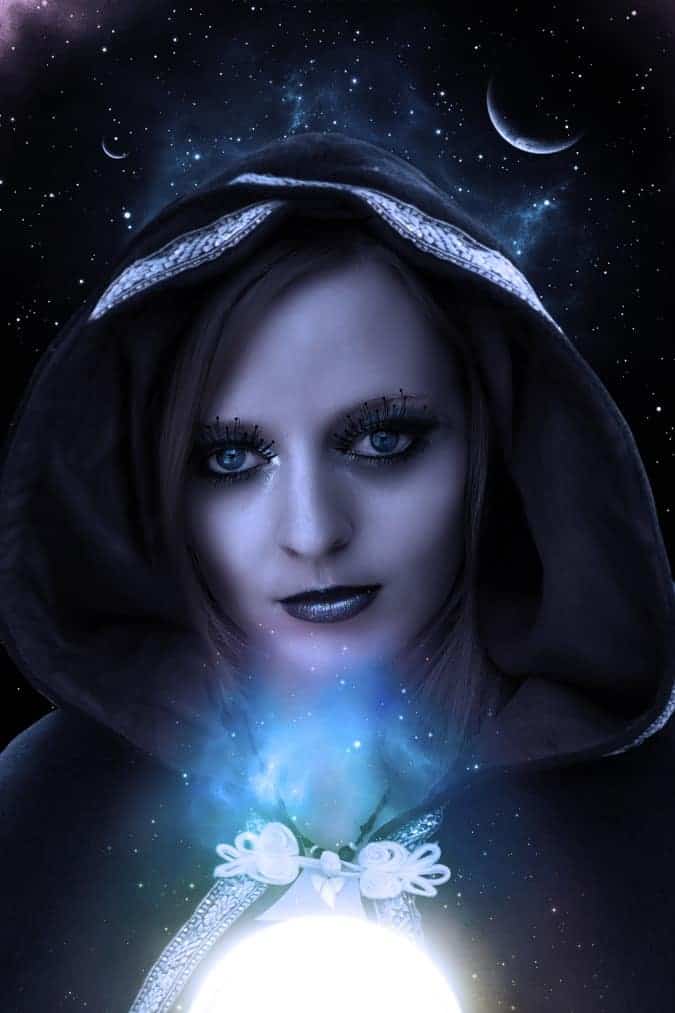
| Create a Mystic Lady Photo Manipulation Posted: 23 Sep 2013 03:11 PM PDT Preview of Final Results
Tutorial Resources
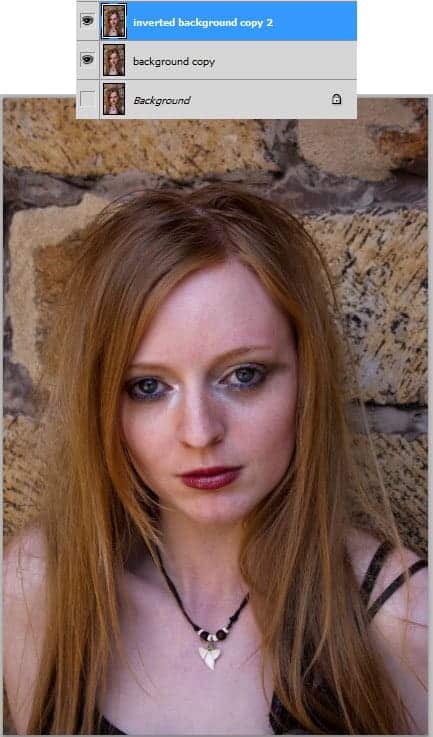
Step 1Open the model image in photoshop and duplicate (Ctrl+J) the image two times. We can name the duplicates as we want. I, myself, named the duplicates as background copy and inverted background copy 2. NOTE: the original model image is quite large with size of 2304 x 3456 at 300 pxls/inch. We can reduce the the image size to 768 x 1152 at 100 pxls/inch. The psd file of this tutorial that we can download here is the one with the reduced size as mentioned above. There will be some different setting for certain filters used because of the reduction as we can see in the psd file.
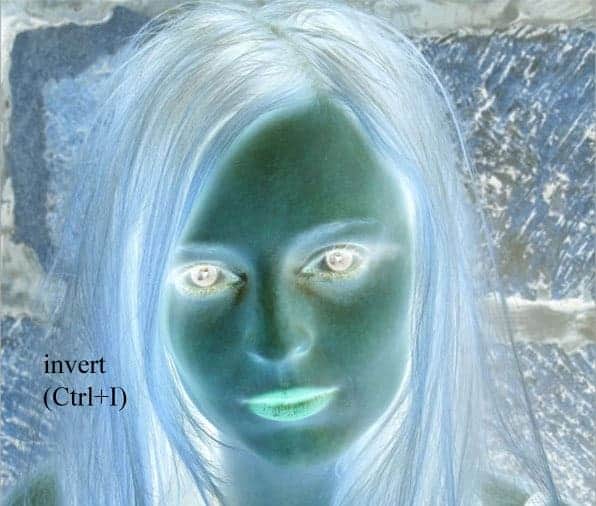
Step 2Select the inverted background copy 2 layer in the layer panel and hit Ctrl+I to invert the layer.
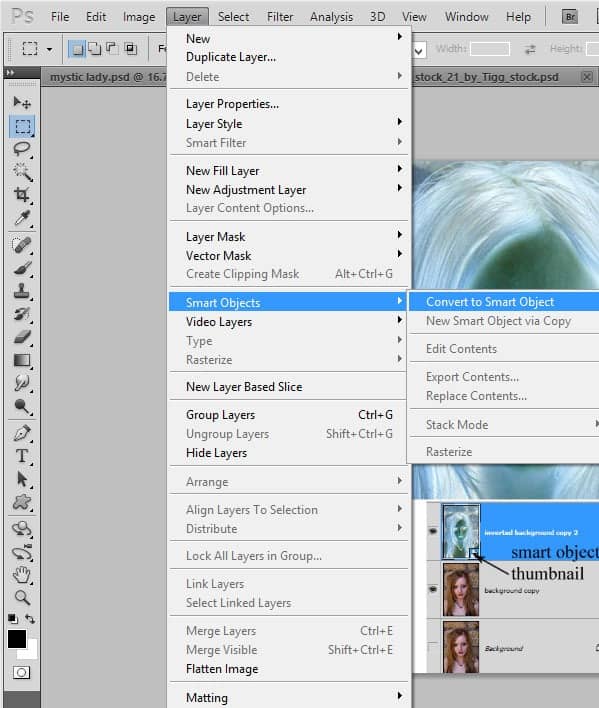
With the layer still selected, go to Layer > Smart Objects > Convert to Smart Object. This will change the layer into a smart object later indicated by a small smart object thumbnail at lower left corner..
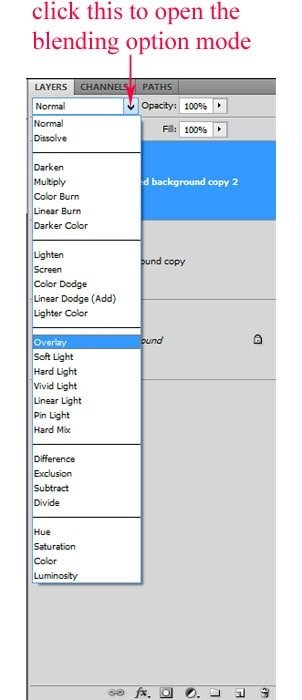
Then, change this smart object layer's blending option from normal to overlay at 100% opacity.
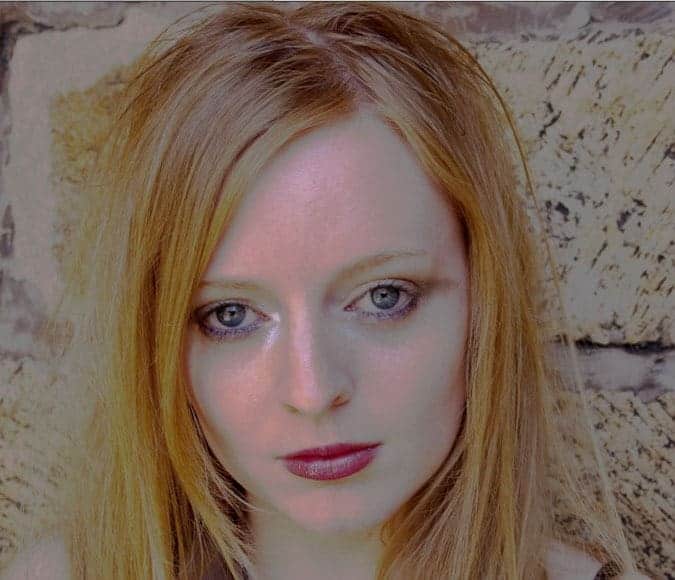
The result should look like this:
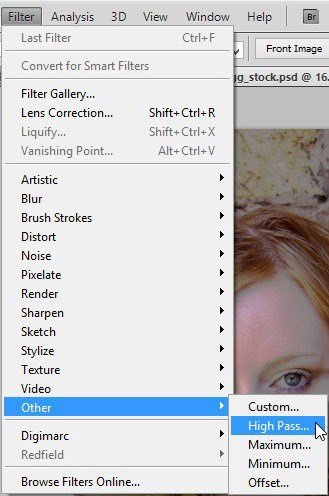
Step 3In this step, we will give some high pass filter for the smart object layer by going to Filter > Others > High Pass.
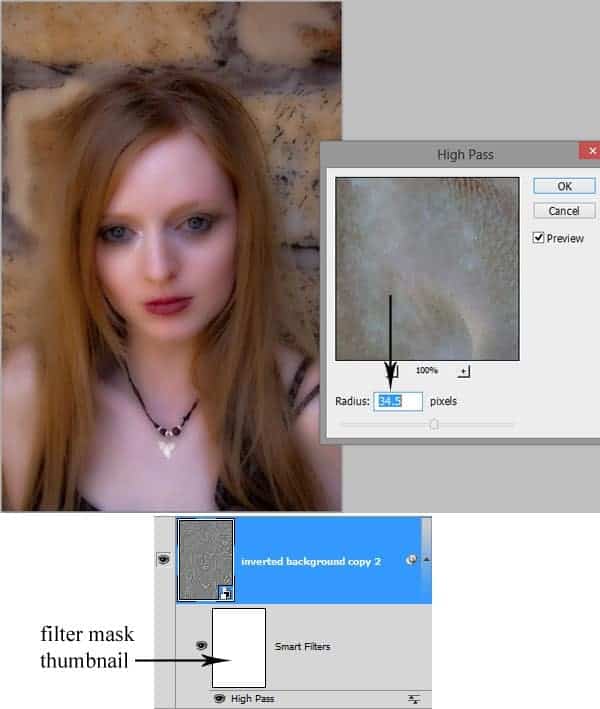
Here is the setting of the high pass filter. After applying this filter, it will be a smart filter shown below the smart layer with a white mask thumbnail. Note: the amount of the high pass filter shown in the screenshot is the one for the image with original size (2304 x3456 pxl at 300 resolution). If we reduce the resolution to 100 pxls/inchs (a third of 300), we should set the amount of the filter to 11,5 pxl (a third of 34,5). This will give the same result.
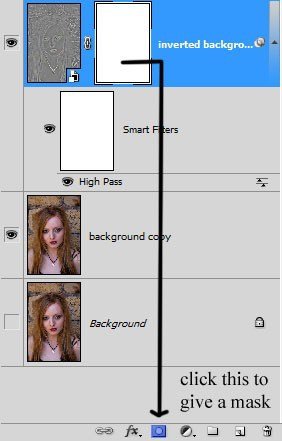
Give this layer a layer mask by clicking the layer mask icon in the bottom of the layer panel.
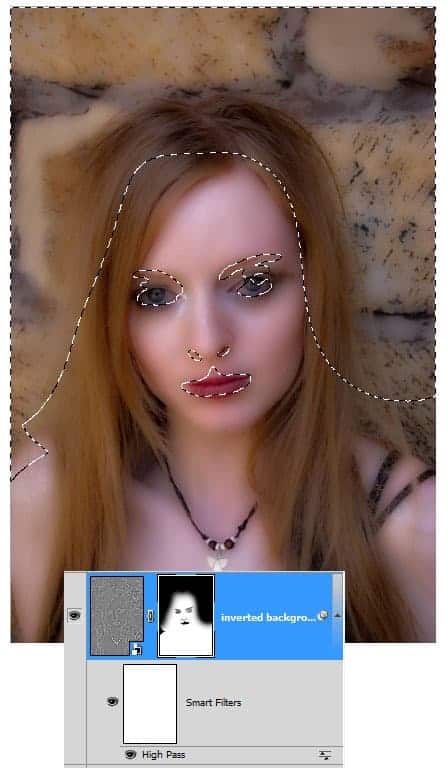
Then, mask the areas around the eyes, nose, lips and upper hair as shown in the selection in the screenshot. Use a very soft round brush at 20% opacity for this purpose.
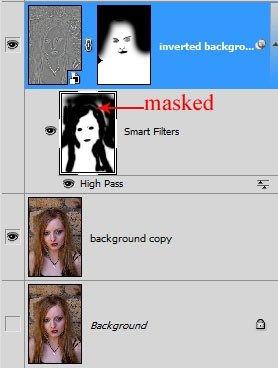
Next, select the mask thumbnail of the high pass smart filter and mask some areas on the model's face and hair.
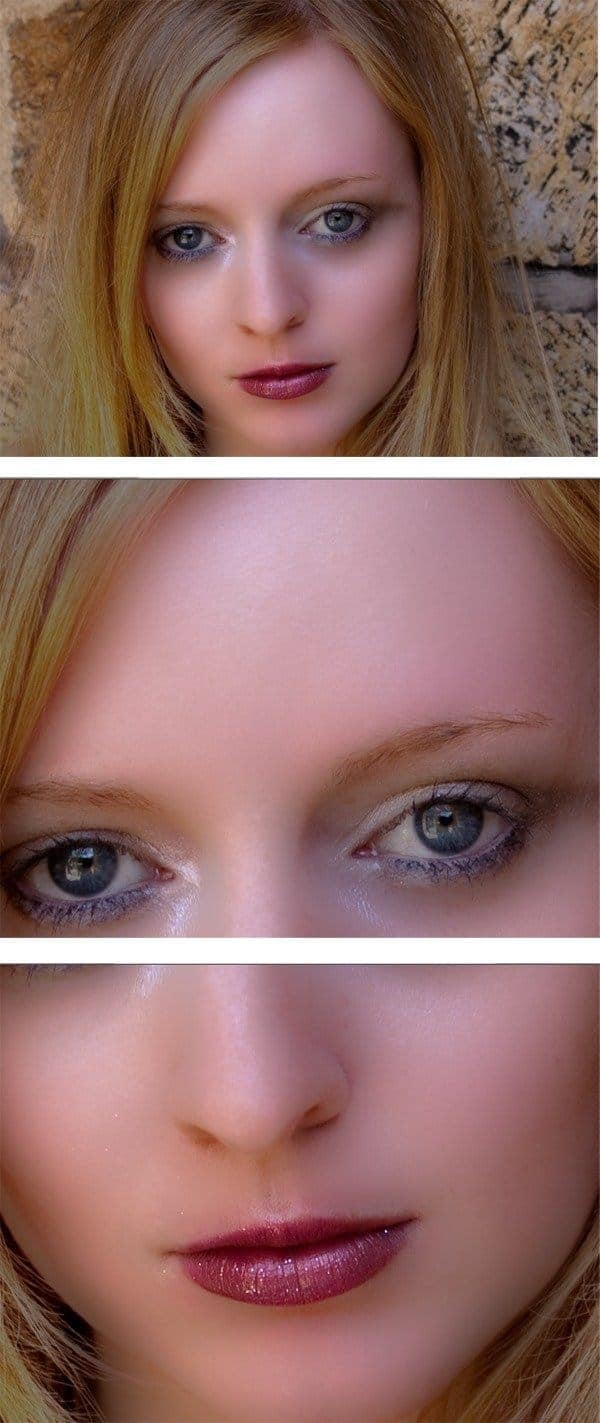
Here is the result we should have:
|
| You are subscribed to email updates from Photoshop Tutorials To stop receiving these emails, you may unsubscribe now. | Email delivery powered by Google |
| Google Inc., 20 West Kinzie, Chicago IL USA 60610 | |



0 comments:
Post a Comment