Photoshop Tutorials: How to Create a Beautiful Mermaid Fantasy Photo Manipulation |  |
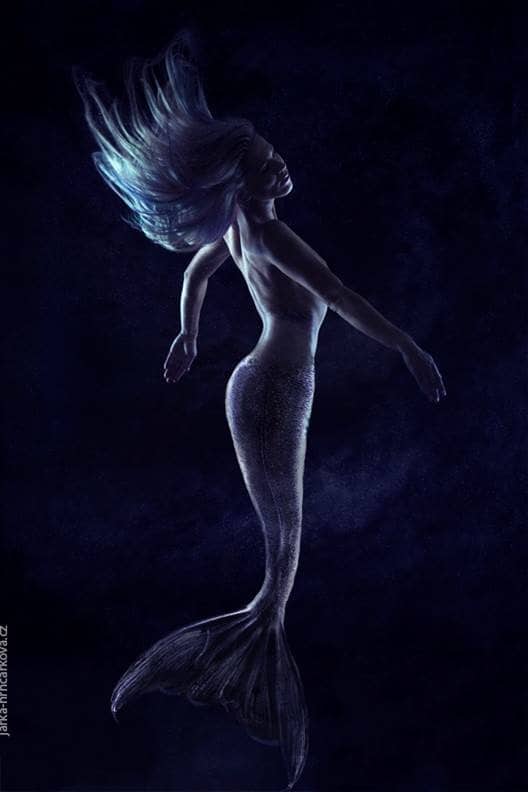
| How to Create a Beautiful Mermaid Fantasy Photo Manipulation Posted: 25 Nov 2013 12:00 AM PST Preview of Final Results
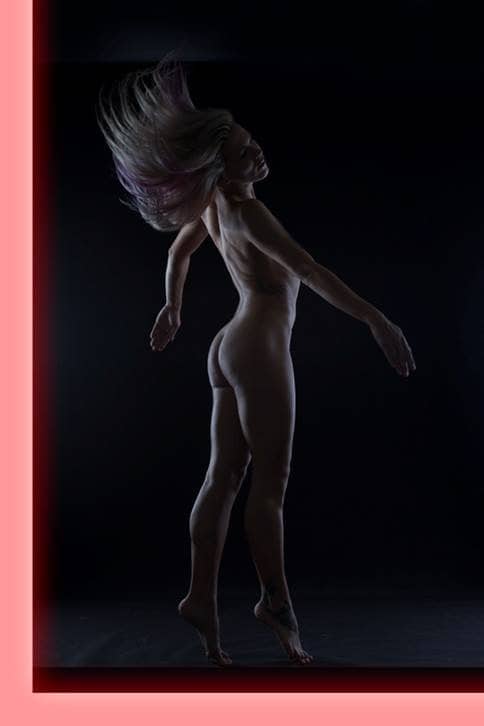
Tutorial Resources· Original texture no longer available, but very similar here: Texture by GlenRoberson Step 1 – Preparing the PhotoDownload photo of a woman listed in the beginning of the tutorial and open it in Photoshop. Name the layer WOMAN. You can do it by double clicking on layer’s name.
(Note: If you don’t see the palette Layers go to Window > Layers or simply press F7 on your keyboard and it will appear.) As you can see there are some parts of the background missing and on the ground you can see the photographic background on which the photo was taken. In this step you’ll adjust the floor and in following steps you’ll extend the missing background.
To create an illusion that the woman is not standing but floating in the water you need to clean the background. Add new empty layer above WOMAN and name it RETOUCH. You can find the button Create a new layer on the bottom part of Layers palette.
Pro Tip: It’s a good habit to name all the layers you create in Photoshop. It’s quicker to orient in them once you need to adjust something. Grab the Brush Tool (B) and select some soft round brush. Lower its Opacity on about 40%. Hold Alt on your keyboard to activate the Eyedropper Tool (I) and pick some dark blue color from the background. Paint over the floor. Repeat this step and pick different color tones quite often to create nice gradient and get the most realistic results. After this step you should end up with something like on the following picture.
Step 2 – Increasing ContrastIn this step you’ll increase contrast of the whole image to create more interesting look. Add new adjustment layer Levels on the top of all layers. You can find the button Create new fill or adjustment layer on the bottom part of your Layers palette.
Pro Tip: Use adjustments layers instead of direct adjustment of the image. Working with adjustment layers is non destructible which means you can always go back and tweak and adjust anything you need. It makes your work much more easier and also save a lot of space on your hard drive! Back to the tutorial: Add new adjustment layer Levels on the top of all layers and set the Input Levels as shown on the picture below.
Step 3 – Adding Brightness to Hair and FaceIf you look at the photo you may notice that woman’s abdomen is the brightest part of her body. But it would look better if face and hair are the brightest. You fix it in this step. And another adjustment layer Levels on top of all layers and set the Input Levels as shown on the picture below.
The whole image is really bright right now. But it’s not what we want, right? To fix that you first need to fill the layer mask of this adjustment layer with black color. Take a look what is a layer mask if you have any doubts:
To fill the layer mask with black color click on it to make sure it’s activated. Then grab the Paint Bucket Tool (G), pick solid black color and fill the image with it. As you can see the adjustment becomes invisible. To make it visible again (but only on those parts of the image you want), grab the Brush Tool (B), select some small soft round brush, set its Opacity on about 20% and pick white color. Now paint over the areas you want to highlight. On the picture below you can get the idea where to paint. These parts are highlighted with red color.
On the following photo you can compare how the face and hair look before and after this adjustment.
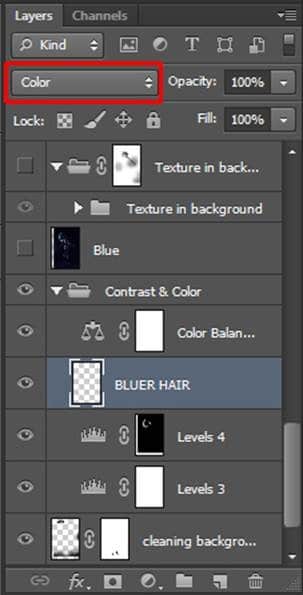
Step 4 – Bluer HairTo create more underwater feel you’ll create bluer hair in this step. Add new layer on the top of all layers and name it BLUER HAIR. Change its Blending Mode from Normal to Color. You can find this option in the upper part of your Layers palette.
This blending mode changes only the color not structure of the image. Grab the Brush Tool (B), select some soft round brush and set the Opacity on 30%. Pick some light blue color and paint over some hair strands. Then pick another blue or cyan color and paint over another part of hair. On the picture below you can get the idea where to paint.
If you feel that the effect is too strong you can simply lower the Opacity of the layer BLUER HAIR to get more gentle look. |
| You are subscribed to email updates from Photoshop Tutorials To stop receiving these emails, you may unsubscribe now. | Email delivery powered by Google |
| Google Inc., 20 West Kinzie, Chicago IL USA 60610 | |


0 comments:
Post a Comment