Photoshop Tutorials: How to Create a Beautiful Audio App User Interface |  |
| How to Create a Beautiful Audio App User Interface Posted: 18 Nov 2013 12:00 AM PST Preview of Final Results
Tutorial Resources
Step 1Alright, let’s start by creating a little bit bigger canvas than our desired final screen. Let’s set it to 1080×1920 and resolution of 72 px/inch. For the background color choose black.
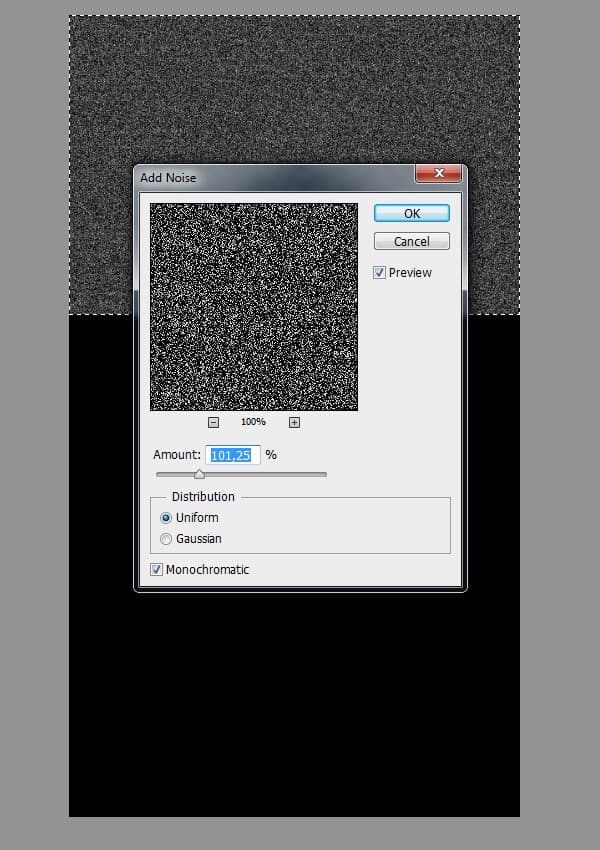
Step 2Grab Rectangular Marquee Tool (M) and draw a selection covering the whole top of the canvas (for around 1/3 of the whole image). Use Paint Bucket (G), then fill up the selection with black color. Next go to Filter > Noise > Add Noise.
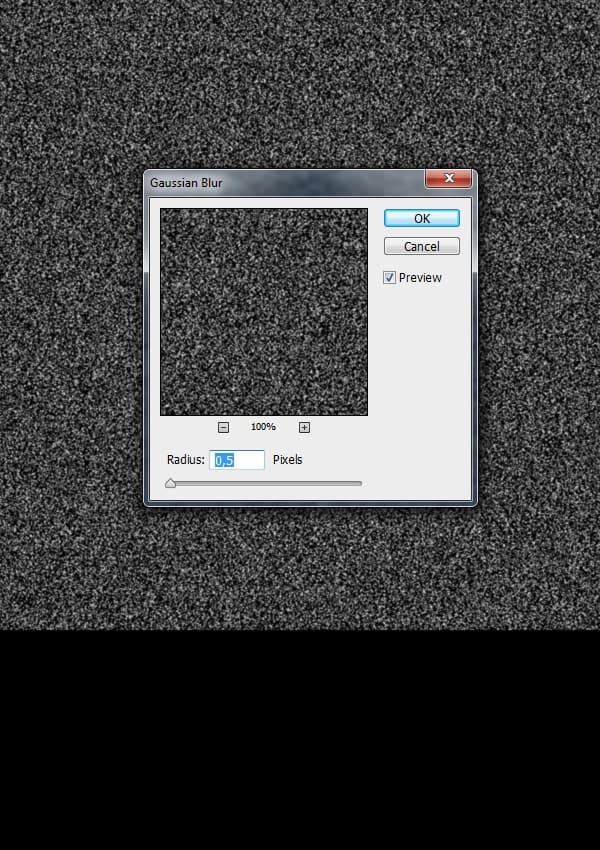
Step 3Now go to Filter > Blur > Gaussian Blur and add the blur of around 0,4 radius.
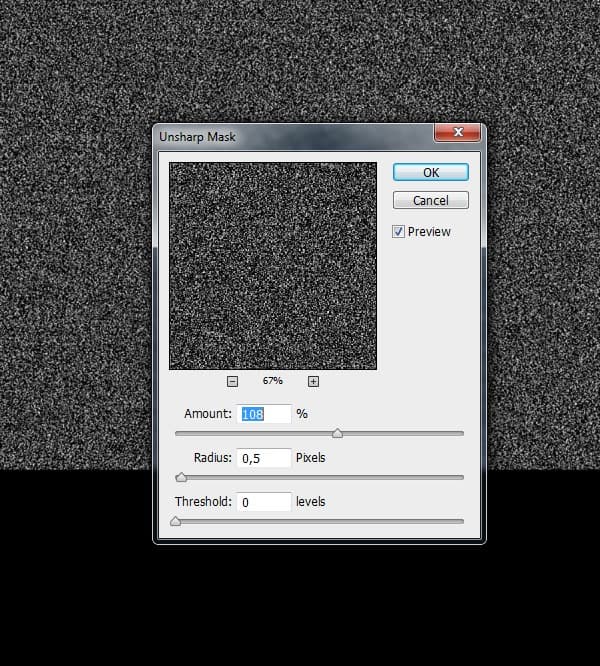
Step 4Then go to Filter > Sharpen > Unsharp Mask and sharpen it as shown below. The whole point of this is to make that texture a little smoother than the noise is itself. If you feel that the texture could use more sharpen, then go ahead and press Ctrl+F, this will apply the last used filter (which was Unsharp Mask), this way the effect will be stronger.
Step 5Basically it doesn’t really matter how much of noise you gave in the first place, as this is adjustable. Depending on how much you want your background texture to be visible, you need to set the Opacity of our layer that contains the noise. I’m gonna go ahead and in the Layers Palette lower it to around 4%. If you want your texture to be even more visible you can add a little bit more sharpness (as in step 4).
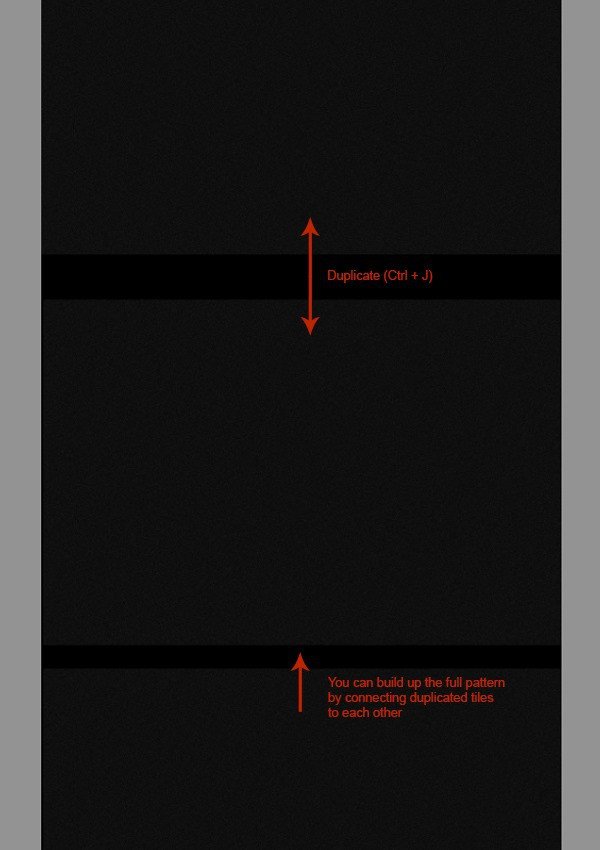
Step 6Now because the noise texture is seamless you can easily duplicate it (Ctrl+J) and connect each tile to create any type of background.
Step 7Try to connect them as indicated in the previous step and move them a bit to the top so the whole design has one small gap like in the screen below.
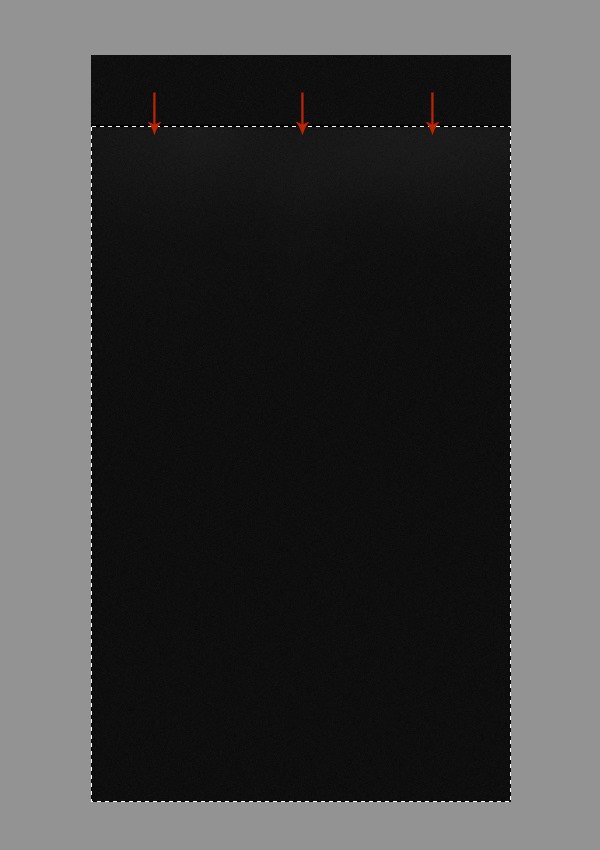
Step 8Now create new layer above, grab Rectangular Marquee Tool (M) and select the whole bottom part of the background (starting from the gap ledge). Then pick Brush Tool (B), set its Opacity to 100%, Flow to 1% and Hardness to 0%. Use white color and softly paint on the new layer, inside the selection (as indicated).
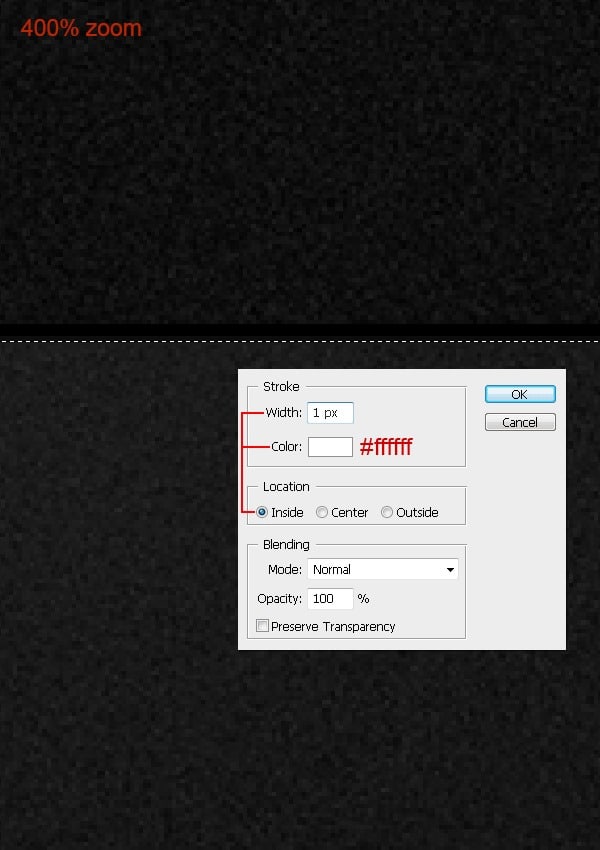
Step 9 (Creating Edge Highlights)Now please try to understand and remember following steps, as we will be repeating them many times later: Make sure you have your selection still active, if you happen to deselect it, recreate the same selection again. Zoom up the area of the gap and create new layer above all, name it “Edge highlight”. Select Rectangular Marquee Tool (M), then right-click on the canvas and pick “Stroke…” from the dialogue box. Set it as shown below. To deselect selection hit Ctrl+D.
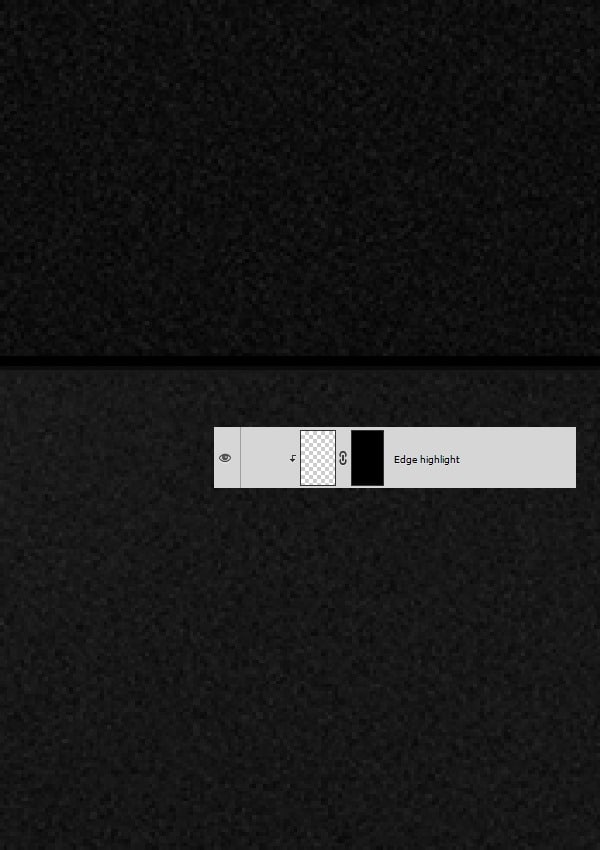
After applying these settings, the line should look like this.
Step 10 (Creating Edge Highlights)Next go to Layers Palette, add layer mask to the “Edge highlights” layer. Click on its mask and hit Ctrl+I (invert). This will invert mask making everything on that layer hidden.
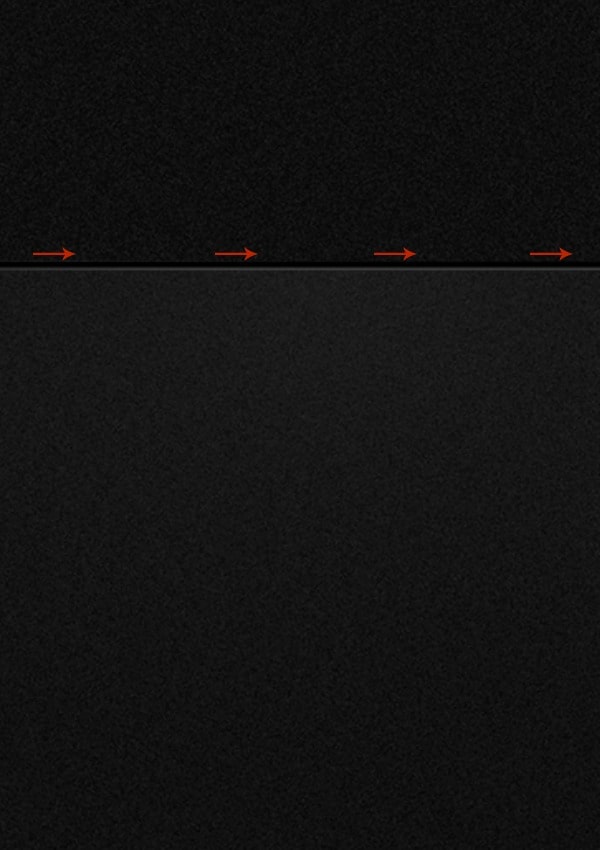
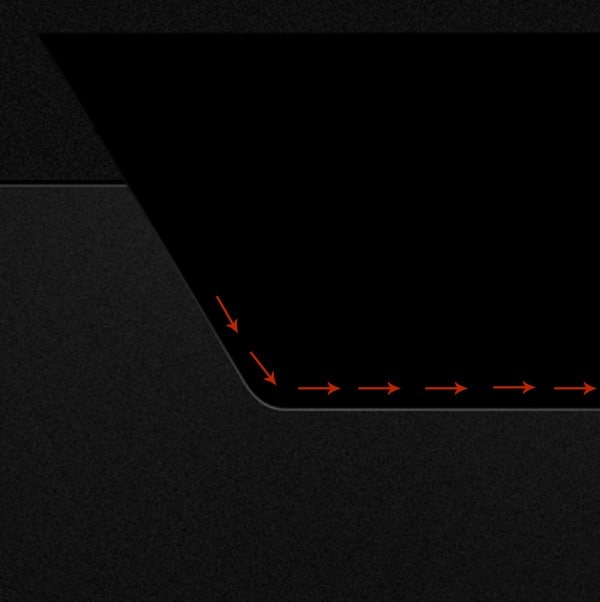
Step 11 (Creating Edge Highlights)Then to make the edge highlight we need to reveal the mask. Simply select layer mask and softly paint along the whole horizontal lenght of the gap (direction indicated by red arrows). To do this use soft white brush (brush settings: Opacity to 100%, Flow to 5% and Hardness to 0%).
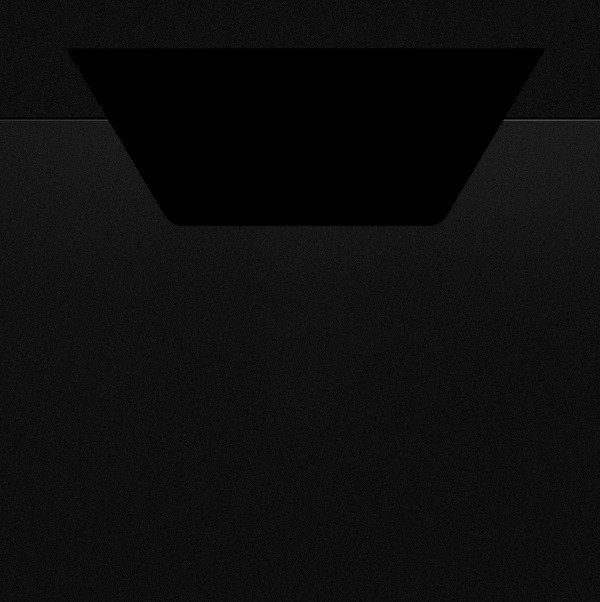
Step 12Now you know how to make the edge highlight, which are very important in a design like this. They will now appear everywhere you want to insert a gap. So go ahead and using this knowledge let’s make gap for our interface logo. Grab Pen Tool and draw a black shape layer as you see below. If you’re not quite familiar with drawing advanced shapes with Pen Tool, you can use simple Rounded Rectangle Tool (U) filled with black color or draw a sharp edged shape trapezoid.
Once you’re done refer to steps 9, 10, 11 (creating edge highlight) and add a nice highlight on the bottom of the shape along with the direction set by red arrows. Keep in mind that now you will be basing on the selection of the trapezoid (to call its selection simply hold Ctrl and leftclick on the tarpezoid layer’s thumbnail, then follow the mentioned steps: 9, 10, 11). The process is identical.
|
| You are subscribed to email updates from Photoshop Tutorials To stop receiving these emails, you may unsubscribe now. | Email delivery powered by Google |
| Google Inc., 20 West Kinzie, Chicago IL USA 60610 | |






0 comments:
Post a Comment