Photoshop Tutorials: How to Create an Amazing Space Battle Scene in Photoshop |  |
| How to Create an Amazing Space Battle Scene in Photoshop Posted: 01 Apr 2013 12:47 PM PDT Preview of Final Results
Space Battle Scene Photoshop Tutorial Tutorial Resources
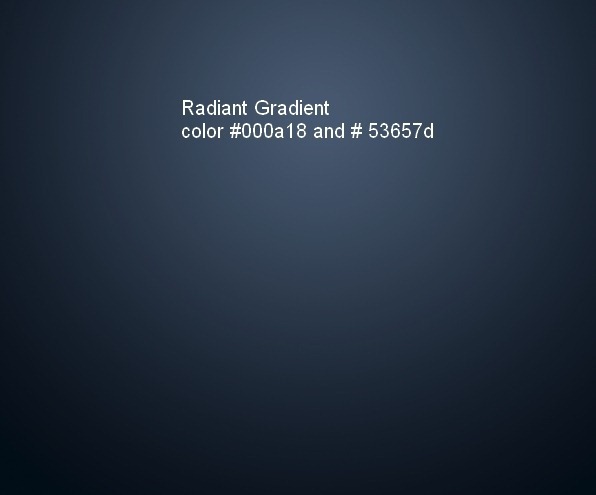
Step 1Create a new document and fill it with white. I make the width is a bit larger than the height. Make a new layer and press G to active Gradient Tool. I choose Radiant Gradient with color #000a18 and # 53657d:
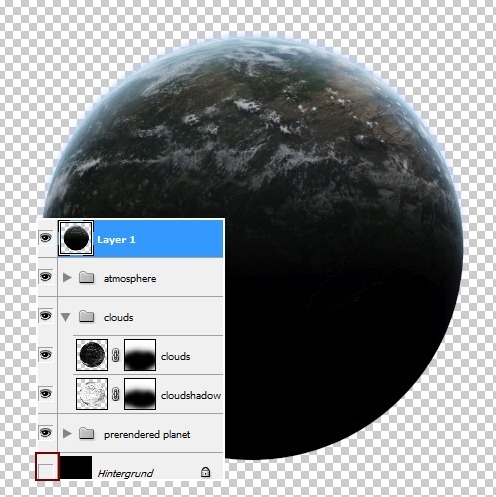
Step 2Open planet stock. Hide the black background and press Cmd/Ctrl+Shift+Alt/Option+E to merge all transparent layers. We will have result:
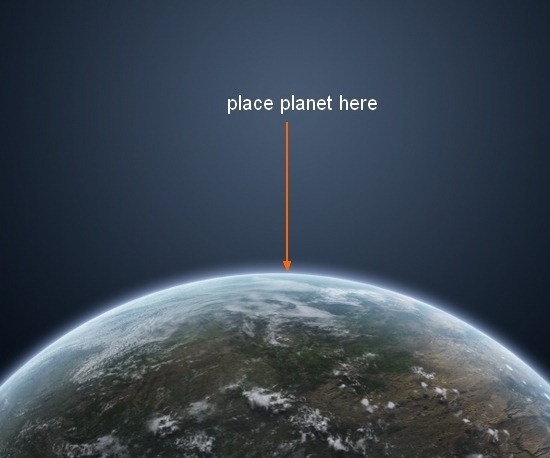
Use Move Tool ( V key to active it) and drag planet into our document, place it at the picture bottom:
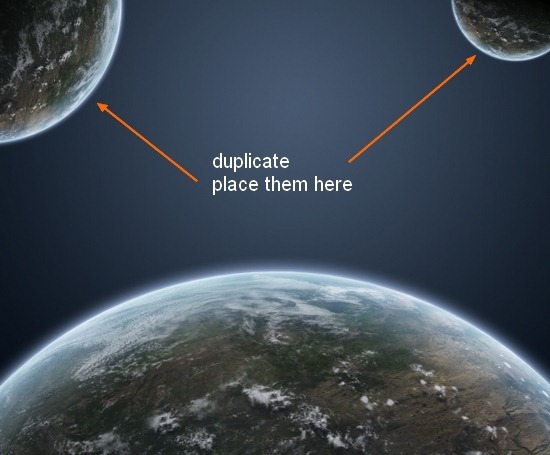
Duplicate this planet twice, resize and transform it to be smaller ( use Cmd/Ctrl+T to do it) and position them at the two edges of picture:
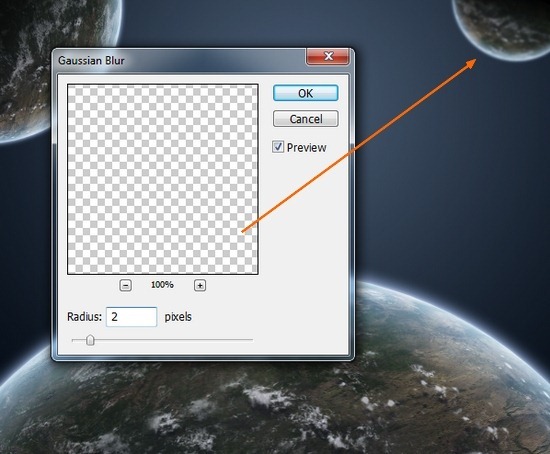
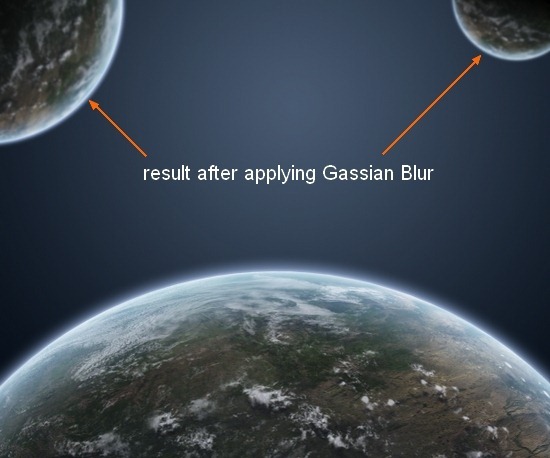
Call big planet as “planet 1″ and smaller ones as “planet 2″, “planet 3″. On planet 2 layer, go to Filter-Blur-Gassian Blur and set radius as 2 px:
Choose planet 3 layer, press Cmd/Ctrl+F to repeat this filter ( Gassian Blur) with it:
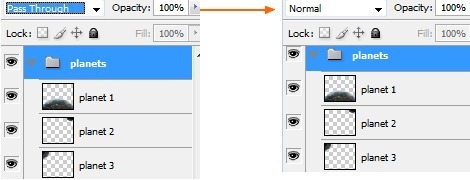
Step 3Make group for all planet layers ( make them selected then press Cmd/Ctrl+G) as I want to edit them together. Change the mode of this group from Pass Through ( default mode group) to Normal 100%:
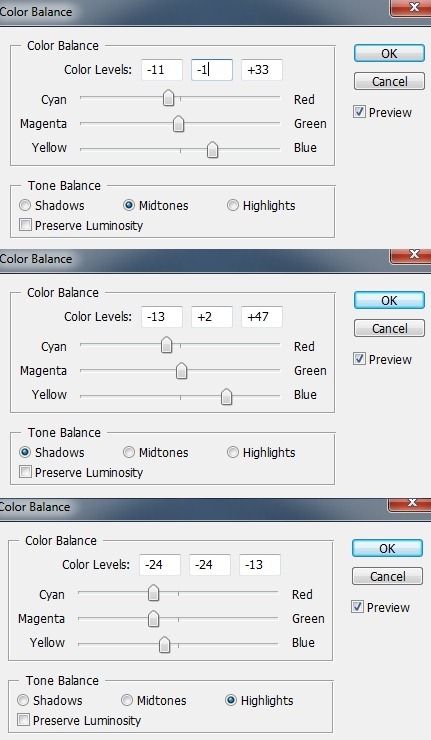
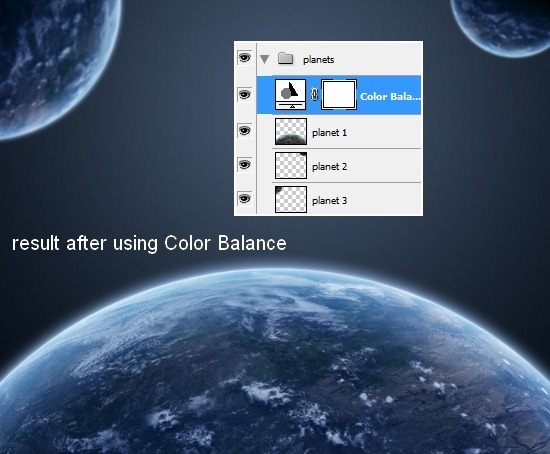
Now I use an adjustment layers to change color of these planets. On planet 1 layer, go to Layer-New Adjustment Layer-Color Balance:
Because the mode of group changed to Normal 100% so this Color Balance layer only affects the layers inside this group ( planet ones).
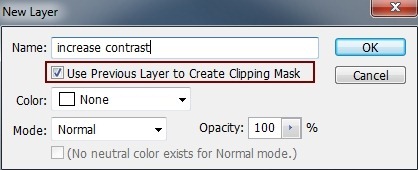
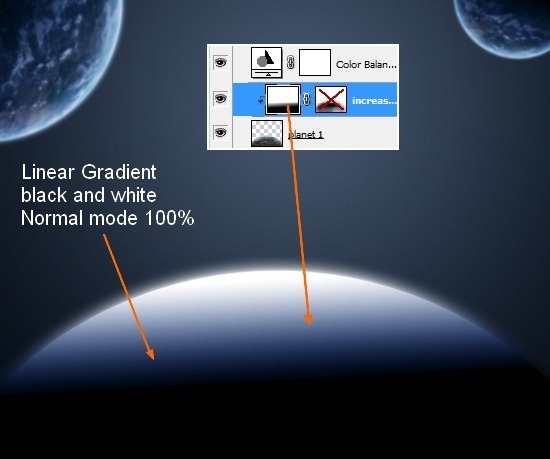
I want to increase a bit of contrast of planet 1 so I make a new layer above this one with Clipping Mask and use Linear Gradient with default color ( black and white):
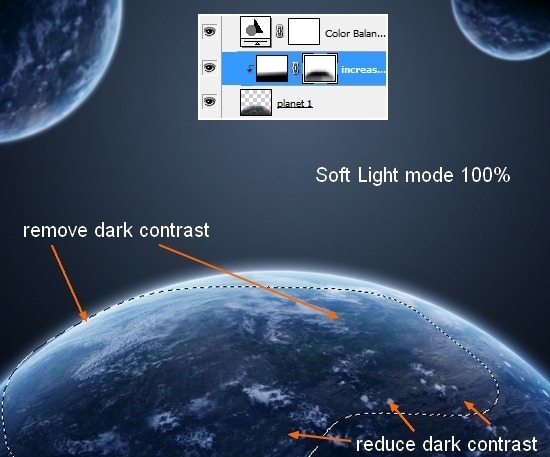
Change the mode to Soft Light 100% and add layer mask for this layer. Use soft black brush to remove and reduce dark contrast on some parts we’ve just painted on. Look at the layer mask to see how I masked it:
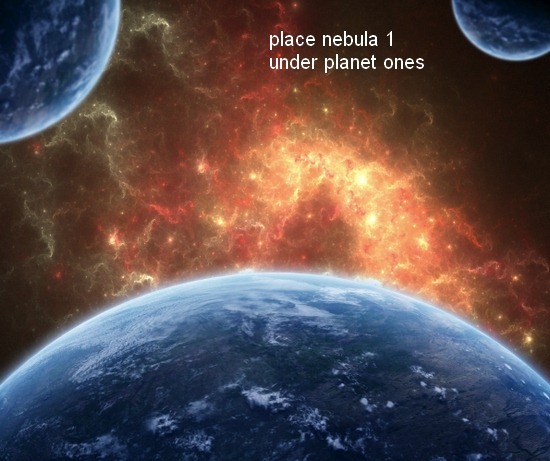
Step 4Open nebula stock. Drag it into our canvas and place it under planet group. I only take a part of this stock:
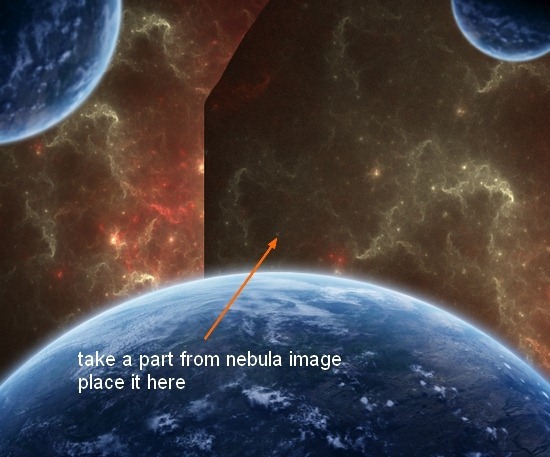
I copy a part from nebular image and place it on the right side :
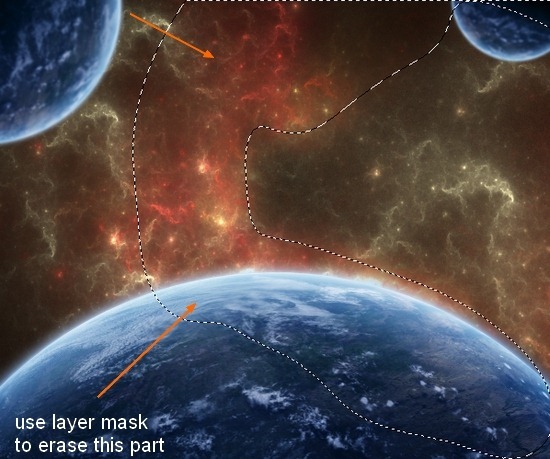
I use layer mask to clear rough edges of it:
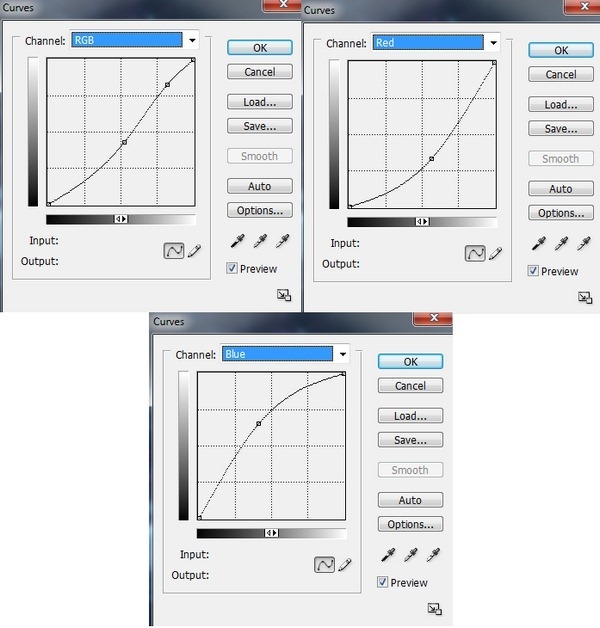
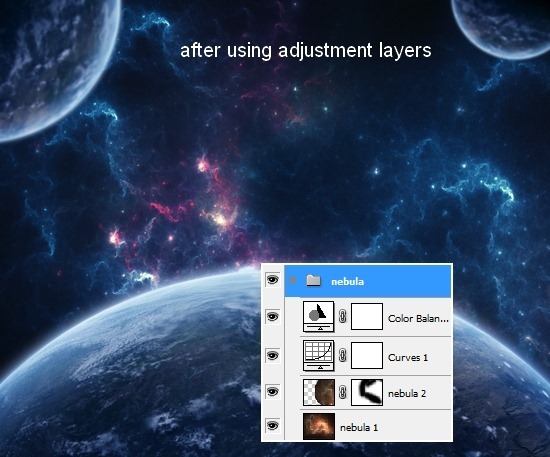
Call these layers as “nebula 1″, “nebula 2″. Step 5Make group for them as we did with planets and remember to change the mode of this group to Normal 100%. I add some adjustment layers to make color of nebula fit the rest of picture. Curves:
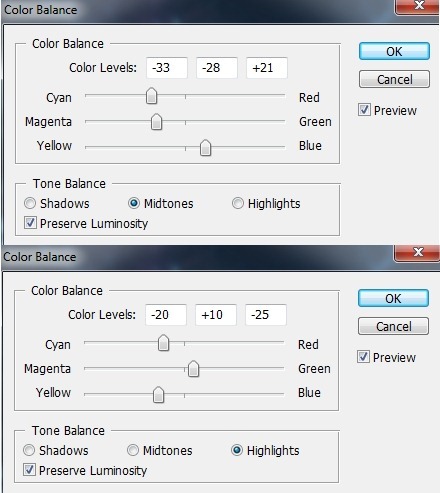
Color Balance:
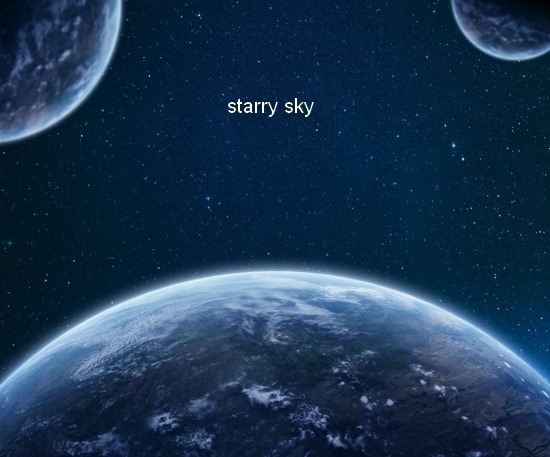
Step 6Open starry sky stock. Move it above nebula group and under planet ones, resize it to get the look below:
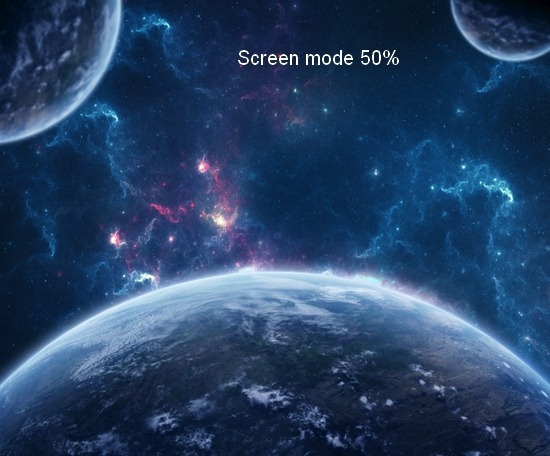
Change the mode to Screen 50%:
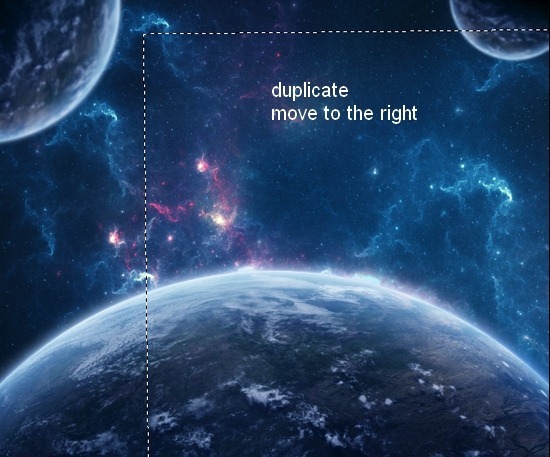
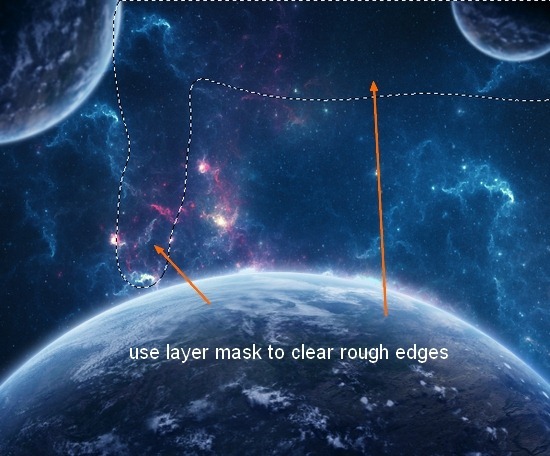
Duplicate this layer and move it to the right. Use layer mask and soft black brush to remove rough edges of this part:
|
| You are subscribed to email updates from Photoshop Tutorials To stop receiving these emails, you may unsubscribe now. | Email delivery powered by Google |
| Google Inc., 20 West Kinzie, Chicago IL USA 60610 | |



0 comments:
Post a Comment