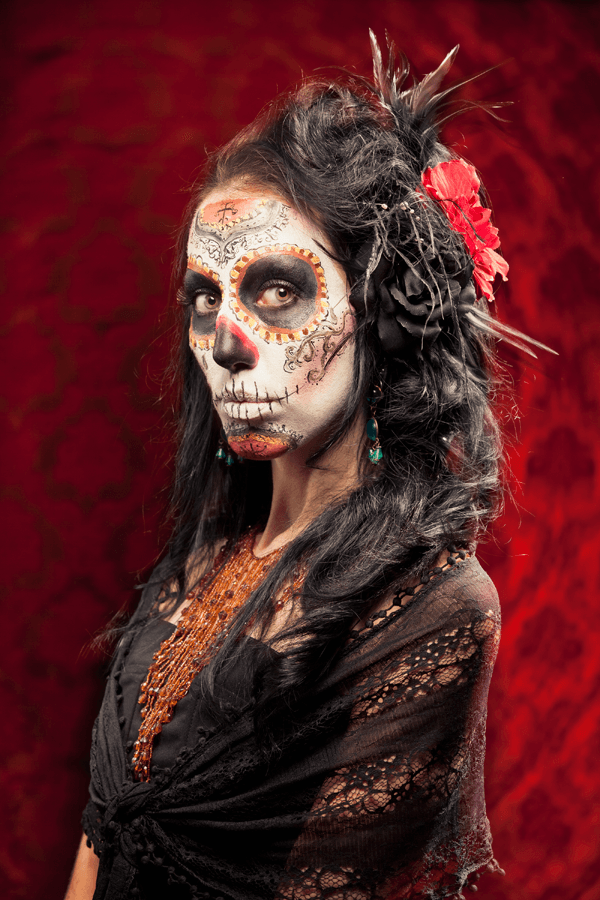
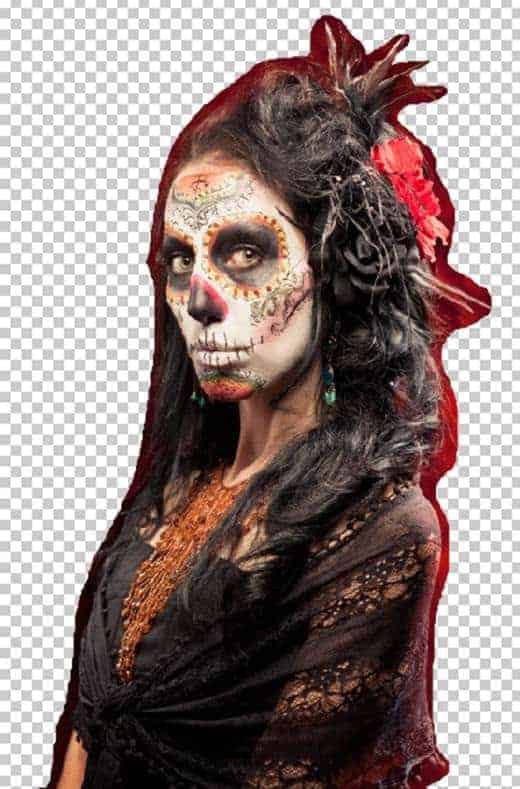
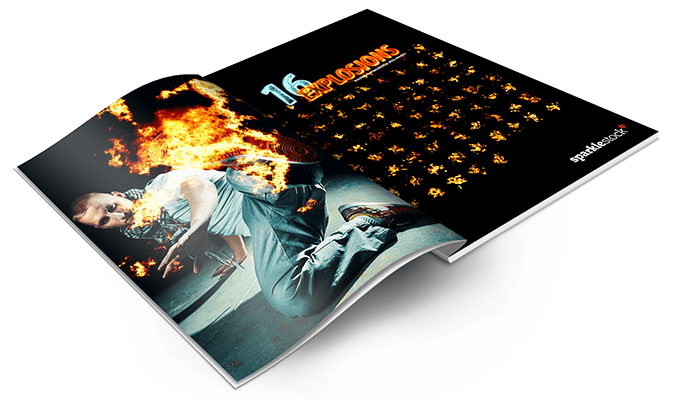
Preview of Final Results

Download the PSD
Surreal Photo Manipulation.zip | 39.69 MB
Download from Website
Surreal Scene Full of Life Photoshop Tutorial
Resources
Step 1: Create a new Photoshop file
Open up a new file in Photoshop using these settings
- Width: 2500px
- Height: 1700px
- Resolution: 300px/in
- Color Mode: RGB Color – 8 bit

Step 2: Add the background image and clean it
Let’s start with the background image. Download the ocean stock and open it. Press Ctrl/Command + A to select all the image. Then copy (Ctrl/Command+C) and paste (Ctrl/Command+V) into our project.


As you can see, the stock image is way too large, so we’re going to have to resize it. To do that, we’re going to use the Free Transform Tool, remember it well because we’re going to use it for the rest of this tutorial. Go to Edit > Free Transform (or press Ctrl/Command + T).

Now press Ctrl/Command + 0 to see the whole selected area, and while holding Shift, click and drag the bottom right corner of the sky image until it matches the width of our canvas.

Once the widths are the same, place the image in the canvas using the image below as reference:

So far your image should look like this:

Now that the image is in place, we’re going to get rid of those logos. Select the Quick Selection Tool (or press W) and make a rough selection around the bottom logo.

Now let Photoshop do the hard work for you, press Shift + F5, select Content-Aware and click OK.


To erase the upper logo we’re going to use the Clone Stamp Tool. Select it (or press S) and click anywhere in the canvas with the right mouse button to change the settings of the brush. The brush size should be 500px and the hardness 0%.


Now use the Clone Stamp Tool to clone the area in the right (Alt/Option+click) into the logo (click and drag) like shown in the image below:

Your image should now look similar to this one:

Now we’re going to add a vignette and some lens correction to the background. Go to Filter > Lens Correction, click in the Custom tab, set the Amount to -25, Remove Distortion to +25 and Horizontal Perspective to -10.


Your image should now look like this:

Step 3: Changing the background colors
In this tutorial we’re going to add all the adjustment layers non-destructively by clicking in the “Create new fill or adjustment layer” like shown in the image below:

Using this technique, add a Curves Adjustment Layer going to ‘Create new fill or adjustment layer’ > Curves and change the RGB line based on the image below.


We don’t want the sky to be brighter, only the ocean, so we’re going to change the layer mask of the adjustment layer. Click on the layer mask of the Curves adjustment layer, select a soft brush and paint the sky with black to hide the adjustment layer in that area. Some quick tips:
- Press D on your keyboard to return the colors of your palette back to Black and White
- When painting a layer mask, black will hide the layer, and white will reveal it again
- If you make a mistake while painting a layer mask, you just have to paint the area where you made the mistake with white again
- You can quickly change between your background and foreground color by pressing X
- To hide a layer mask, hold the Shift key and click on the mask. Do the same thing if you want to reveal it again

You should now have something like this:

Now we’re going to change the sky a little bit. Add a Exposure Adjustment Layer non-destructively and set the Exposure to -20, the Offset to -0,15 and the Gamma Correction to 0,9.


It’s looking pretty weird, right? But that’s because it’s affecting the ocean as well, and we don’t want that. So click in the layer mask of our Exposure Adjustment Layer and paint the ocean with black this time.

Your image should be similar to this one now:

Now we’re going to add a few more non-destructive adjusts to the sky, so we’re going to have to paint the ocean part of the layer mask with black in all of them. Add a Brightness/Contrast Adjustment Layer, set the Brightness to +10 and remember to paint the ocean in the layer mask.


Add a Gradient Map Adjustment Layer and change the gradient colors (click on the gradient) following the image below. Set this layer blend mode to Color and the Opacity to 35%.


Add a Photo Filter adjustment layer, select the Filter Yellow and change the blend mode of this layer to Color, lowering the opacity to around 30%. Remember to paint the ocean part of the layer mask again.


If you remembered to paint the ocean part of the layer mask in these three adjustment layers we just added, your image must be looking something like this:

Before moving to the next step let’s just clean our work area a little bit. Select all the layers we created so far and press Ctrl/Command + G to group them. Name the group Background.


